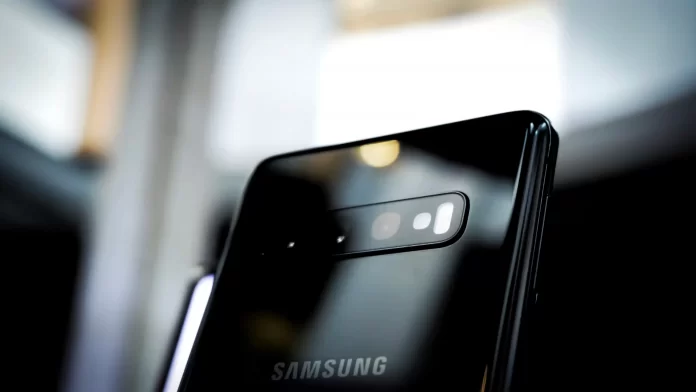
The original photo doesn’t always look the way you want it to. Sometimes you need to make adjustments to the original picture to get the result you want. One of the most common changes when editing a photo, in addition to applying numerous filters, is to mirror the original image and rotate it upside down. As you can guess, this isn’t difficult to do on modern phones, including Samsung phones. To find out how exactly this is done on the Samsung Galaxy S10, read the points below.
How to flip and rotate photos and pictures
Like on most modern phones, the available picture and photo editing features on the Samsung Galaxy S10 are quite varied and more importantly easy to use. In order to rotate or mirror photos and pictures on this phone, you don’t need to install any additional apps. All that is necessary for such actions is already present on the phone. For example in order to rotate or flip the image you need:
- Open the desired photo or picture in the gallery.
- Using the icon of editing, which looks like a pencil, open the photo editor of Galaxy S10.
- Once opened, you will see two very similar tools: flip and rotate.
- If your goal is to mirror a photo or picture, use the flip function. This function will flip the photo from left to right. Click on the flip icon, which looks like two brackets separated by a vertical line. It will be on the left, penultimate from the edge.
- If you would like to rotate the photo upside down, you will have to use the rotate function twice, because if you will use it only once, it will only rotate the photo 90 degrees. That means the photo will lie on its side. To do this, click on the icon that looks like a circular arrow. It will be on the left side on the edge.
- After making the changes, save the photo as a separate image.
What else photo redactor is capable of
Although this article is about flipping and rotating photos, I would like to draw your attention to other features of the Samsung Galaxy S10 photo editor. Using the editing panel, you can also crop, adjust tone, add text, and apply filters in addition to the features mentioned above. You can also draw on the pictures with the S Pen. In case you took a photo in live-focus mode, you will also be able to change the background effects. You should especially pay attention to Auto-Correction, a very convenient editing function for beginners. The autocorrect icon is the magic wand at the top of the screen. This function automatically adjusts the tonality of your photo by correcting brightness, contrast, and saturation. However, if you want to edit the photo by yourself, there is nothing stopping you from practicing with the photo editing tools. I am sure after a few attempts, any beginner will be able to give the photo the desired look.


