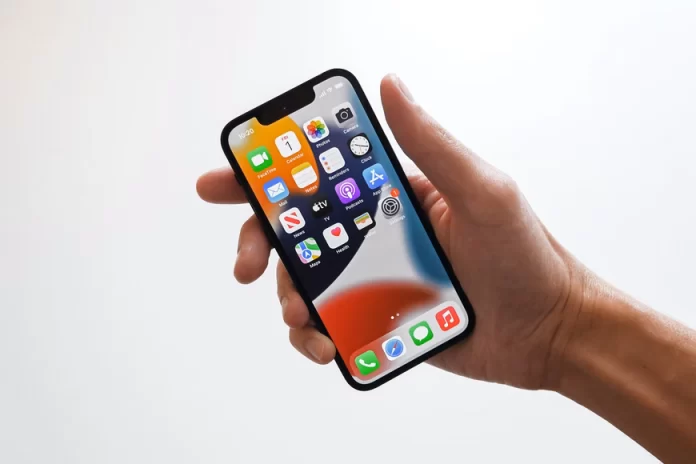
In today’s world, screen recording can be a very useful feature for many, no matter what kind of iPhone they have. Luckily the iPhone has a built-in screen recording feature, which means you don’t need to download a third-party program. This feature allows you to record both video and audio on your iPhone. Moreover, you can record both internal and external sounds from the microphone.
What to do to screen record on iPhone 13
The built-in screen recording function works great. For many activities, it will be useful. Some people need to save important moments from games, record a video lesson, or troubleshoot a video. In this day and age of social networking, screen recording for many bloggers will be useful. In fact, screen recording is a snapshot of the screen in motion.
That is, recording everything you see on your screen is saved directly to a file. However, instead of a still image, it’s a video that’s saved to the Photos library.
Luckily, iPhones running iOS 11 or later offer built-in screen recording features. For some reason, many users are unaware of the hidden screen recording feature.
This is because, unlike the Clock and Calculator apps, there is no dedicated app on the Home screen to access the iPhone’s built-in screen recorder. Therefore, it’s not easy to figure out exactly how to turn on the screen recorder function.
What steps to take to get a screen record on iPhone 13
It’s actually quite easy to make a screen recording. Screen recording is possible on all iPhones with iOS 14 and later. You need to go to your iPhone settings rather than downloading, a third-party app. So to screen record on iPhone 13, follow these steps:
- The first step to screen record on iPhone you need to go to ‘Settings’ on your iPhone.
- The next step is to scroll through the list of settings and select ‘Control Center’.
- This will open a window with all the categories of the ‘Control Center’ section. You need to scroll through the list and select ‘Screen Recording’. You have to click on the plus icon in front of ‘Screen Recording’ which has a red icon with a recording sign.

- After that, you should see the ‘Screen Recording’ item in the ‘Control Center’ section. Check if you have added it.

- The next step is to open the window home. Immediately after that, from the upper right corner, swipe down to open the control menu on your iPhone.
- Once you have the control menu on your iPhone in front of you, click on the screen recording icon.

After tapping this icon, a countdown from 3 to 1 will start. Then screen recording will start. Everything that happens on the screen, including notifications, will be recorded. Enable the ‘Do Not Disturb function to prevent unexpected notifications. If you have already made a screen recording and have demonstrated everything you want, you need to swipe down in the upper right corner.
With these actions, you’ll be able to open the control menu on your iPhone. Then the screen recording will stop and this video file will be saved in the standard ‘Photos’ app, namely in an album called ‘Screen Recordings’. In this album, you can find all the videos that represent your screen recording.
What steps to take to get a screen recording with sound on iPhone 13
The sound isn’t recorded externally when you click the icon to start screen recording after you have opened the control menu on your iPhone. By default, your iPhone will only record internal sounds, such as sounds from games, notifications, and other apps. If you’re trying to record some kind of guide or explain something in a video screen recording it’s possible to add your voice.
So if you also want to add your voice during screen recording, follow these steps:
- First, you need to swipe down to open the control menu on the iPhone.
- After that, press and hold the ‘Record Screen’ button.
- Then click ‘Microphone’. The microphone button will now turn red and show ‘Microphone on’.
- After that, you need to click on ‘Start Recording’. You can now speak or comment on your screen recording using the built-in microphone on your iPhone.

Adding your voiceover to the video screen recordings doesn’t change the next steps. There will also be a countdown from 3 to 1 before you start and your recording will be saved to an album in the ‘Screen Recordings’ gallery.


