
If you have a very close person with whom you are constantly together and your library is filled with joint photos, then perhaps it will be more convenient to just merge your photo libraries. The new iOS 16 update makes that possible. Apple users can now merge several libraries and create one big library with photos from all participants.
This feature is available to those who use iCloud sync. With your account and your partner’s account, you can sync directly from your device. At the moment this feature is only available in the beta version of iOS 16, and it will be available to everyone when the new iOS is released in the fall.
How to create an iCloud Shared Photo Library
As I described above, at the moment the photo library sharing feature is only available to iOS 16 Beta 4 users. This fall the new operating system will be released to the public and everyone will be able to try this feature. If you have already installed the beta version of the new operating system, then you need to go into settings and then:
- Go to Photos.
- Here select Shared Library.
- You will need to configure it, and click Get Started.

- Add users to your shared library. You as the owner of this library can add up to 5 users to it. At the end click Next.
- Then select which photos and things will be available in this library for other users and click Next.

- You can then view a preview of your Shared Library. If you don’t need to do that, just click Skip.
- Send an invitation to your Shared Library with a message or using a Special Link.
In this way, you can extend your library to other users. By default, you will have to add new photos there manually. To set up the automatic addition of new photos to your library you need to go to Settings>Camera>Shared library and put Automatic.
How to add or remove people from iCloud Shared Photo Library
You can add up to 5 users to your shared Photo Library. You can also edit this list at any time and remove users or add new ones. It’s important to understand that after you invite someone, that person must agree to access your shared library. In order to send an invitation you need:
- Go to Settings and then to Photos.
- Tap on Shared Library
- At the very top of your library, you’ll see a list of members, click on Add Participants to invite new members.

If your goal is to remove a member, you need to click on the member and then click on Remove from Shared Library. This is quite easy to do and there are no restrictions on when and who you can add or remove. The only condition is that the users you invite must have iOS 16 on their device.
How to share an album with another person
Another feature that Apple offers you is the ability to share an individual album from your library. This is useful if you don’t want to share the whole library, but some photos you would like to share with your friends. To do this, you need to:
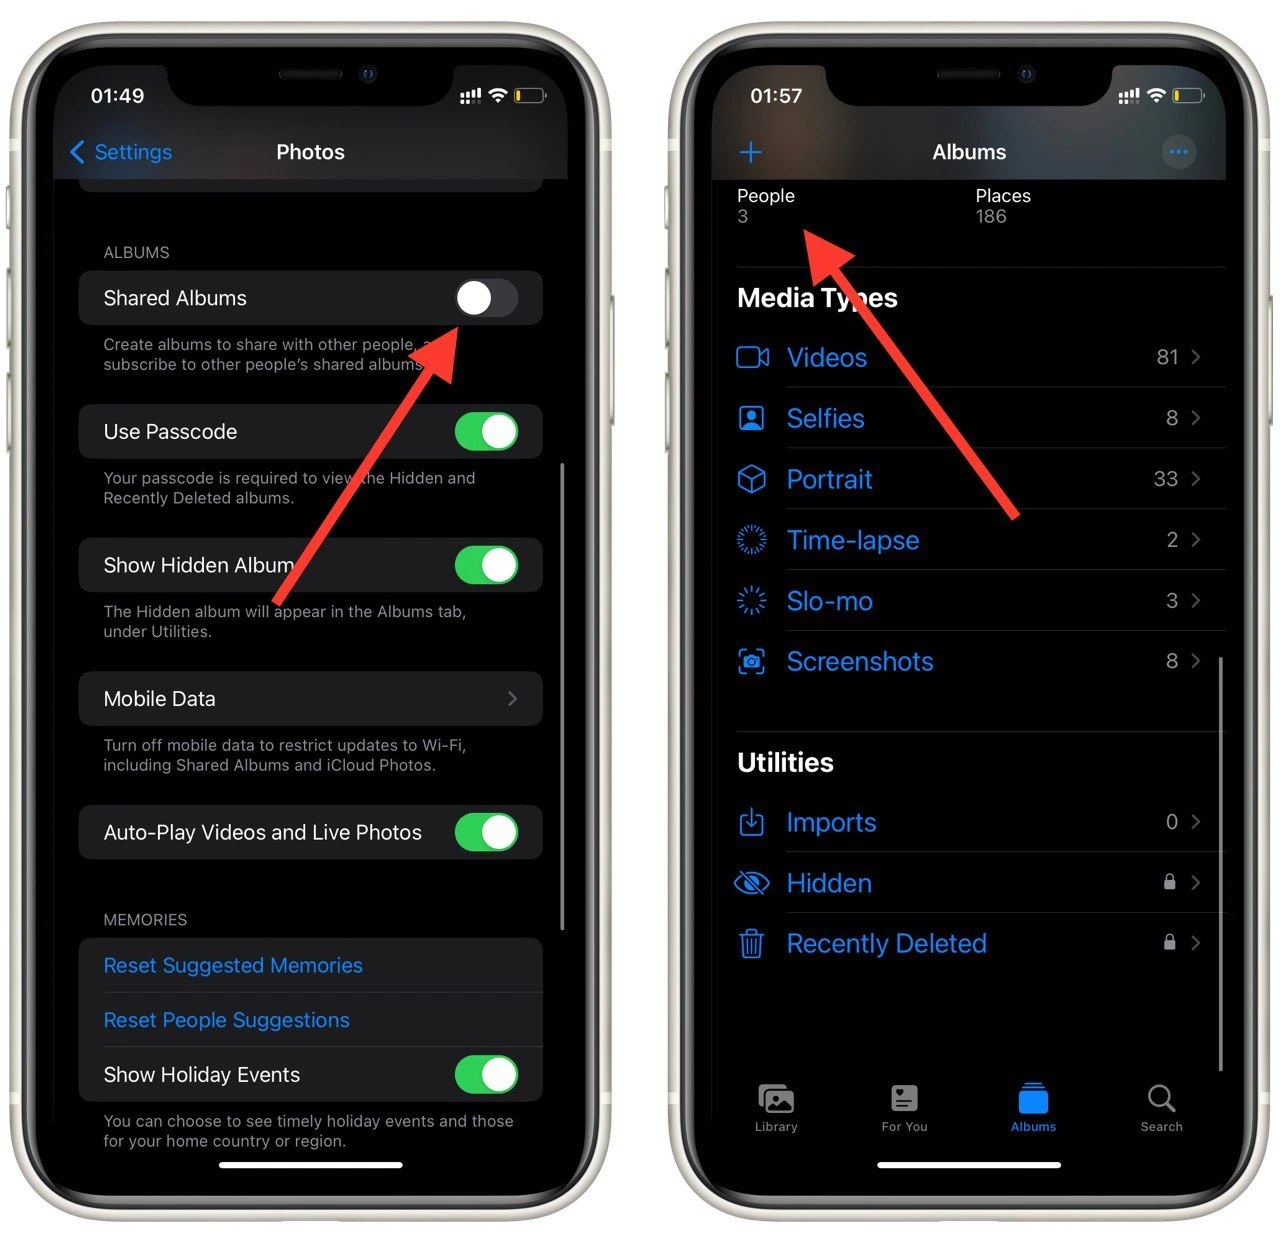
- Go to Settings and then to the Photos tab.
- Then turn on Shared Albums.
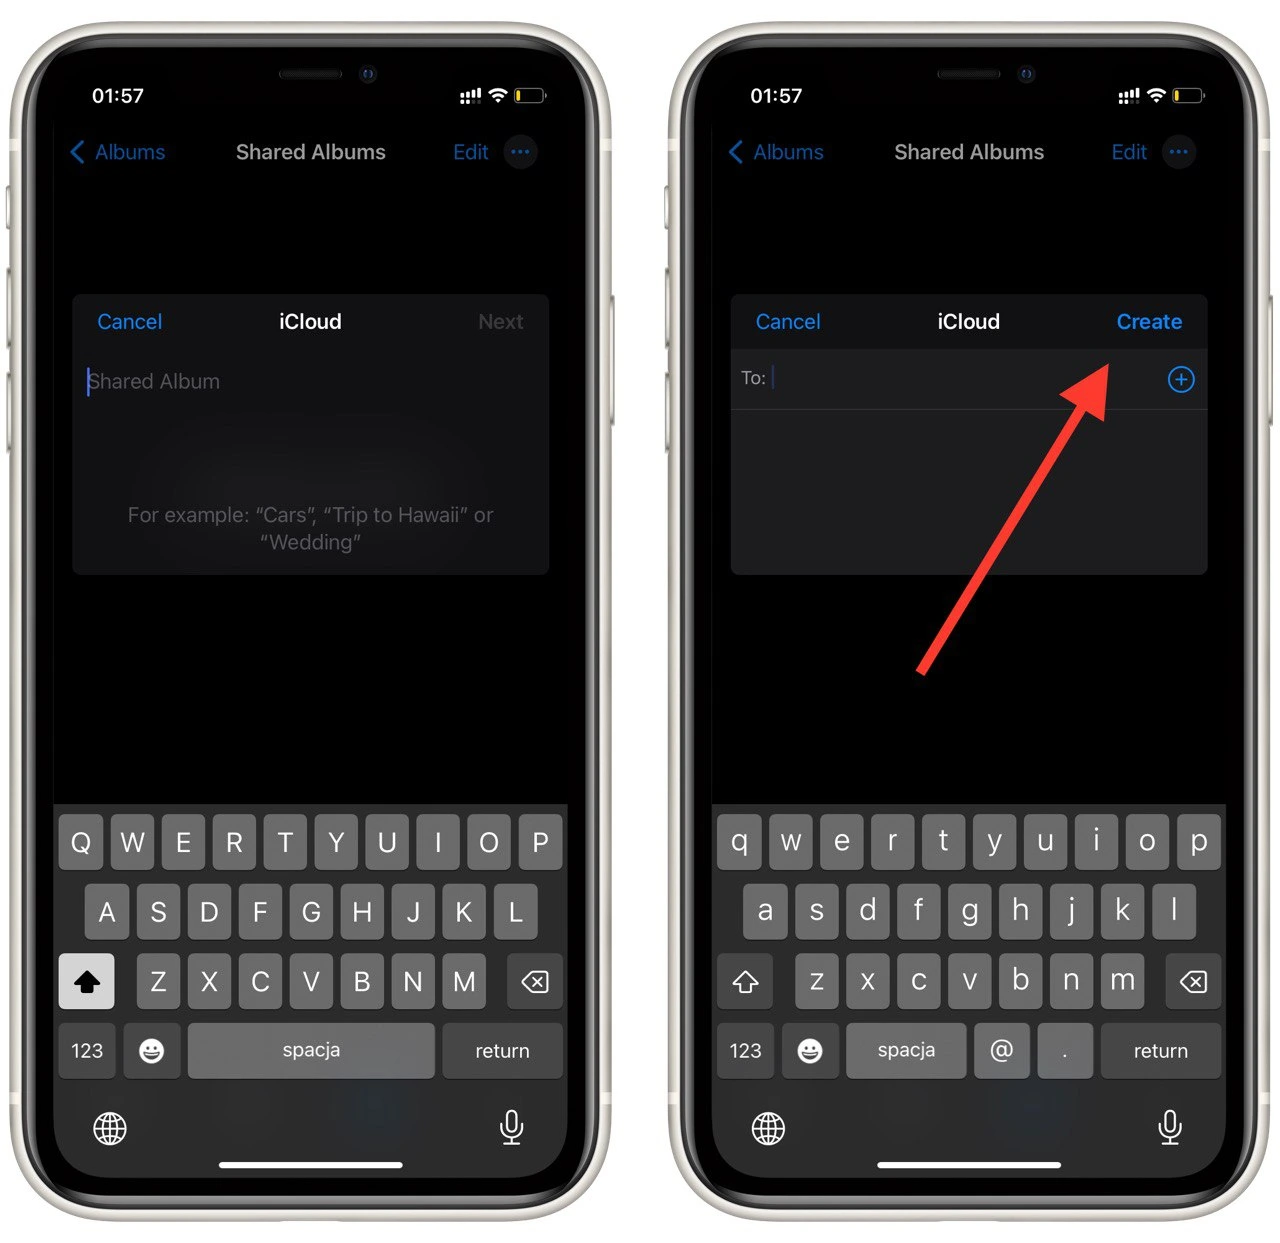
- After that, in the Photos app, click the + on the left side of the screen and select New Shared Album.
- Select a name for the album and add users from your contact list to it. At the end tap Create
After that, you can add your photos to this album and they will be visible to all members of the album. This way you can share your photos. It’s not as convenient as sharing your whole library, but this way you can share some photos you want with other users.
Read also:
- How to transfer Google Photos to iCloud
- Apple may announce a new iPhone at the next launch event
- What to do if your iCloud was hacked and your iPhone was locked
How to turn off iCloud Shared Photo Library
If you decide that you should close your library to other users, you can do this at any time using the settings. Remember that once you do this, all members of the library will instantly lose access to your media. To do this:
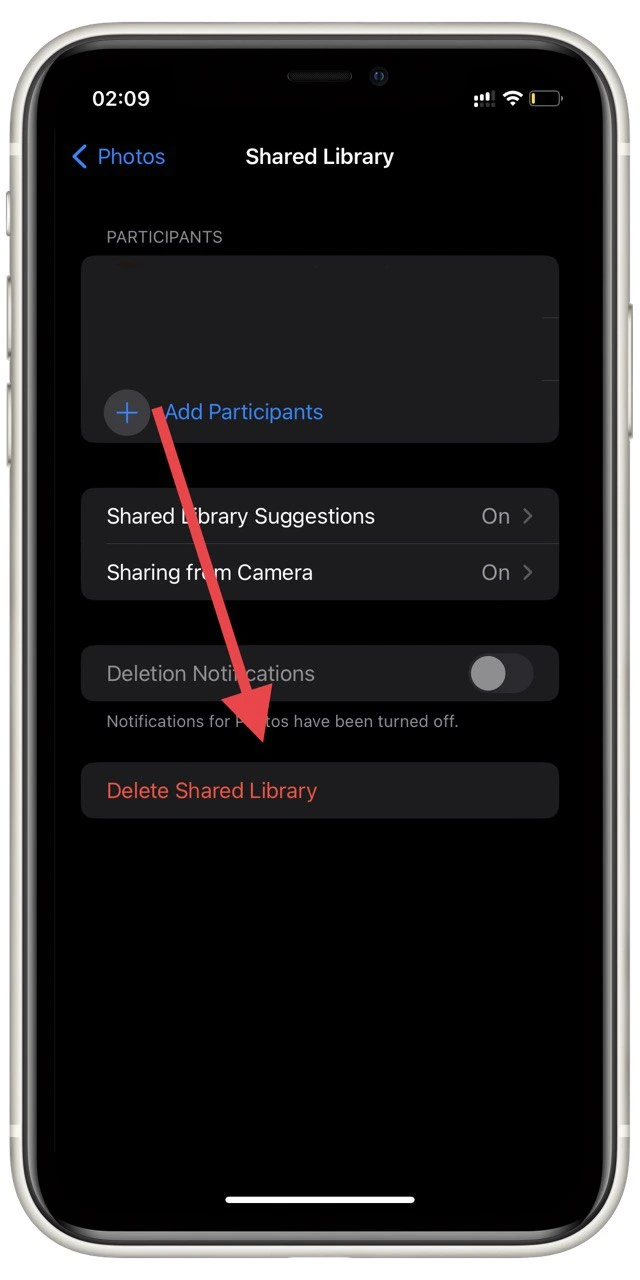
- In settings, go to Photos and click on Shared Library.
- At the very bottom, click Delete Shared Library.
Remember that the photos and videos that users have saved locally on their devices will remain. You will not be able to delete them remotely from their library. After deleting the Shared Library, you can immediately create a new library and add other members to it.


