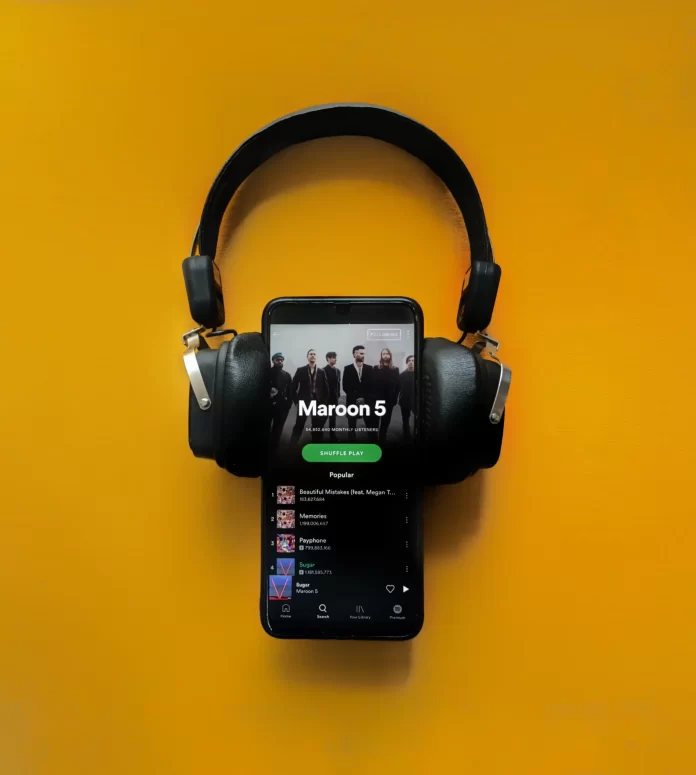
Spotify Queue provides a handy way to quickly schedule numerous songs or podcasts that you want to listen to. With it, you are able to quickly schedule all of your music and then let Spotify run in the background without any problems.
How to add songs to the queue
By clicking on the three dots next to the name of the song you want and selecting “Add to Queue” from the menu that opens, you can queue up the track you want to listen to. There is no limit to the number of songs you can add to the queue. If you want to add a song to the queue from your PC, you can do it the same way, and also by right-clicking on the icon of the song you want. Once clicked, a list of available actions will also appear, from which you have to select “Add to Queue”.
How to clear your queue on mobile
Of course, sometimes we get bored with constantly listening to the same songs, and we want to change it. In order to do this, we first need to clear the Spotify queue. This is quite easy to do. First, we need to:
- Since on the phones, regardless of whether you use Android or iOS, you cannot clear the entire queue at once, first select one of the songs you want to remove from the queue.
- When you turn on a song or podcast, make sure that the album art and playback controls are open on the screen. In the lower right corner, there is a queue icon. It looks like a small arrow to the right over three horizontal lines. Click the icon.
- Once you click, you will see a list of songs in the queue. Click on the empty circle next to each song you want to remove from the queue. Once you’ve checked all the songs you want to remove from the queue, click the “REMOVE” button in the lower left corner of the screen.
How to clear your queue on PC
It takes even less effort to clear the queue on your PC. The PC and Mac applications have an option to completely clear the queue. In order to use it you need to:
- Open the Spotify app on your PC or Mac.
- Once open, go to the queue. To do this, click on the “Queue” button, which is located in the lower right corner. It looks the same as the queue icon on your phone. It is located next to the volume control.
- Once you have navigated, click the “CLEAR” button on the right side of the page, above the songs in the queue.
If you don’t want to clear the entire queue, you can delete one song at a time. To do this, right click on them in the queue and select “Remove from Queue”. Note: If you don’t see the CLEAR button, that means there are no songs in your queue.


