
Your modern computer is a rather complex device with much different hardware inside and can run many simultaneous processes. Often there are situations where different hardware on your computer can conflict and not work entirely correctly. In this case, you will get various errors and some features of your PC will be limited until you fix these problems. For example, recently, Windows 11 users have been complaining more and more about kernel security check failures.
This error is because different devices may conflict with each other or the operating system cannot work correctly with them. When you get this error on Windows 11, you should not panic and give your PC to a repair shop. For starters, you should try a few fixes to help you solve most of the problems that arise along the way. Let’s see how it works and what you need to do.
What is kernel security check failure on Windows 11?
Let’s first look at what kernel security check failure on Windows 11 is and what causes it. This will help you better understand how to avoid it in the future and not encounter such a problem. If you want to find instructions on fixing it, you can skip to the next section of this article. There you can find detailed instructions on how to fix this problem with step-by-step guides.
The “kernel security check failure” error on Windows 11 is a system error message that appears when the operating system detects a problem with the integrity of the kernel, which is the core part of the operating system that manages memory and system resources. This error message can indicate a problem with the hardware, such as a faulty memory module, or a problem with the software, such as a conflict with a device driver or a malware infection. The error message will typically include a code, such as “0x00000139,” which can be used to help identify the specific cause of the problem.
Users report that this error can lead to the so-called “blue screen of death.” If you haven’t heard of it, it is a critical error screen where your operating system shuts down. So, you should immediately start looking for a solution if you encounter kernel security check failure on Windows 11. If you leave this error unattended, you risk future data problems with your PC.
Ways to fix kernel security check failure on Windows 11
Several factors, including hardware problems or software conflicts, can cause the “kernel security check failure” error in Windows 11. For this reason, you should try different fixes until you find one to help you solve the problem. To fix the problem, try the following steps:
Run the Windows Memory Diagnostic Tool
To run the Windows Memory Diagnostic Tool on Windows 11, follow these steps:
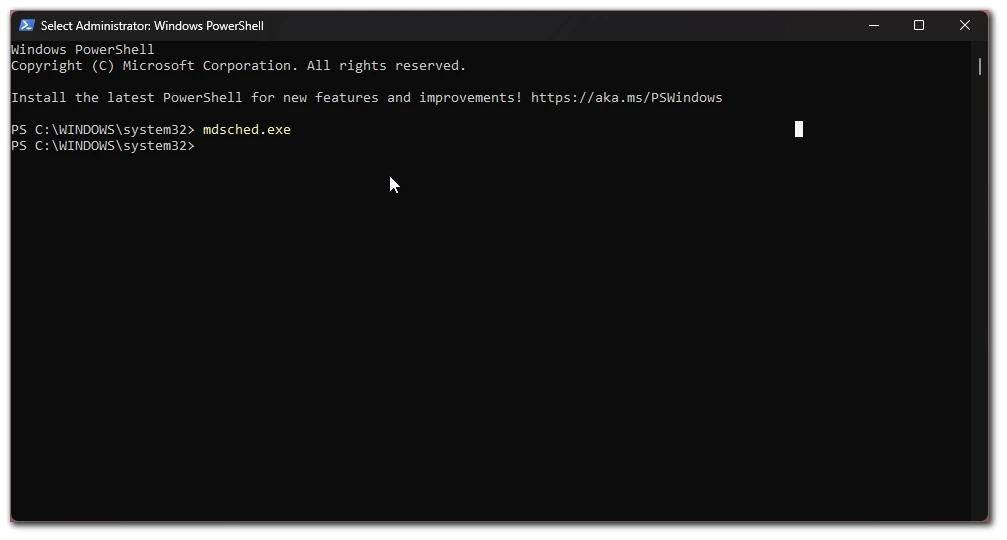
- Press the Windows key + X to open the Power User menu, and click on Windows PowerShell (Admin).
- Type the following command in the PowerShell window and press Enter:
mdsched.exe
- A dialog box will appear asking if you want to restart your computer and check for memory problems. Click on Restart now and check for problems (recommended).
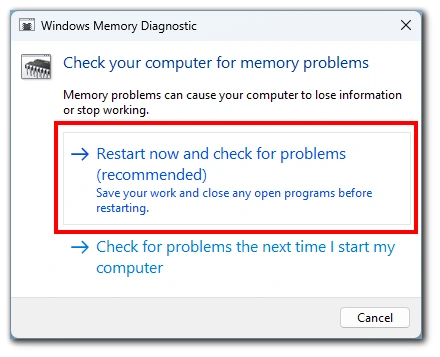
- Your computer will restart and begin running the memory diagnostic tool. This process may take several minutes to complete.
After restarting, you will see the results of the memory diagnostic tool in the Event Viewer under the Windows Logs > System. Please note that if the diagnostic tool finds any errors, it will try to fix them automatically. If it can’t fix them, it will provide you with detailed information about the error you can use to troubleshoot the problem.
Update Windows
To update Windows 11, follow these steps:
- Open Settings with the Windows + I keys.
- Click on the Windows Update tab.
- Here you need to click on the Check for updates button. Windows will now check for any available updates.
- If any updates are found, they will be listed on the screen. Click on the Download and install button to start downloading the updates.
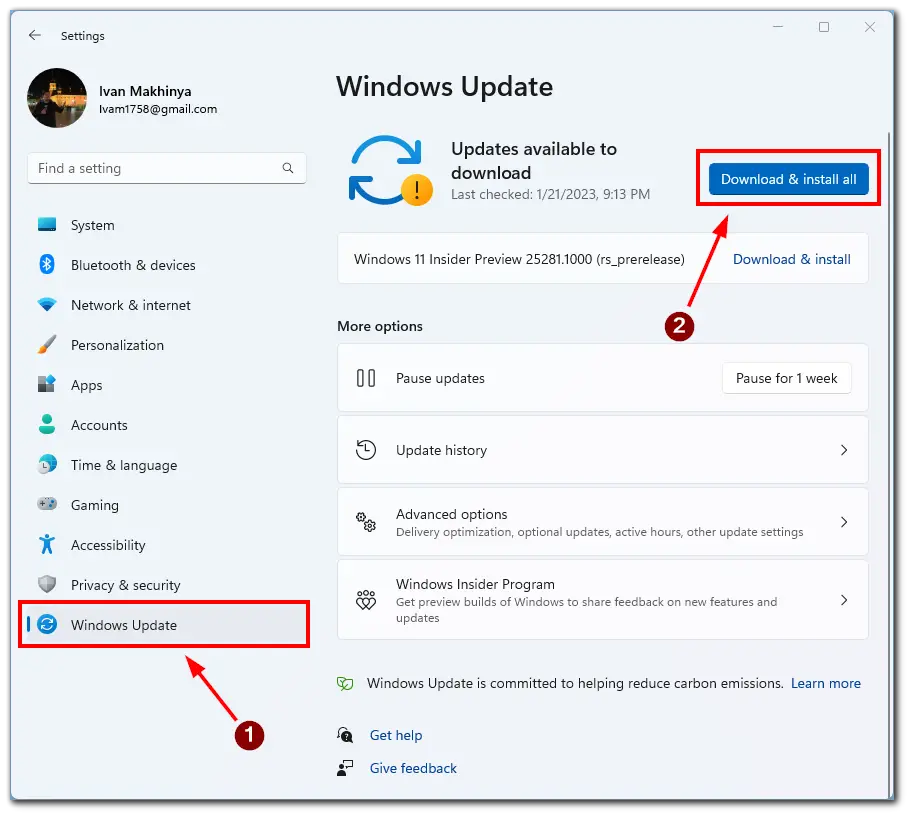
- Once the updates have been downloaded, click on the Restart now button to install and restart your computer.
Please note that you’ll need a stable Internet connection and power to your computer during the update. If you unplug your computer during the restart, you risk damaging your operating system.
Update device drivers
If troubleshooting drivers cause the problem, a simple update will help. The main thing is to understand precisely what hardware is causing the error. You can update the device drivers using the Device Manager in Windows 11 by following these steps:
- Press the Windows + X key to bring up the Power User menu and click Device Manager.
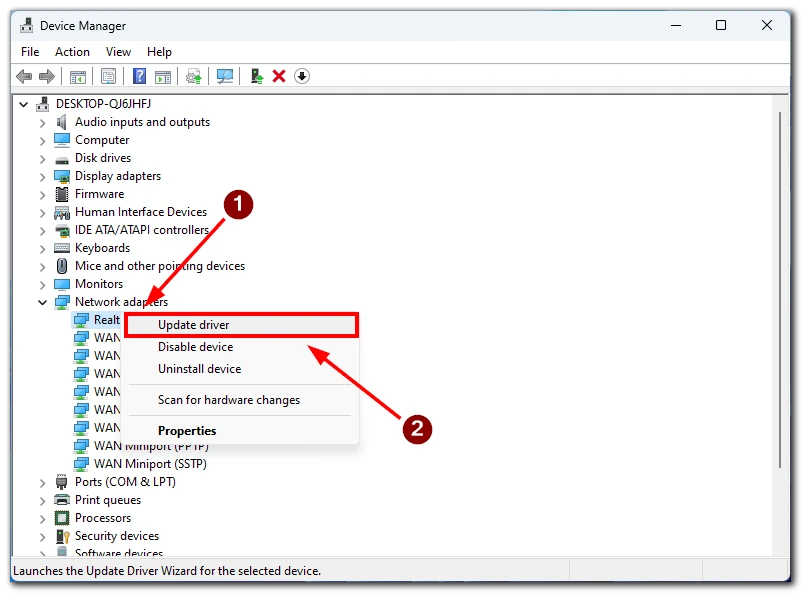
- In the Device Manager window, locate the device whose driver you want to update.
- Right-click on the device and select Update Driver.
- Select Search automatically for drivers in the next window. Windows will now search for available updates for your device and install them.
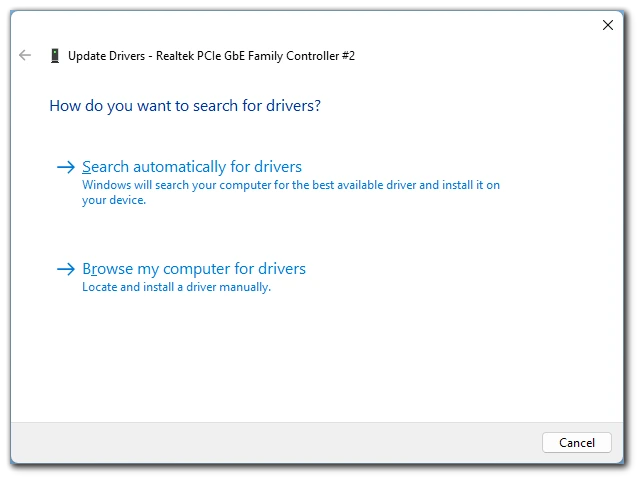
Alternatively, select Browse my computer for drivers, specify where you downloaded the updated driver, and continue the installation.
Run the SFC scan
You can run the SFC (System File Checker) scan on Windows 11 to check for and replace any missing or corrupted system files by following these steps:
- Press the Windows key + X to open the Power User menu, and click on “Windows PowerShell (Admin).”
- Type the following command in the PowerShell window and press Enter:
sfc /scannow
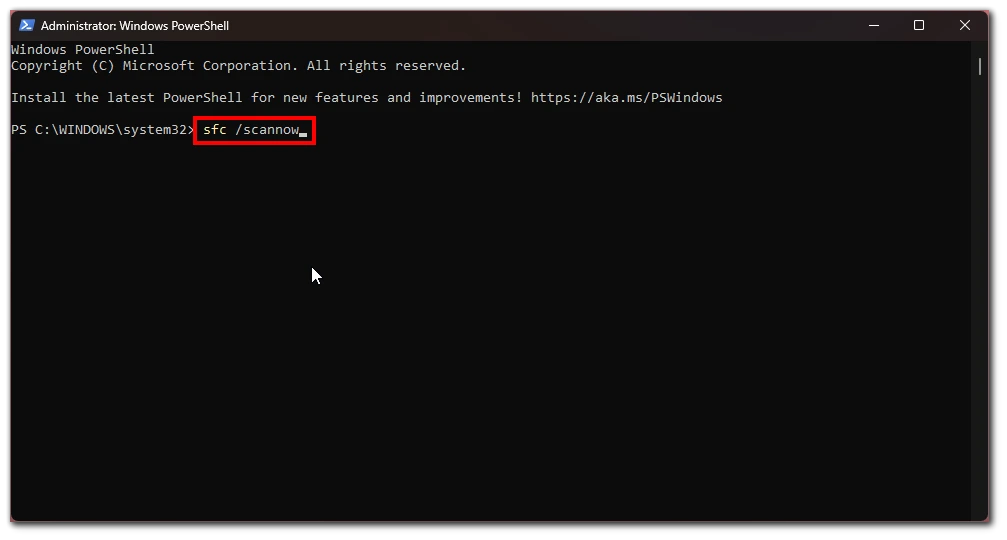
- The SFC scan will now start and may take several minutes to complete.
- Once the scan is finished, you will see a message indicating whether any issues were found and if any repairs were made.
The SFC scan will check all protected system files and replace any corrupted or missing ones with a cached copy located in a compressed folder at C:\System32\dllcache.
Check your hard drive for errors
You can check your hard drive for errors on Windows 11 by using the chkdsk command, a command-line tool that can scan your hard drive for errors and repair any issues. To run the chkdsk command, follow these steps:
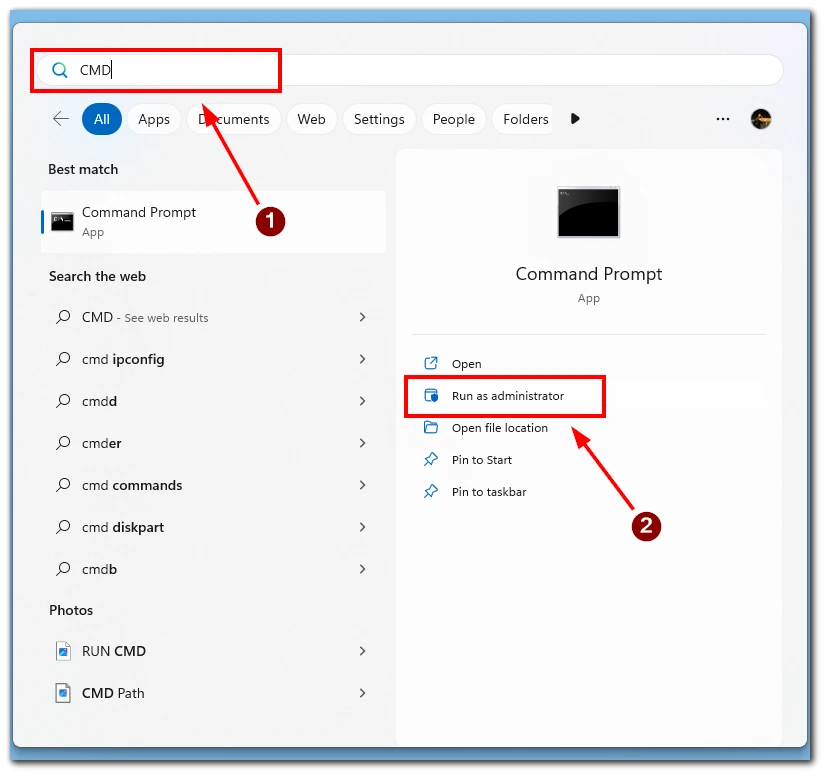
- Open Command Prompt using the start menu as an administrator.
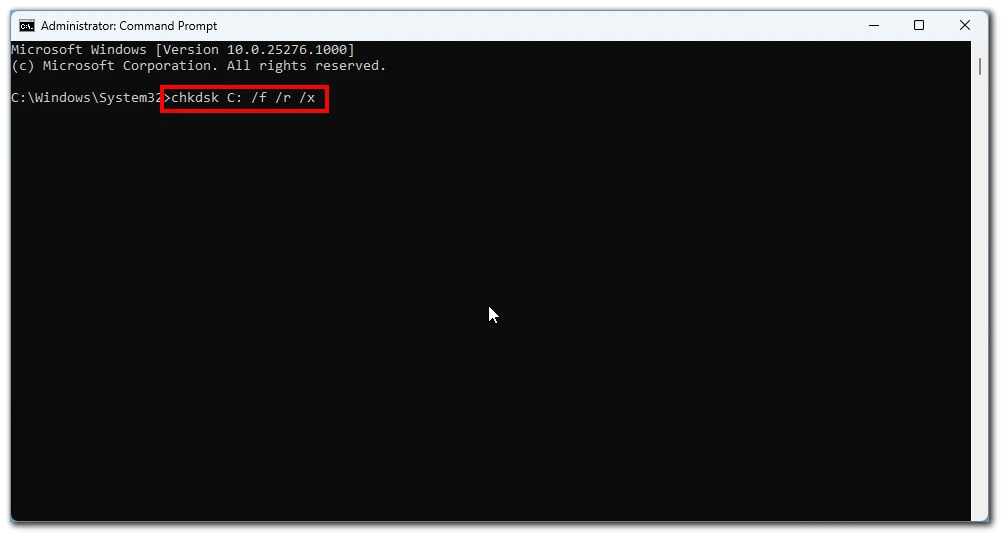
- Type the following command in the Command Prompt window and press Enter:
chkdsk C: /f /r /x(replace “C:” with the drive letter of the drive you want to check)
- Once the chkdsk command is finished, you will see a message indicating whether any issues were found and if any repairs were made.
Please note that running the chkdsk command may cause data loss if the errors found are unrepairable, so make sure to have a backup of your data before running the command.
Check your computer for viruses
You should also check for viruses on your computer. The fact is that kernel security check failure is often caused by the fact that your computer may be infected with malware, which affects how different modules of your system work together.
You should install any scanned antivirus and remove any files or processes that the antivirus can deem insecure. After that check, if the problem is solved.
Check your hardware for problems
Also, if you know precisely what component of your PC is causing the kernel security check failure, you should do some simple tests. First, try connecting the device to another PC and see if the error occurs again. If you have a spare device, you can try plugging it in and see if the problem is resolved. I also recommend starting the computer without the device (if possible). If the device is broken, then you need to replace it.


