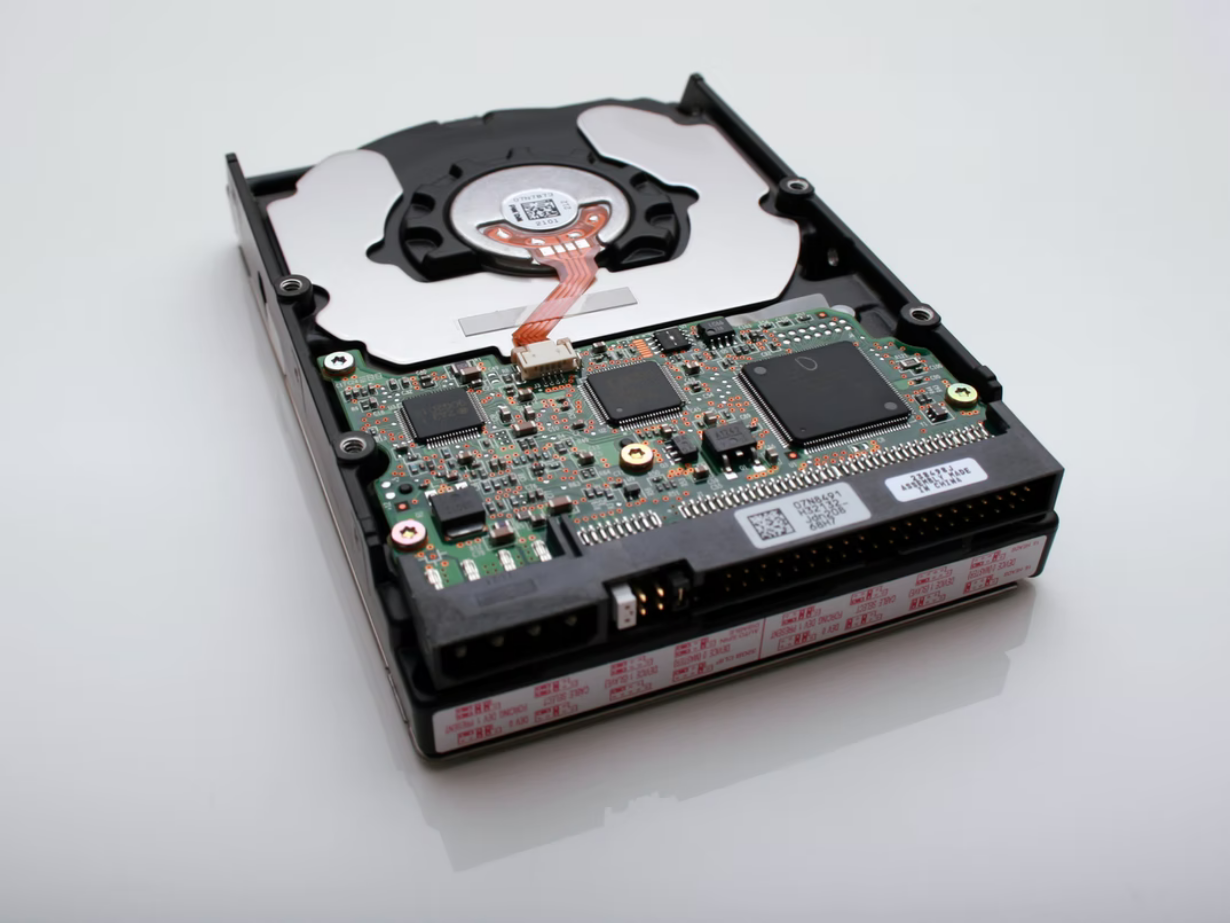
Your hard drive is where all of your computer’s most important data is stored. While most PC components can be replaced, the invaluable data on your hard drive cannot.
The hard drive isn’t eternal and fails over time. This is indicated by intermittent freezes, background noise, strong vibrations, Windows boot errors (one of the most common is “reboot and select proper boot device” when the boot loader fails), and file system failures, which often have to be restored.
For this reason, it’s important to check the condition of the hard disk in your PC. There are various ways to check, from built-in methods in Windows to hard disk manufacturer’s diagnostic tools.
So, here’s how to make a hard drive health check.
Content
Where to start and how to properly perform hard drive diagnostics
It’s important to understand that physical damage won’t fix any application. Therefore, if your HDD has been heavily overheated, dropped, shaken, bumped, or has a long period of active use (more than 8-15 years), it’s a practically useless procedure for such a drive. Because it won’t only fail to restore its health but also completely kill it.
All you can try to do is save the information and buy new media. However, if that’s not an option, it’s better to start diagnosing using system tools. This is safe and won’t make things worse.
How to perform hard drive diagnostic using command prompt in Windows
Let’s start by checking the hard drive through the command prompt. It was launched by the key combination “WIN+R”.
- After that, enter “cmd” in the text field and press “Enter” on your keyboard.
- The command prompt should appear.
- If you want to launch standard scan tool to fix file system errors and reassign (recover) bad sectors, you can use the “chkdsk C: /f /r” command, where “C” is a letter of the drive.
- If you specify an active OS partition, chkdsk will ask for a scan the next time you start your computer. There’s nothing wrong with this. Enter “y” to agree and click “Enter”. Reboot the device and wait for the procedure to finish.
- If you want to check the integrity of the system files and replace them, if necessary, you can use the “sfc /scannow” command.
How to perform hard drive diagnostic using the Explorer interface in Windows
If you want to perform hard drive diagnostic using the Explorer interface in Windows, you have to follow these steps:
- First of all, go to the “This PC” main menu.
- Right-click on the desired partition and open “Properties”.
- Move to the “Service” tab and click the “Check” button.
- Then, click on the “Check drive” button.
- Finally, if a notification is displayed that the procedure has been added to the schedule, do so and restart the computer.
What programs are available to check the hard drive and instructions for use
Now let’s look at some universal utilities that can perform a comprehensive check. They will scan the hard disk surface, evaluate and display its health and performance.
CrystalDiskMark
This is a free program that allows you to find out the speed of your HDD. It’s important because it’s also an indicator of the health of the drive. In addition, working with slow drives is hard, long, and in most cases impossible, especially when accompanied by errors and freezes.
How to start checking using CrystalDiskMark:
- After downloading, install the utility on your computer and run it.
- In the “Settings” section, activate the “Default” option if a hard drive or SATA SSD is checked.
- Select the partition to scan and click “All” to start the procedure.
HD Tune
It has many functions, among them stand out: fault finding, quick health view, health test, noise level adjustment, monitoring, and advanced scanning via “Random Access” (where blocks are read randomly instead of in order, as is the case with standard linear reading).
- Download and open.
- Go to the tab of interest and click “Start”. A “Quick Scan” is available. Useful when you don’t have time to wait 2-5 hours.
- Analyze the data obtained.
- Red (bad) – bads (broken sectors). The number shouldn’t exceed 1.
- Greens (the good ones). The more the better.
- Move to “Health” and look at the indicators in the “Status” column. “Ok” – it means that everything is OK.
Hard Disk Sentinel
Displays the state of your hard drive and displays the data on the main screen. Performance, temperature, SMART, logs, warnings, uptime, health predictions, many different tests – everything you need for a complete check.
- In the main window on the left side, select the desired device. A health assessment with recommendations will appear.
- At the top, click on “Surface Test” (the icon with the green check mark).
- Click the “Run” button. Leave the type and other settings at their defaults.running the test.
- Analyze the data obtained.
- Unstable – unstable zones (reassignment).
- Damaged – BAD blocks (logical or physical).
Even with a few bad sectors, a hard drive can behave erratically. It can freeze, slow down, and make noise. Therefore, it’s ideal if the number is zero.


