
Facebook’s a great platform that gives many opportunities not only to regular users but also to those who have their own businesses and try to promote their products and attract new potential customers. That’s why many entrepreneurs use this platform, as it’s easy to gain popularity and make living using Facebook and its features which are being updated from time to time.
The most common way to attract new users is to create some events, webinars, or do introduce the product in a live meeting. Moreover, Facebook gives you an opportunity to notify the users and invite them to an upcoming event. So, if you’re interested in knowing how to create a recurring event, we’ll help you, keep on reading.
What a Facebook recurring event is
As was mentioned before, Facebook is one of the most popular platforms for promoting the products of entrepreneurs. Creating a recurring event is one of the most common ways to attract users to your profile and let them view the range of presented products. Moreover, you can also know what your potential customers are interested in by creating polls on Facebook.
So, creating recurring events on Facebook is only half of the way. To successfully promote your product, you should grasp the viewer’s attention and always keep him/her interested in your company and products. So, you should even try to promote the product with the target commercials. Knowing the interests of your customers can help you to upgrade the quality of your products.
You shouldn’t think that there is something difficult in creating the Facebook recurring event, as the process doesn’t require any special efforts. It can be done in a few clicks.
Read also:
- How to send disappearing messages in Facebook Messenger
- How to create a Facebook poll on a business page
- How to share a TikTok on a Facebook
Why do users try the recurring events
Often, users want to make the same events to advertise their new product and that’s why they duplicate the event every time. However, this’s because they don’t know that Facebook provides a recurring event option, which can do the same things and requires less effort and time.
The feature’s especially useful when you start the webinar which requires several meetings with the same audience. So in order not to get annoyed and tired of updating the events, you can use the recurring events option.
However, there’s one disadvantage of creating such events. The feature can be used only on Facebook on your desktop and it’s often inconvenient as you won’t have access to the desktop all the time. Moreover, you won’t be able to create this type of event from your personal profile as there are some limitations.
How to create a recurring event on Facebook
So, the recurring event is one of the best ways to save your time and nerves before the webinars or meetings with your audience. You won’t need to spend time creating the same events or updating manually the created ones. So, if you want to make a recurring event on Facebook, you should follow the steps which would be mentioned in the section below:
- First of all, you should open Facebook on your PC.
- After that, you should head to your Page.
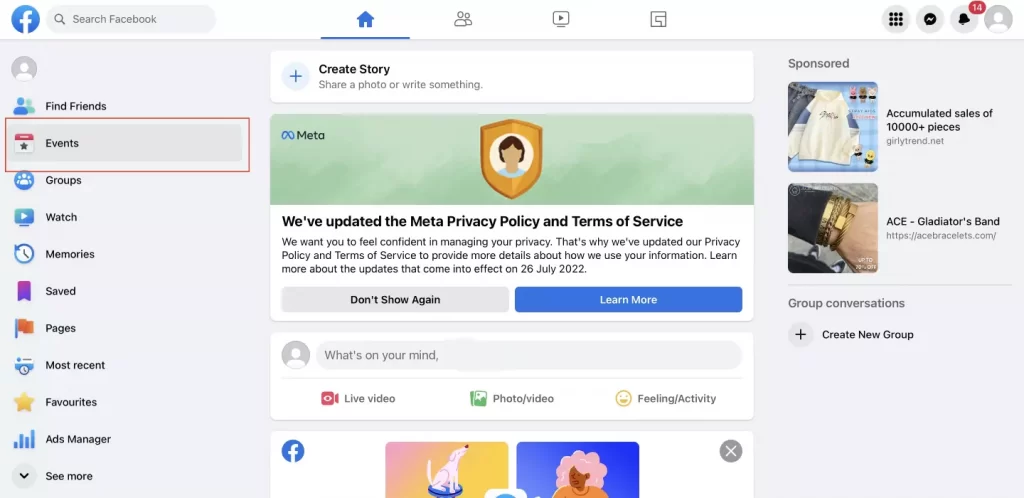
- Then, you should tap on “Events“.
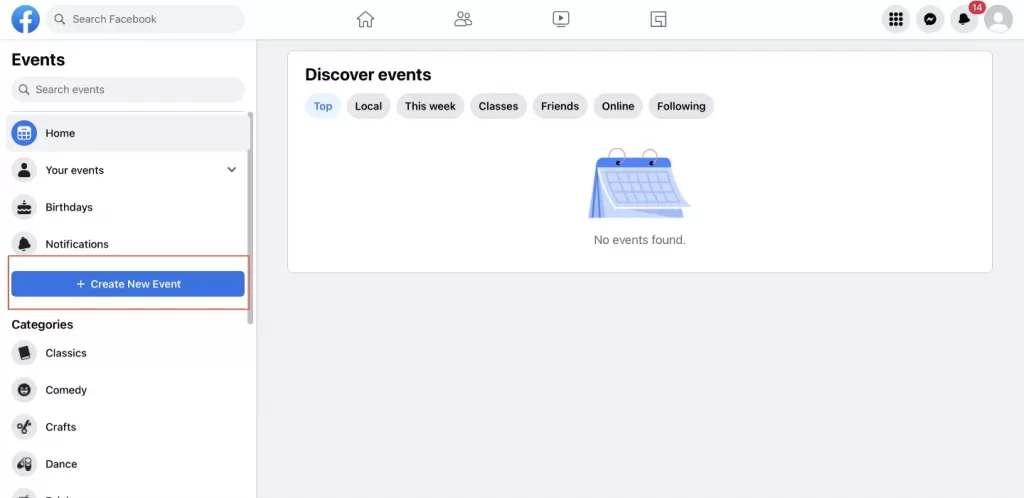
- Next, you should click on “Create New Event“.
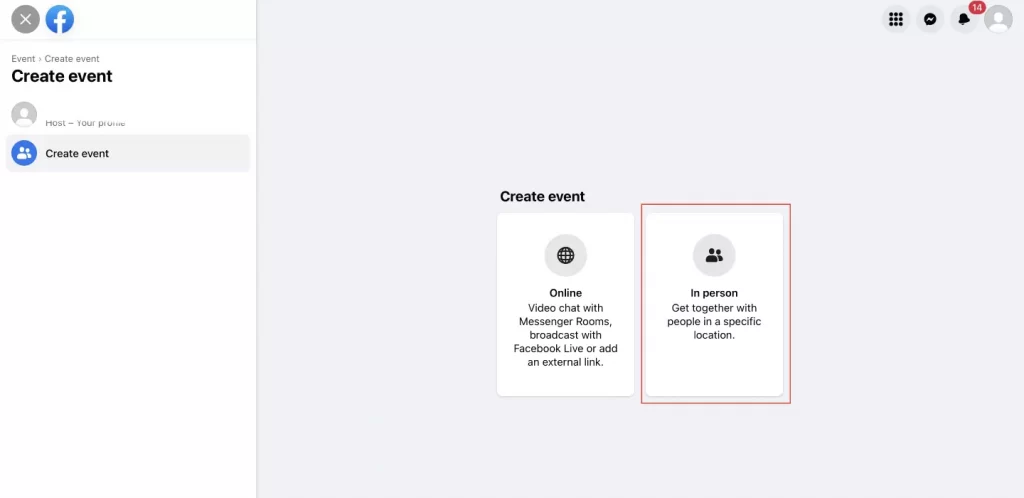
- After that, you should click on “In-Person“.
- Then, you should tap on “Recurring Event“.
- Next, you should choose how often the event would be: Daily, Weekly, or Custom.
- After that, you should click on “Add Time” to add the start and end times for your event.
- Then, you should tap on “Add again” and click “Done” to save the changes.
- To complete the process, you should select “Create Event“.
Since then, the event would be created and you can enjoy the free time you’ve earned. Moreover, you can use Facebook polls also to promote your products and know the interests of the audience. So, learn more about marketing with Facebook polls.
How to add a co-host to your Facebook event
Creating events whether it’s a meeting or a webinar is quite a serious process after which you may feel tired, so many people want to add a co-host that would be able to make changes and help with organizing the event. Sometimes, especially if you organize webinars, you may not be present at the event and a co-host can really help you. Basically, there’s nothing difficult, you should follow the prompts which would be mentioned in the section below:
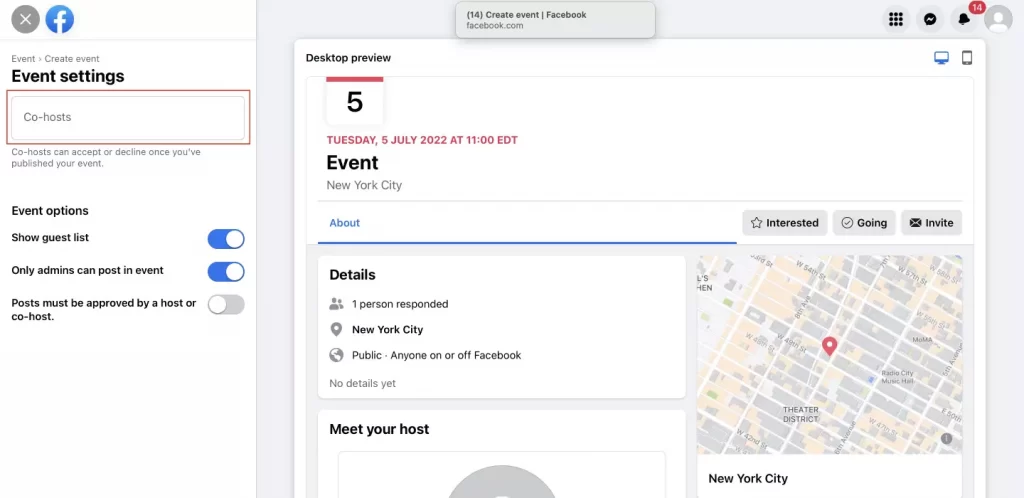
- First of all, you should open the page of the event and head to the “Edit” option.
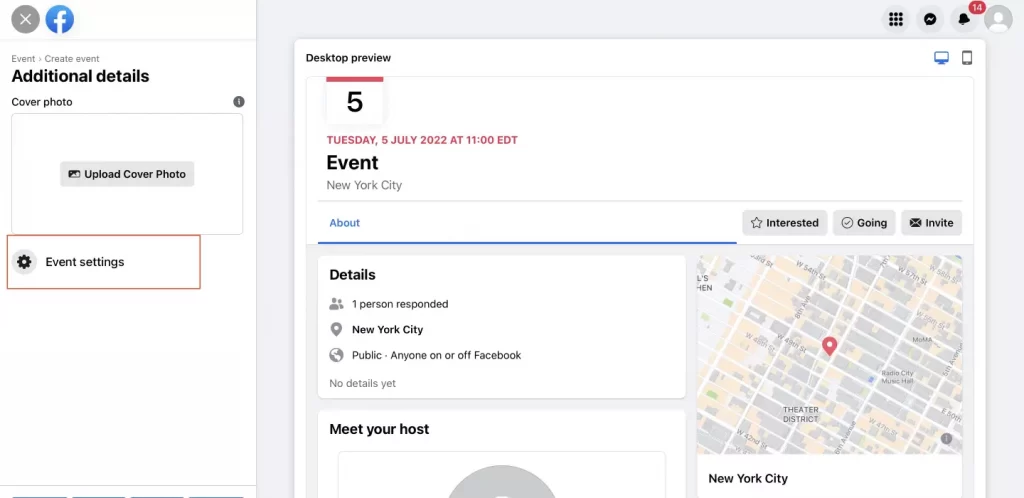
- After that, you should look at the left-side panel and scroll down to the “Event Settings” tab.
- To complete the process, you should head to the special field and fill in the name of the future co-host to add him/her.
Since then, the access to the event would be given to the chosen person which can make changes in the event and help you with the organization. However, you should make the event maximum attractive for the users to let them be interested in the upcoming occasion.
Read also:
- How to fix when you can’t create a poll on Facebook
- How to create a poll on Facebook Timeline
- How to split screen on Facebook life
How to notify users about the event
As I said before, the event should be attractive to the users, but your profile should also have a great appearance to be able to successfully promote your products and events. To advertise the events, you can use various platforms and share the event with different bloggers that have a bigger audience.
One more way is to advertise your events in some popular Facebook groups. However, you should always keep in mind that you should have the owner’s permission to post the event in another group that’s not your property.
So, the more users would be attracted to your event, the more chance to make them interested in buying the presented products and make them interested in future ones. It means that you should remember that the potential customer must always feel like this product’s created special for him/her.
All in all, Facebook is a great platform that gives great opportunities for all casts of users. If you’re a regular user, you may find some interesting products for you. If you own a business, you can find potential customers.


