
It’s already hard enough to imagine the modern world without programs like PowerPoint. All people around the world use this program throughout their lives because it carries maximum functionality. However, quite often many people have questions about how to do any action. This is because this program has many functions and beginners can get a little confused. However, it’s easy to figure out how to highlight a part of the image in Microsoft PowerPoint.
What to do to highlight a part of the image in Microsoft PowerPoint
PowerPoint is a program that has so many features and capabilities that not only beginners can be confused how to use it. For some people this is a drawback, while others appreciate it even more. After all, many people use this program for work and study. Showing only a little creativity, with PowerPoint you can achieve many goals, from a mother who teaches her children in the form of presentations.
To a top manager who demonstrates in graphics and presentations plans for the month for his team. In most cases, highlighting a part of the image in Microsoft PowerPoint is a fairly common action. Since for different purposes it may be necessary to highlight a part of the image, for example in order to attract attention. Since the means of the program PowerPoint you can crop the image, crop it, without the use of third-party graphics editors.
What steps to take to highlight a part of the image in Microsoft PowerPoint
The images are common slideshow components, adding visual style, so there shouldn’t be any difficulties. Whatever you want to emphasize, such as a product brand, name, etc., it’s easy to do. So if you have the need to emphasize an image by highlighting it, you only need to follow a few steps:
- The first step to highlight a part of the image in Microsoft PowerPoint is to launch PowerPoint, or use the online version of PowerPoint.
- Next, create a new document to prepare a slide show or open an existing one.
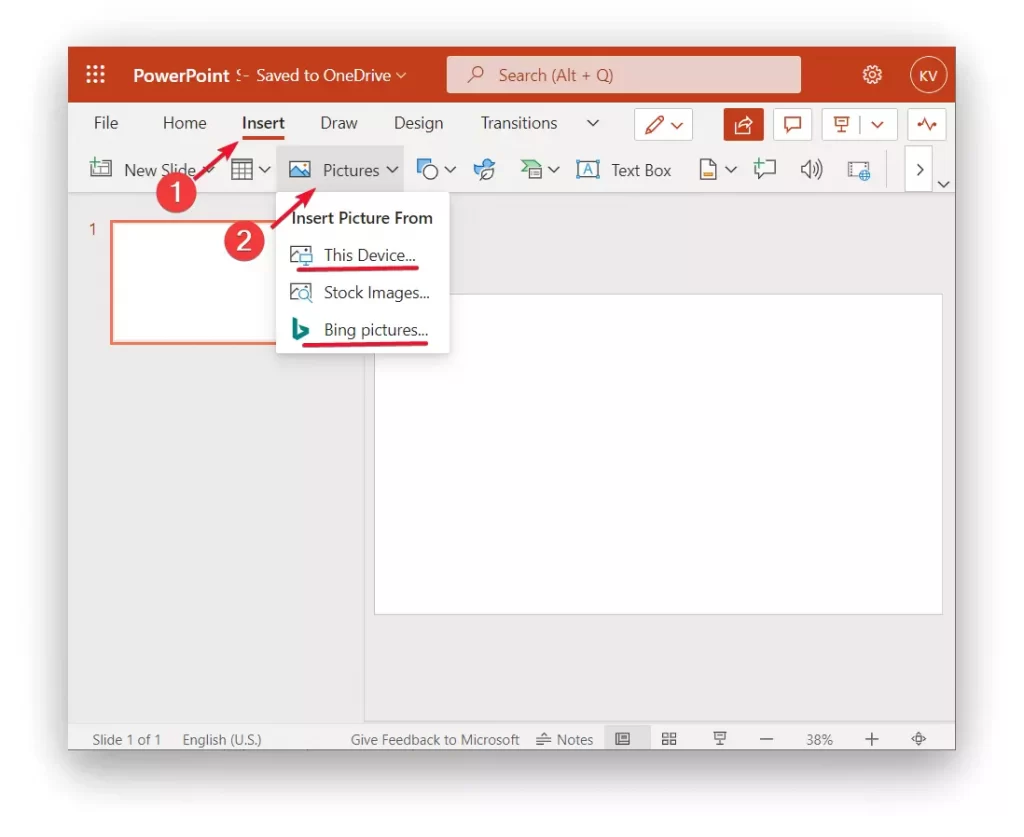
- Next, prepare all the material and in the right slide you need to insert a photo. In order to insert a photo you need to use the top toolbar. Click on ‘Insert’.
- After you click on ‘Insert’, a new panel will open in which you have to choose the third icon which is called ‘Pictures’.
- After you click on ‘Pictures’ you need to choose from the drop-down list which way to add a picture to the future slide show. Choose one of the options ‘This Device’, ‘Stock Images’ or ‘Bing Pictures’.
- After these steps, the photo of your choice will be placed on this slide. If necessary, stretch or move it.
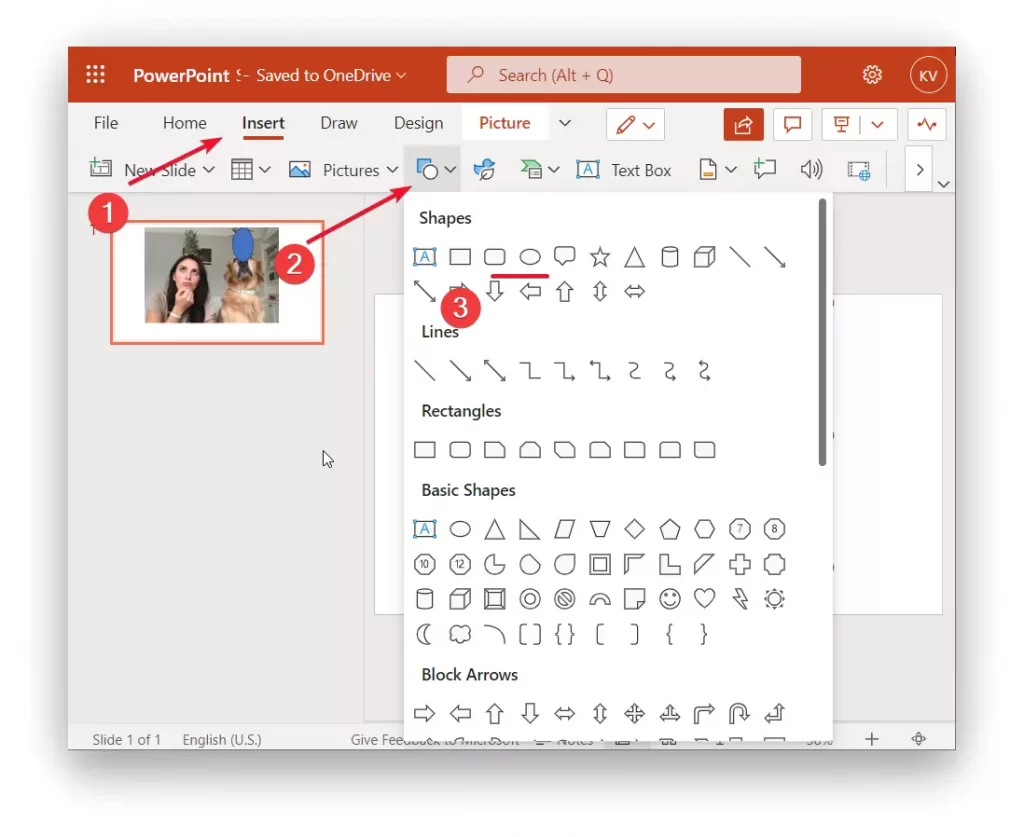
- Then you need to insert a shape to cover the part of the image that you want to select. You have to click on ‘Insert’ and then select the fourth icons from the list that are shown as shapes.
- After that you will select the figure that you want which will in the future select the area you want in the image by its perimeter.
- After selecting a shape, you can cursor position it as you like, modify it by dragging to move it, or by pulling in or out of a corner or edge to resize it. Also an important point is that in the future after the completion of all actions such a fill your image won’t look, about this don’t worry.
- The next steps to highlight a part of the image in Microsoft PowerPoint should be that you need to select the image and then the shape. Hold down Ctrl on Windows or Command on Mac as you click each item. Be sure to highlight the image first.
- Then you need to click on the ‘Merge Shapes’ drop-down arrow and pick ‘Fragment’.
- You will then be able to merge the image and the shape, while fragmenting the shape so that it’s separate.
- Then when the image and the shape are combined, select the image and click on the ‘Picture Format’ section.
- Then you just need in the ‘Artistic Effects’ section to select the option that fits.
Later on, if you find yourself in a situation where ‘Artistic Effects’ section doesn’t have the right options for you, you can change the view. To do this, click on the image and select the ‘Format Picture’ option. Then in the tab ‘Artistic Effects’ you can increase or decrease the fuzzy effect or choose another one by clicking on the icon on the right side opposite ‘Artistic Effects’.


