
In today’s world, everyone has an email. Most often people create an email for themselves in order to use it to register at various sites. As usually email is used to identify the person and users have hundreds of letters from these sites.
This makes it necessary to mark all incoming mail as read at once so that you don’t have to do it manually since most spam is stored in the box. Fortunately, this is very easy to do, it only takes a couple of clicks.
What to do to mark all emails as read on iPhone, iPad and Mac
E-mail is a technology that allows you to send and receive electronic messages on the Internet. Today, it’s almost impossible to lead a full life online without e-mail. You need it to register with online stores, social networks, work services, and tools, as well as to receive notifications, credit card statements, useful email newsletters, and letters from friends.
Many even have more than one, such as a separate email for work. Some use it to take notes on important documents and send them to themselves, so they don’t lose them and keep them for years to come.
All users who have e-mail, face the fact that the mail is full of incoming, unread letters. Most of these emails are site mailings, spam, or transaction confirmations, so there’s no need to open them. Usually, such emails accumulate for weeks or even months. To save time in a world where time is precious, you can mark hundreds of emails as read and even delete them with a couple of clicks.
What steps to take to mark all emails as read on iPhone, iPad and Mac
If you’re the kind of person who reads important emails and leaves others unread, you can mark them all as read with a few clicks. If you want to cancel read emails on your iPhone or iPad, follow these simple steps:
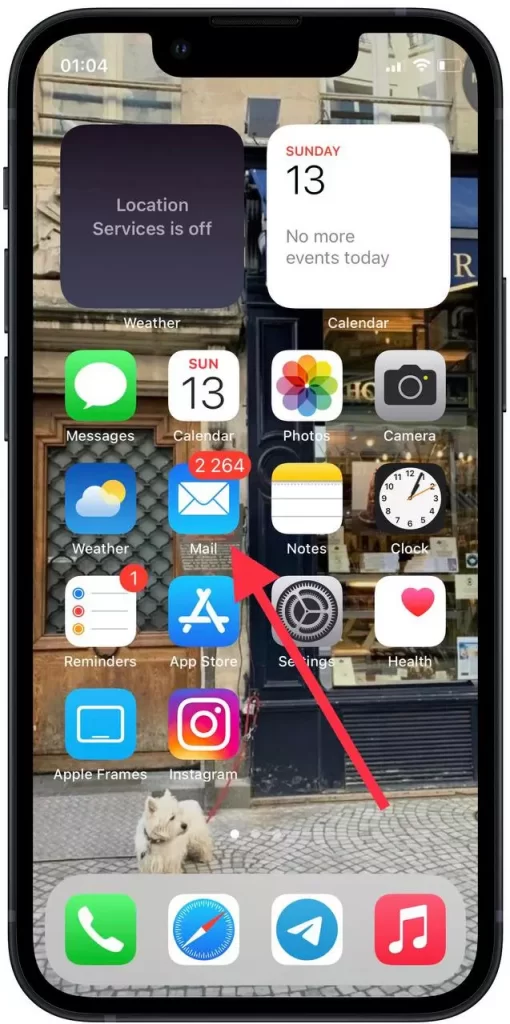
- The first step for this action, you need to open the Mail app on your iPhone or iPad.
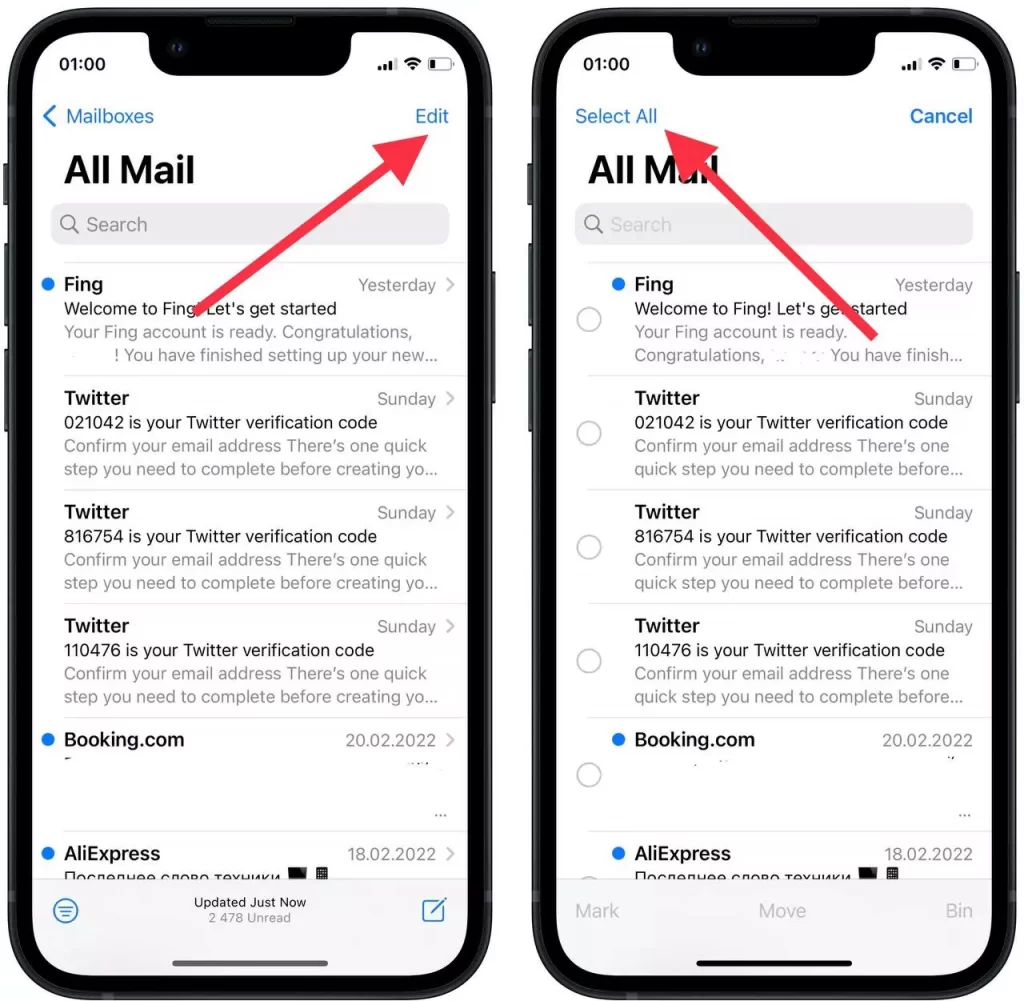
- After that, all unread emails will open in front of you. You need to click on ‘Edit’ to open an additional panel.
- After that you need to click on ‘Select All’ to highlight all unread emails.
- After you click ‘Select All’, all unread emails are automatically highlighted. You need to click on the ‘Mark’ button after that.
- Then a small window will open in which you should select the second option ‘Mark as Read’.
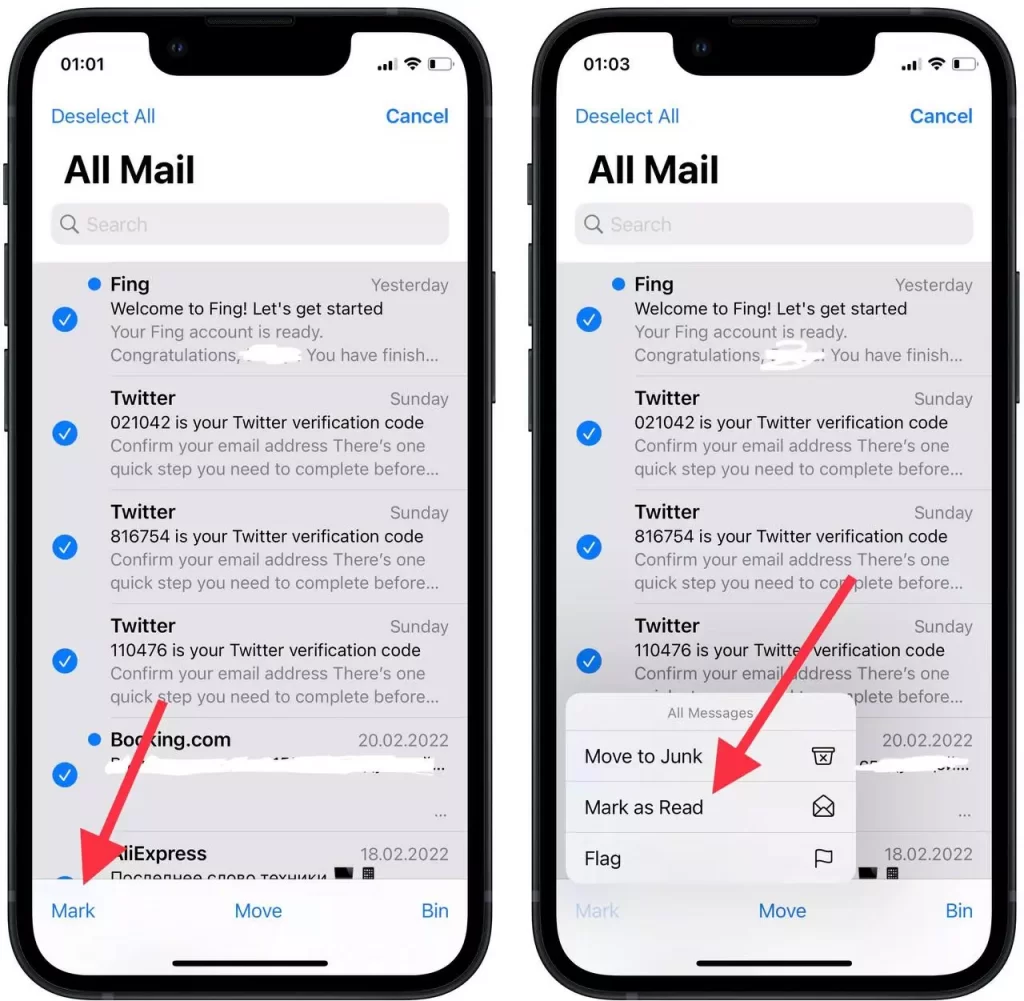
- After these steps, all of your emails will appear as read.
If you need to mark emails read on the Mac, it’s as easy and fast as on your iPhone or iPad. the only difference is that you need to make fewer moves. So if you need to mark as read using the Mac, follow these steps:
- Open Mail and select a specific mailbox. Select All Mailboxes to mark emails in all mailboxes at once.
- After that, hover your cursor over the desired mailbox at the top and a small pop-up window with all possible actions will open in front of you. You need to click on the sixth item ‘Mark all messages as read’.
Thus, after these few clicks, the messages will be marked as those that have already been viewed. It’s very convenient when you receive a lot of mail that you don’t have to look through urgently. Also, importantly, on the home screen at the top of the app’s label, the red marker with the amount of unread mail will disappear.


