
The fill handle is a handy autocomplete feature in Microsoft Excel that greatly simplifies data management. It appears as a small green square in the bottom right corner of the active cell or selected range. This feature allows you to quickly copy values and fill rows and columns, as well as automatically apply formulas to other cells with adjusted values. When you hover your cursor over the handle, the pointer changes from a large cross to a small cross, indicating that the fill handle is activated.
How to Copy Data Using the Fill Handle
The primary function of the fill handle is to copy the contents of one cell to multiple other cells. To do this, select the cell you want to copy, and then drag the fill handle in the desired direction. This will quickly fill other cells with the content of the selected cell.
You can also double-click the fill handle. Depending on the type of data in the cell, Excel will perform the appropriate action: if the cell contains a number, it will be copied to the other cells; if it contains a formula, Excel will automatically adjust the formula for each cell.
Autofill Options in Microsoft Excel
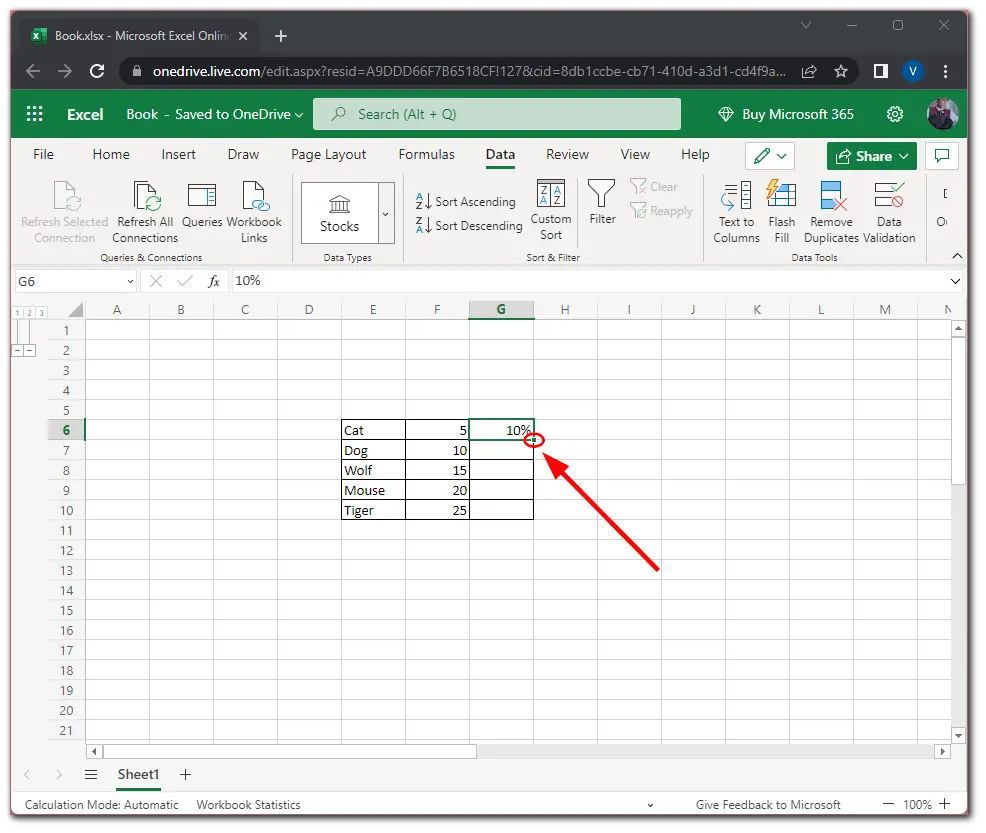
When you drag the fill handle, Excel recognizes data patterns and offers additional autofill options. After completing the operation, an “AutoFill Options” icon appears in the bottom right corner of the filled range. By clicking on it, you can choose one of the following options:
- Copy Cells: Copies the contents of the first cell to the rest of the cells.
- Fill Series: Fills the selected cells with consecutive values, starting from the first.
- Fill Formatting Only: Copies the cell format without the content.
- Fill Without Formatting: Copies the cell content without the formatting.
- Flash Fill: Recognizes data patterns and fills the list accordingly.
Additional marker functions
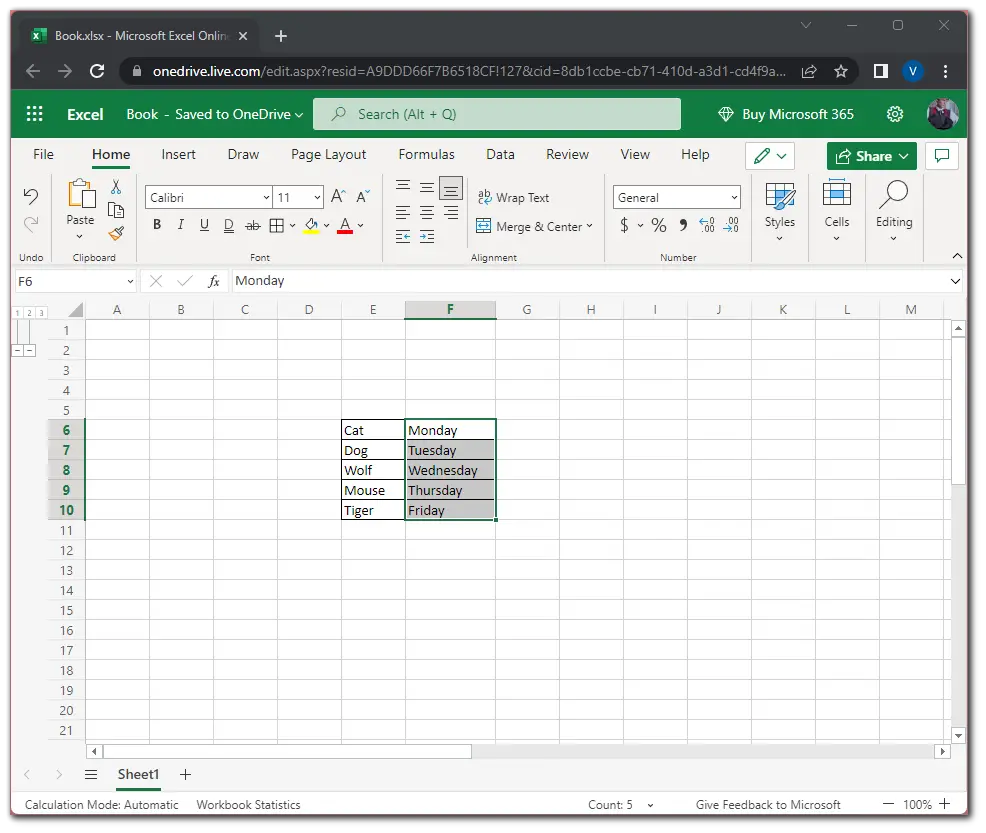
The fill handle can be useful not only for copying data but also for creating sequences of dates, numbers, and even text. For example, you can quickly fill a column with days of the week or months by simply starting with any day or month in the first cell and dragging the handle down. Excel will automatically recognize the sequence and continue it.
Additionally, if you have text that contains numbers, the fill handle can help you create a series of numbers by adding one to each subsequent number.
This feature not only saves time but also helps avoid errors that might occur with manual data entry.


