
The Find My app combines the function of searching for missing devices and allows you to share your geo-position with friends and family or see where they are at the moment. Today, Find My works on both iPhones and Macs, iPads, Apple Watches, and AirPods.
The purpose of adding AirPods to Find My is to secure your device. Since once you add AirPods, you will be able to see them on the map using your iPhone or Mac.
What to do to add Apple AirPods to Find My on iPhone
Apple’s Airpods are some of the most popular wireless headsets. However, at the same time, Airpods are quite small, which may make it necessary to find their location.
For starters, you need to turn on geo-location services so that you can track the device on a map. In your iPhone settings, select Privacy. Then select Geo-location Services and drag the slider so it’s green. In the same menu, you can also allow or deny access to all the apps and services that want to know where you are.
To add Apple AirPods to Find My on iPhone you need to follow these steps:
- The first step is to pair your iPhone and AirPods.
- Then open the settings on your iPhone.
- Next, click on your name at the top and then on iCloud.
- Then scroll down and select Find My.
- You need to click Find my iPhone again.
- Move the switch to On for Find my iPhone and send the last location.

The most important thing about this is that your iPhone and AirPods are paired. Devices paired with your phone will automatically be set up when you set up this feature, including AirPods.
What to do to add Apple AirPods to Find My on Mac
It’s pretty much the same on the Mac. The most necessary thing is to have geolocation enabled on your Mac and then connect the AirPods to the Mac. After that, your AirPods will automatically show up in your device list in the Find My app. To track if your AirPods have been added, you need to follow these steps:
- Open the Settings app on your Mac.
- Then select your Apple ID.
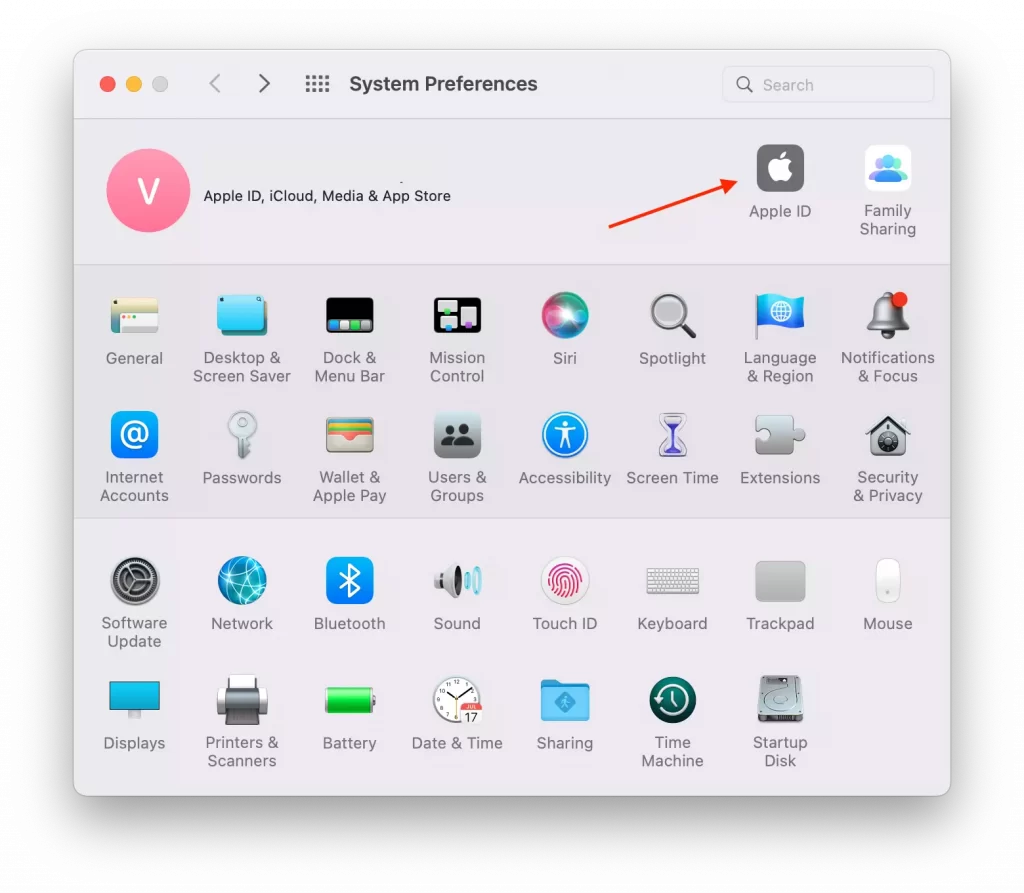
- Next, click on Options in the Find My Mac section.
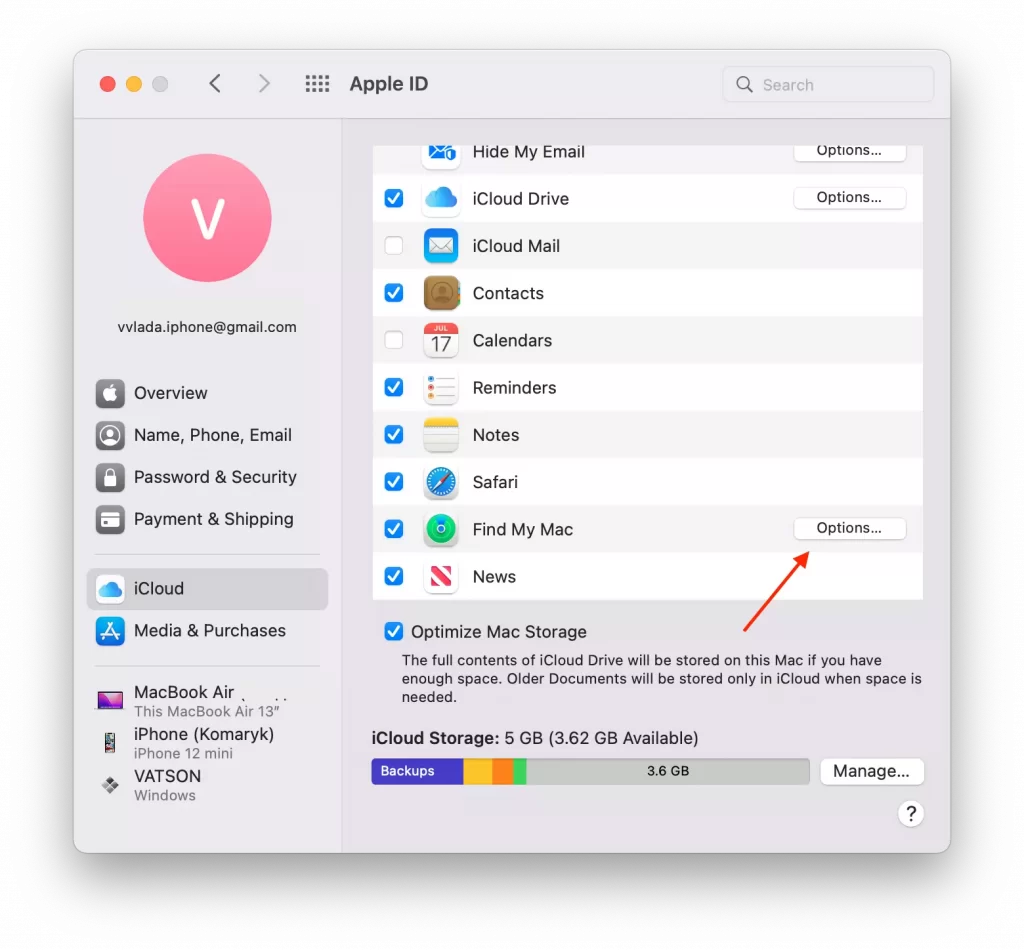
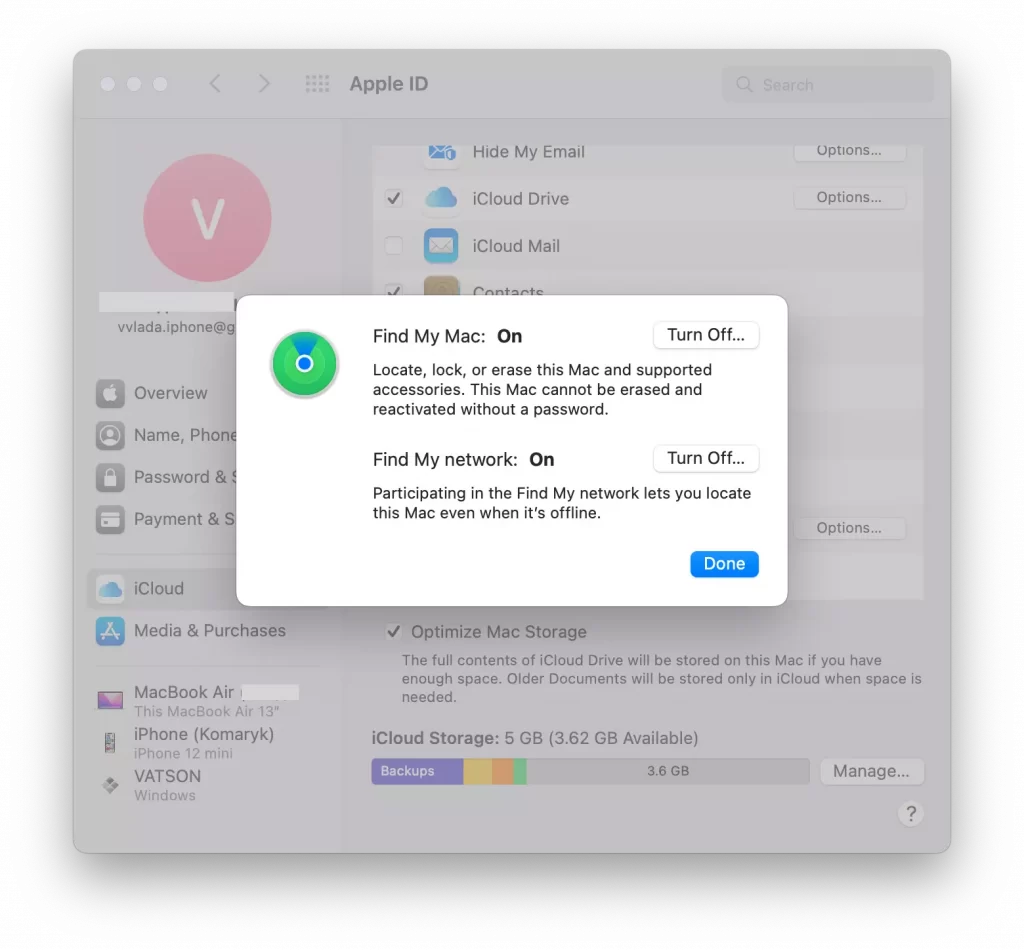
- Then make sure all the items are enabled, then you can see the following.
- Select Launchpad on your Mac and from the list, select Find My.
- Then launch the app and confirm that you want to use your location data.
- Then you will be listed with all of your devices, including your AirPods.
Now you can be sure that if you lose your device, you can always see at least its last geo-position. And in the case of Mac, iPhone, iPad, Apple Watch and iPod, you can also lock access to it.
It’s important to set up this app as soon as you get a new Apple device. If you want to track something after it’s been lost, this feature is useless.
How to find your AirPods when not online
This may be especially true for many people who aren’t yet familiar with how the Find My app works. Even if your AirPods are out of range, drained, or not online you won’t be able to find out their exact location at that moment. This can be a significant problem.
Even so, you’ll be able to see the last place and time the AirPods were online. So in some situations, you’ll be able to roughly figure out where the AirPods may have gone missing.
Also, keep in mind that the ‘Play Sound’ button isn’t available if the AirPods are offline. You can still press the ‘Play Sound’ option, and if the Airpods come back online, Apple will initiate an audio alert.
If someone picks up your Airpods earbuds and plugs them into their device, you can no longer track them because the earbuds are now connected to the other person’s iCloud account.


