
Sometimes, it is necessary to protect documents from being copied or used without your permission. A watermark is a great solution if you want to give your document uniqueness. Although Google Docs has many different features, there is, unfortunately, no feature to add a watermark. However, there is one method that can help you.
You can create your watermark using Google Drawings. It will be a background image that can be placed behind the text. After that, you can easily apply this image to each page of your document by adding it to the header or footer, for example. So, here’s what you should do to add a watermark to your Google Docs document.
How to create a text watermark in Google Docs using Google Drawings
Google Drawings allows you to create graphs, charts, and basic images that you can use in other Google apps. So, if you want to create a text watermark for your Google Docs document – follow these steps:
- First of all, open Google Drawings.
- After that, give a name to the watermark you want to create.
- Then click “Insert” and choose “Text Box”.
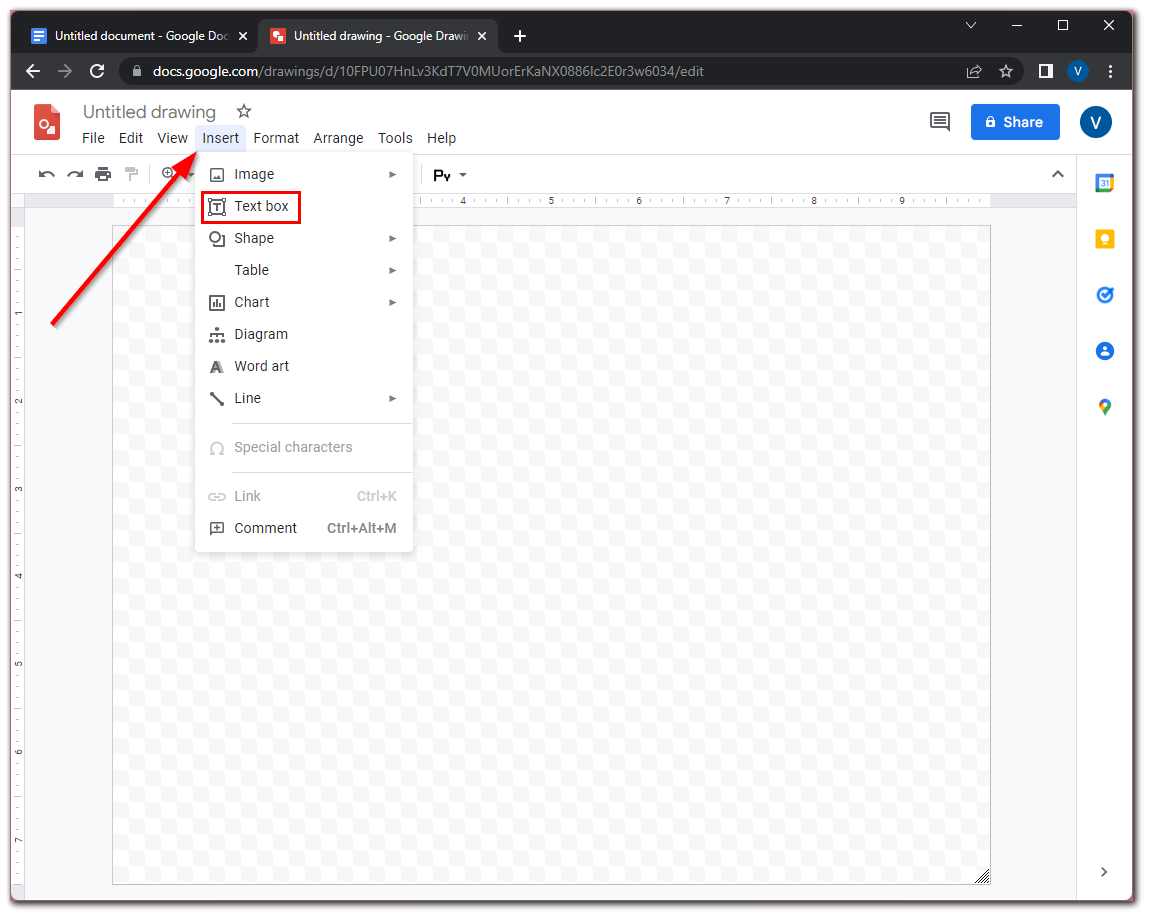
- Click anywhere on a blank page and drag it to create a text box. The text box can be large or small, depending on your preference.
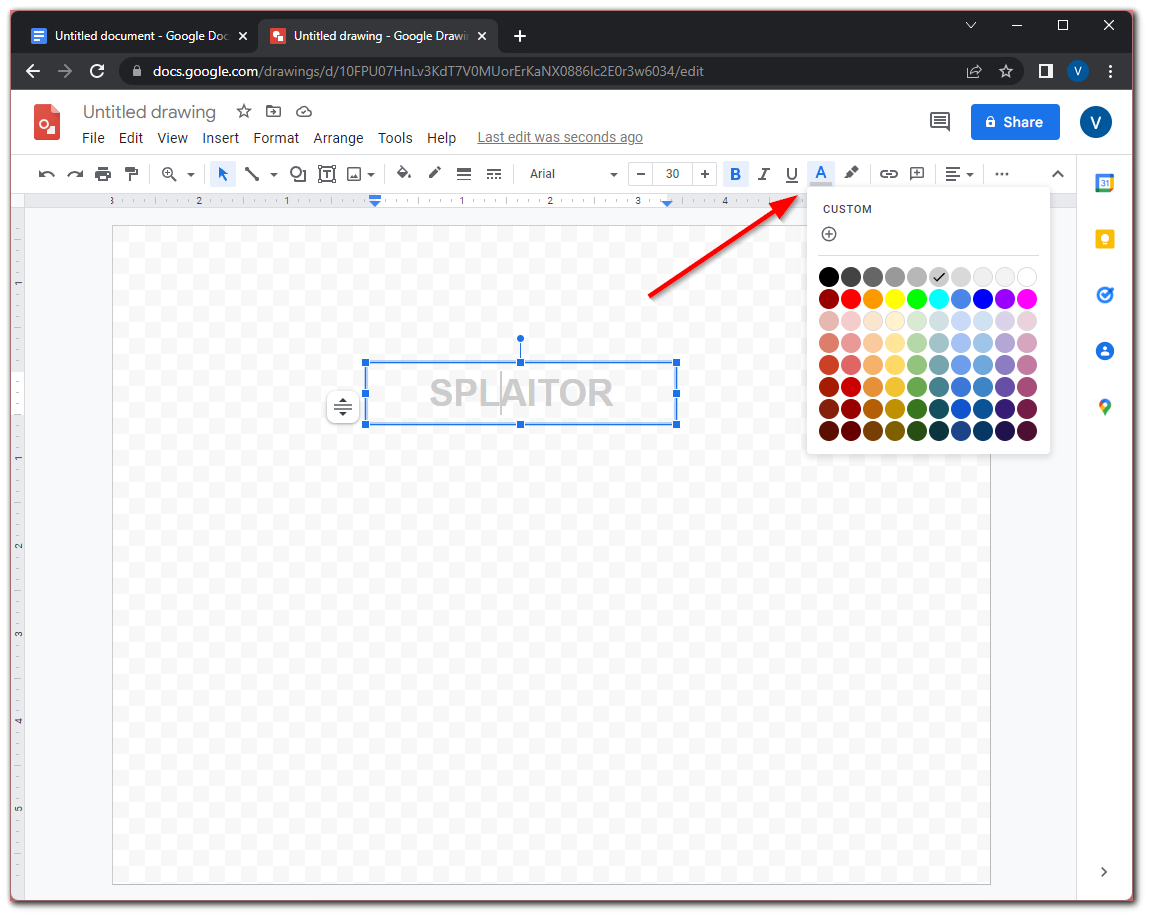
- Enter the text you want and edit the text if necessary. You can change font type, weight, size, color, etc.
- Then, select a lighter color option, such as light gray. This ensures that your text watermark won’t darken some parts of your document.
- Finally, click “Arrange” and choose how the text is displayed. You can position the text watermark horizontally, vertically, or at some angle. Alternatively, you can click the circular button at the top of the text to easily rotate it at different angles.

If you are satisfied with the text watermark you have created in Google Drawings, you can save it and go straight to How to add a watermark to the Google Docs document. If you want to add a watermark as an image, continue reading.
How to create an image watermark in Google Docs using Google Drawings
If you want to create an image watermark for your Google Docs document using Google Drawings, you can follow these steps:
- Open Google Drawings.
- After that, give a name to the watermark you want to create.
- Then, click “Insert” and choose “Image”.
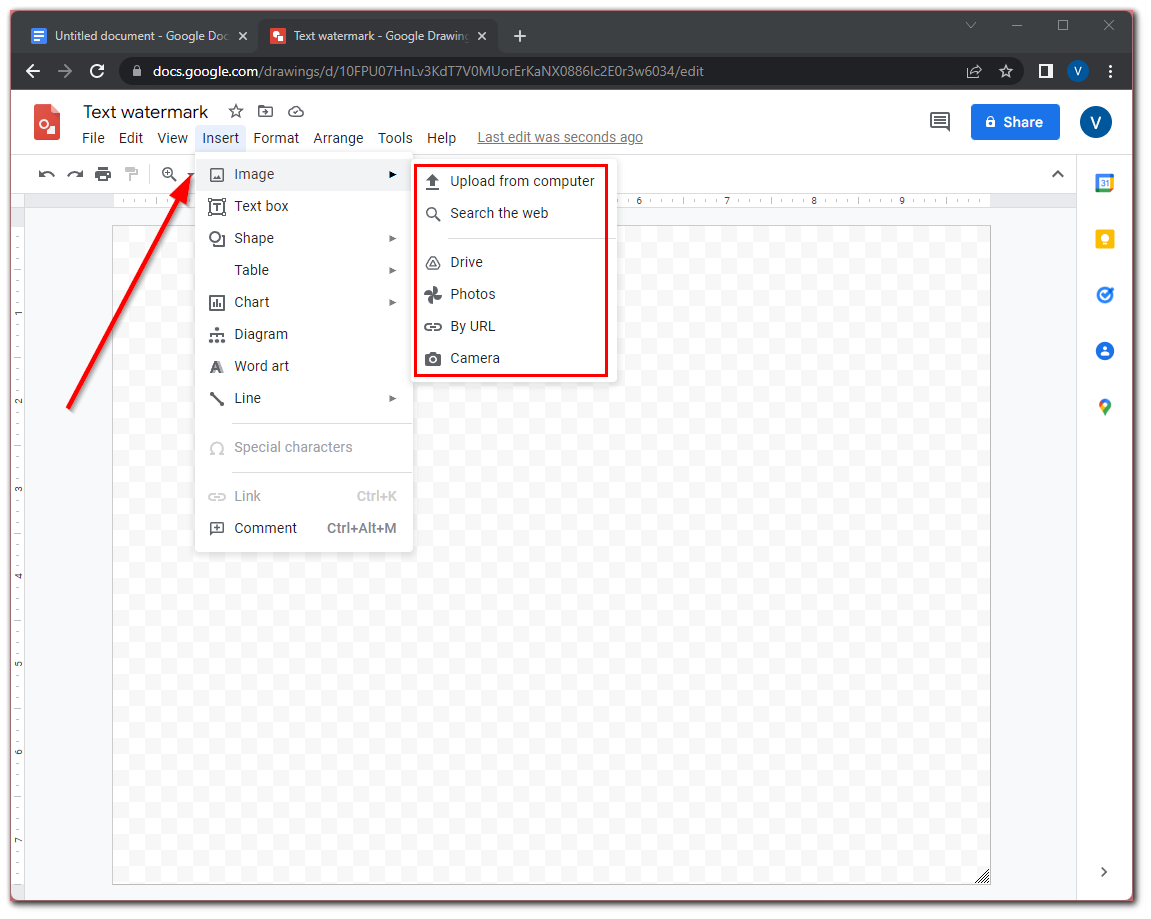
- Next, upload an image you want to create as a watermark. For best results, use an image without a background.
- Click on the image to choose it.
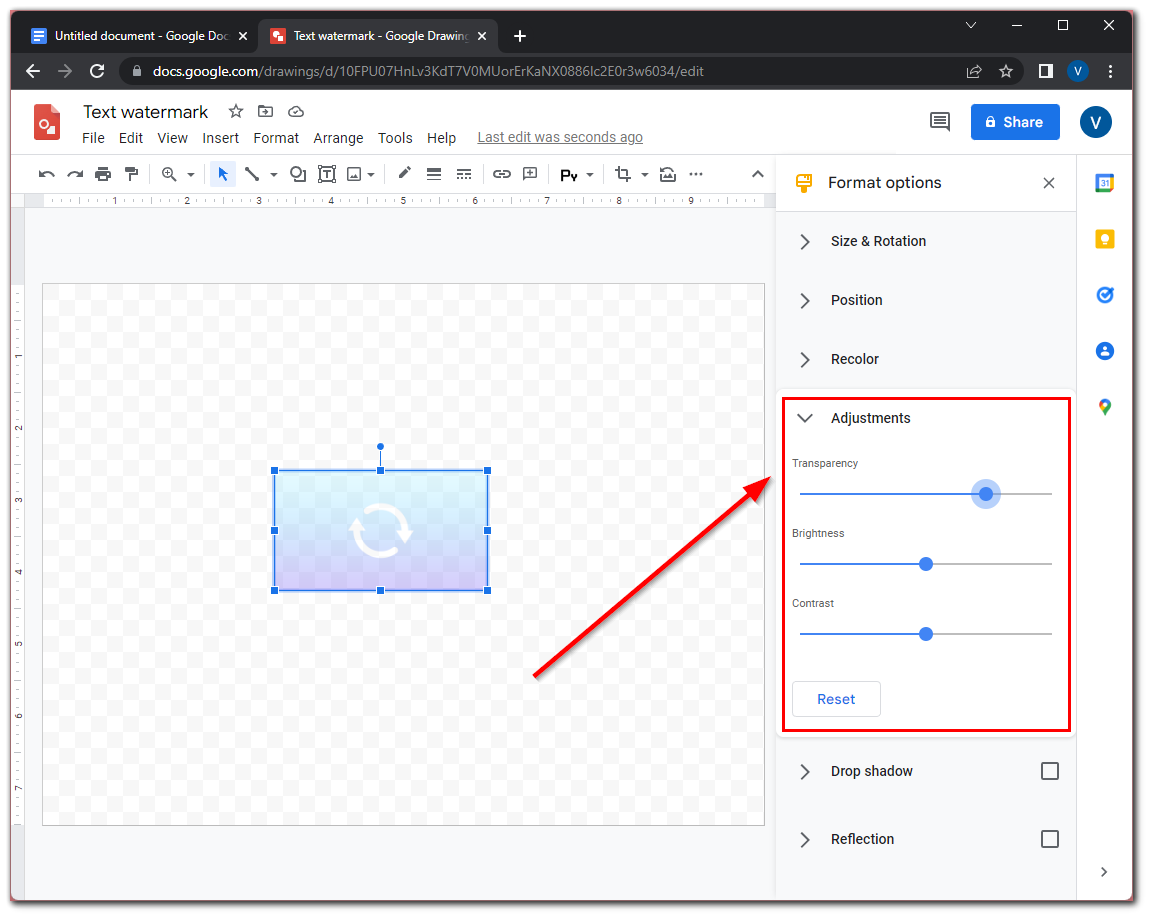
- Click “Format” and select “Format options”.
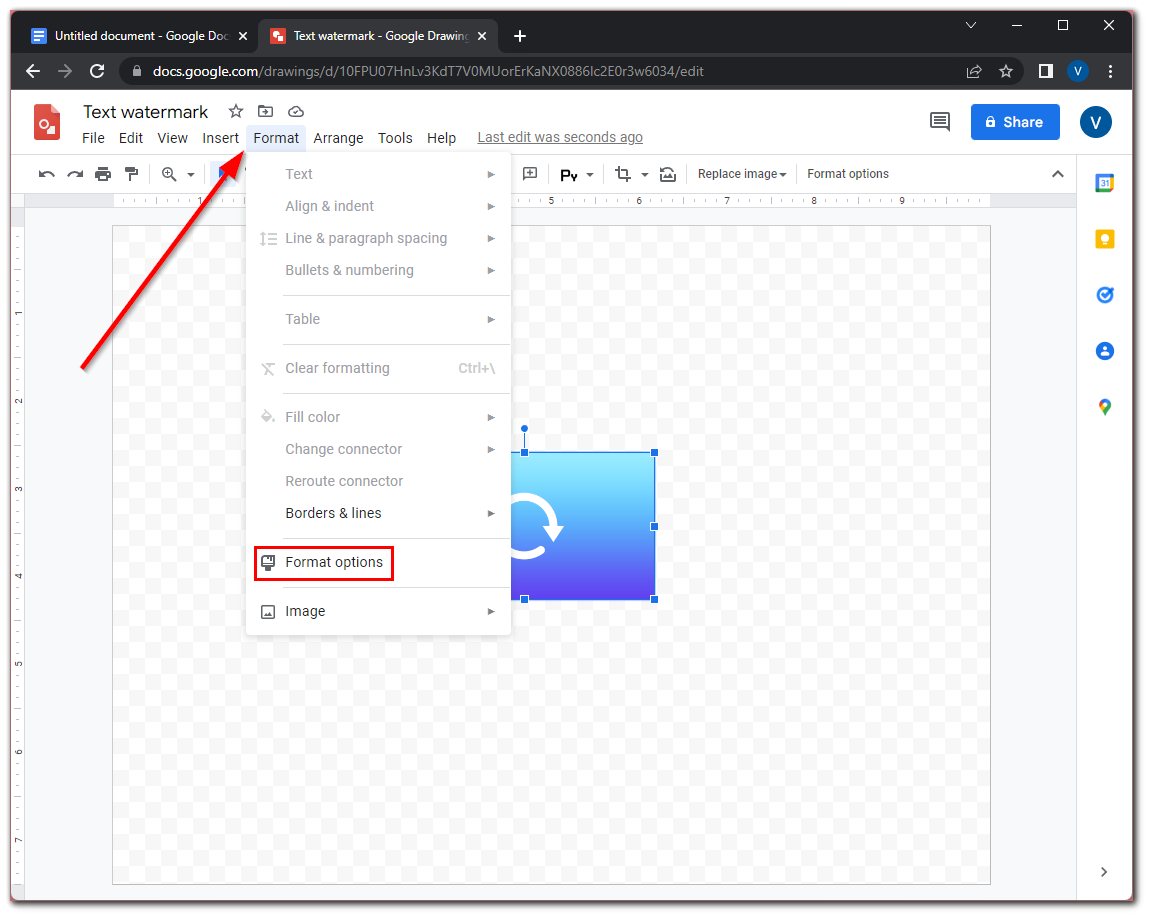
- Now, go to the “Adjustments” section.
- Set the transparency, brightness, and contrast to the desired level. Since the image will be used as a watermark, it is important to make sure that it doesn’t make the text above it difficult to read. You can easily rotate it then in your Google Docs document.
Once you’ve completed these steps, Google Drawings will save the newly created watermark automatically in your Google account. Frankly, a text watermark looks much more interesting, accustomed, and pleasant, as far as I am concerned. Since a bright picture can blend in with the text. So it’s a good idea to either make it black and white or make a text watermark.
Read Also:
- How to draw on Google Docs
- How to center the text on Google Docs
- How to add handwritten signature to Google Docs
How to add a watermark to the Google Docs document
Unfortunately, Google Docs doesn’t let you place a watermark behind any text. If you want the text to overlap the watermark, you need to add it to the watermark using the text box just before you insert it.
If you want your watermark drawing to apply to all of your pages without disrupting your text, you’ll need to add it to your header or footer. To do so – follow these instructions:
- Open the Google Docs document where you want to add a watermark.
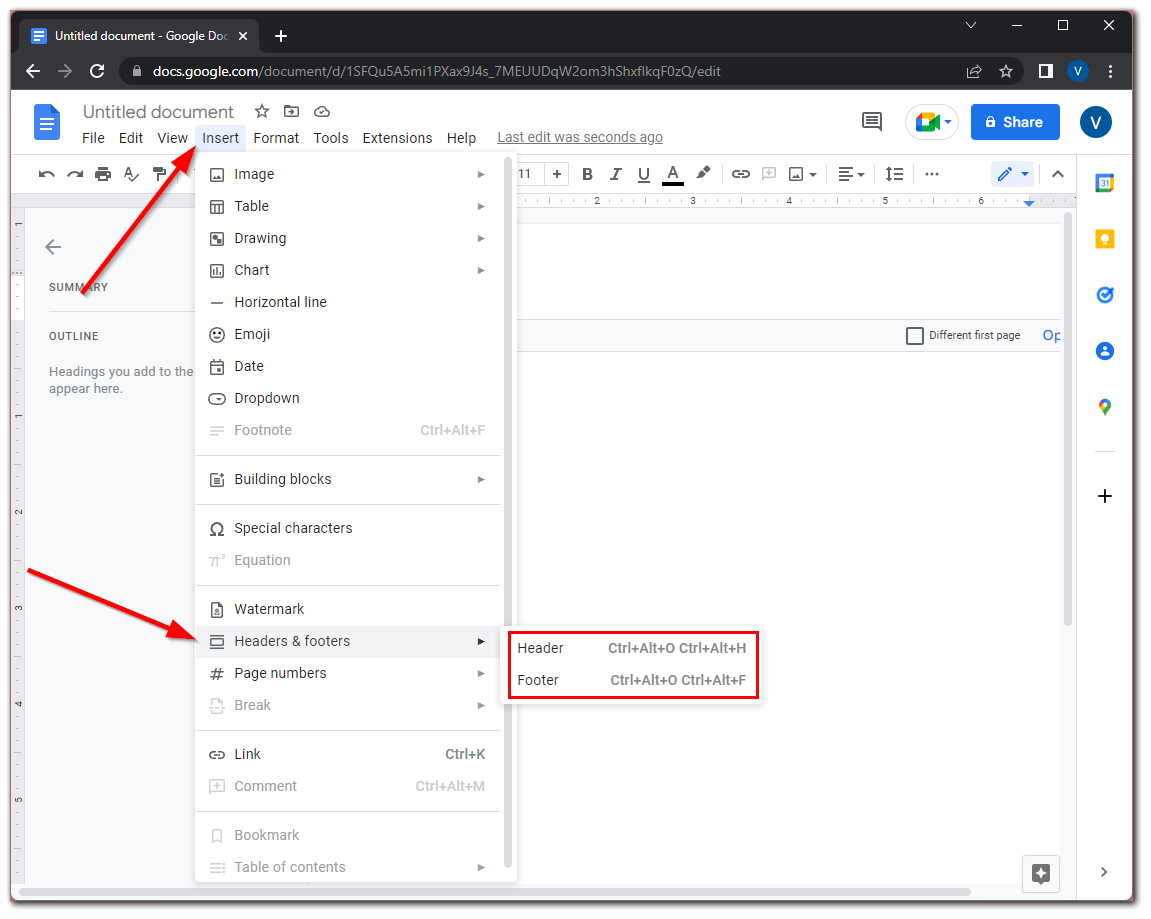
- Next, click “Insert” and select “Headers & Footers”.
- Then choose either Header or Footer.
- After that, click “Insert” again and select the “Drawing” option.
- Click “From Drive” and add your watermark.
- In the appeared dialog window, click on your watermark image and click “Select” to add it to your document.
- Now, you can choose “Link to source” to have the image link saved in the document, or “Insert unlinked” to add an image without a link.
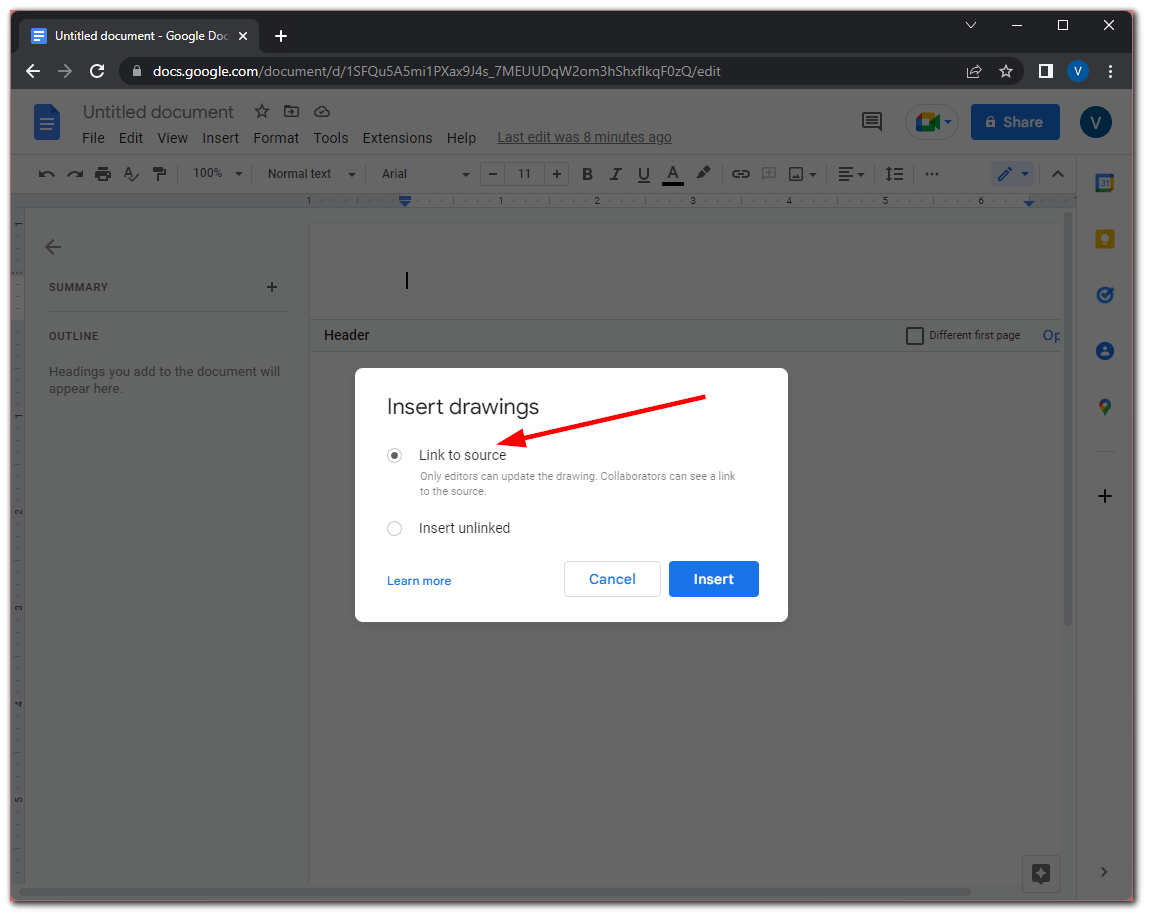
- Finally, click “Insert”.
Once you have completed these steps, you will see the watermark at the top of your Google Docs document page. You can change the size of the image using the resize border options. Then move the image to the desired position with the mouse.


