
Thanks to its streamlined user interface and accessibility across many platforms, Google Docs has become one of the best-known word processors in the world. Millions of users use the app every day to take notes, create lists, compose award-winning documents, and more. If you use the app – whether on a mobile device or a PC – to create multiple documents every day, you can get into a pretty tricky situation.
This becomes even more of a challenge if you don’t use individual documents to record your thoughts. To get rid of these annoyances and fix unsorted documents, you should look for a process by which you can make even the most complex documents easy to read.
In Google Docs, you can arrange alphabetically. However, you won’t find this feature initially within the app. Fortunately, Docs supports many add-ons. All of them are available through the Google Workspace Marketplace. This takes its effectiveness to a whole new level. One of the add-ons is the alphabetical paragraph index.
Well, if you want to alphabetize in your Google Docs document, here’s how you can do it.
What does alphabetizing mean
After alphabetizing your document, the paragraphs will be sorted by the first letter of their first word. This tool is especially useful when you want to sort large, unorganized documents – preferably lists.
Because of the nature of the sorting, the formatting of your document may be compromised. So, if you stick to strict formatting, it’s best not to put your document in alphabetical order.
“Sorted Paragraphs” is a free add-on for Google documents that allows you to sort paragraphs or a list of Google Docs. Paragraphs or a list can be sorted alphabetically or in reverse alphabetical order. As you know, unlike Google Spreadsheets, Google Docs doesn’t have a built-in feature for sorting lists in a document. So, instead of using Google Spreadsheets or another third-party app, you can use this handy add-on.
How to add Sorted Paragraphs to Google Docs
If you want to install the Sorted Paragraphs add-on in Google Docs, you have to follow these steps:
- First of all, sign in to your Google account and go to the Google Docs.
- Open the document you want to alphabetize.
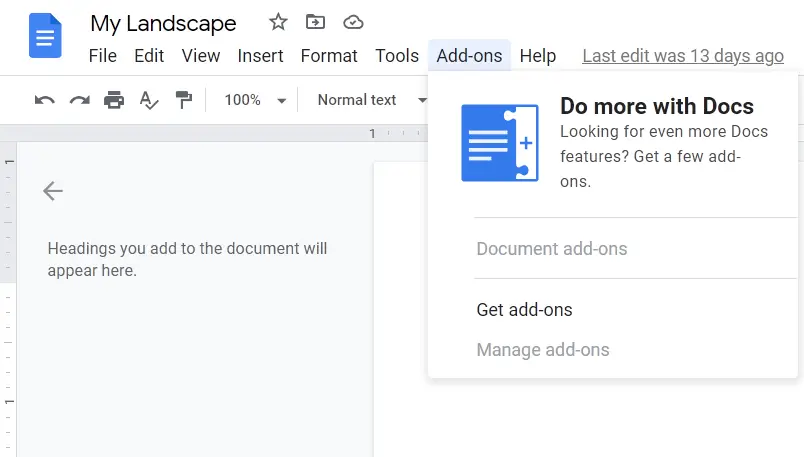
- Then, click on the “Add-ons” tab and select “Get add-ons”.
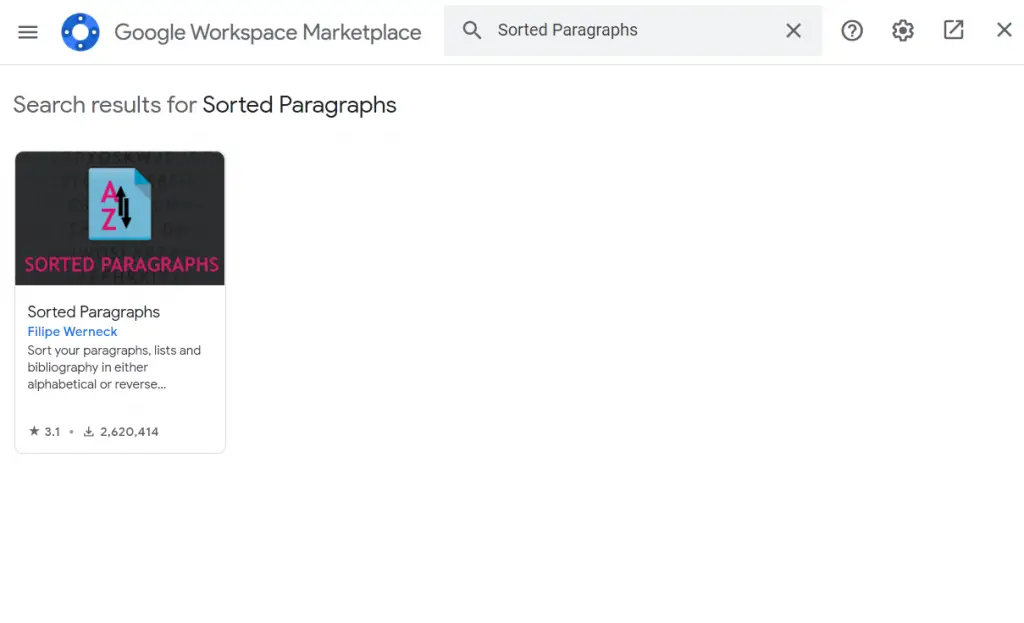
- The Google Workspace Marketplace window appears. Enter “Sorted Paragraphs” in the search field at the top and click on it.
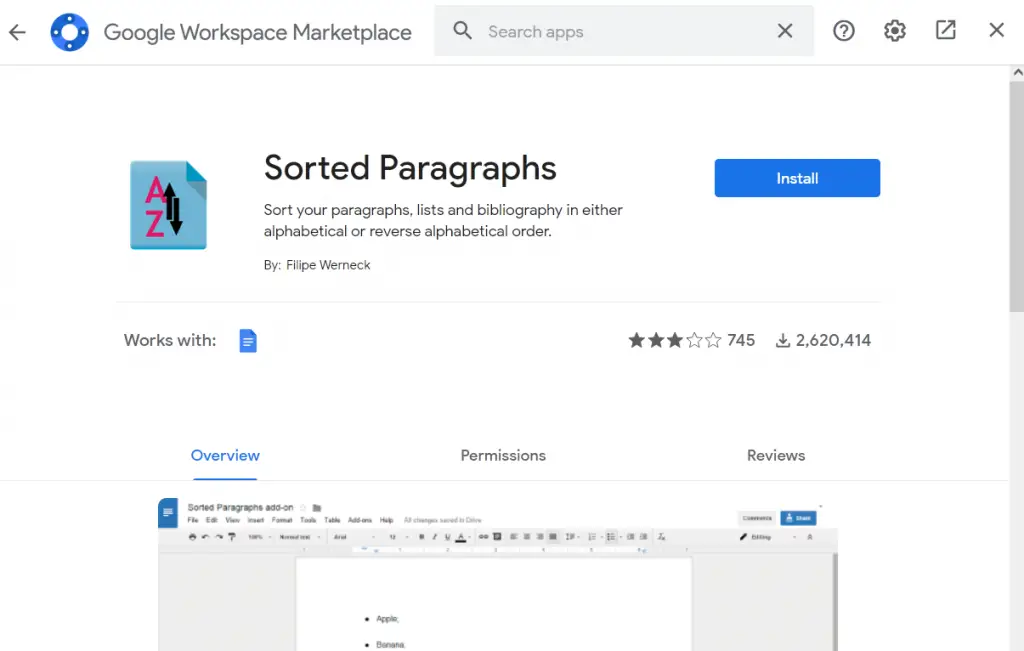
- After that, click on the “Install” button and then select “Continue”.
- Select the Google account you want to add it to.
- Finally, confirm your choice by allowing Sorted Paragraphs permission to be set on your Google account.
Once you have completed these steps, you will install the Sorted Paragraphs add-on in Google Docs.
How to use the Sorted Paragraphs add-on in Google Docs
If you want to use the Sorted Paragraphs add-on to alphabetize your Google Docs document, you have to follow these steps:
- Highlight the paragraphs you want to sort.
- After that, click on the “Add-ons” tab in the taskbar at the top.
- Now, select “Sorted Paragraphs” from the drop-down menu.
- Finally, choose “Sort A to Z” or “Sort Z to A”.
Once you have completed these steps, your Google Docs document will be alphabetized.
Keep in mind that paragraph intervals may be broken, so be prepared to press Enter a few times to get everything back into place.
What is change log in Google Docs
Imagine the situation: you wrote the coolest “long-read” for a week, and then you deleted some of it. Then you add some more and suddenly decide that the last version was still better.
Open the “File” menu and click “Version History”. After that, select “See version history”. Now click on the inverted triangle icon.
Huge history of versions of the document opens. You can select any stage and see how it differs from the current text. From here you can copy deleted fragments or just roll them back to the desired version.
How to allow access to certain users in Google Docs
If you want your work to be seen not by just anyone, but by certain people, give them personal access.
You can send an invitation to users by mail and give them one of 3 levels of access. Inviting only works with people who have a Gmail account. In other words, you can only give an individual access to people who have an @gmail.com account.
Click the “Share” button at the top right. Enter email addresses or names (if they’re in your address book) and select what permissions you want to grant to these people.


