
While working on a computer, sometimes, may occur some difficulties and it’s the best part when you are able to quickly undo any mistakes you make. This contains any undos you do by mistake. The redo button can save so much time and effort.
What are Mac keyboard shortcuts for undo and redo commands
The best part is that shortcuts may save you so much time and effort to complete an action. There are two most important keyboard shortcuts to know such as the Undo and Redo shortcuts.
Undo and redo have default keyboard shortcuts that come initially with your Mac, and that work in all Mac programs.
For undo, that keyboard shortcut is Cmd + Z. For redo, that keyboard shortcut is Shift + Cmd + Z.
It is perfect to have matching shortcuts, as it would be easier to remember them. Some users aren’t satisfied with them as they are too close, to their minds. Some of the users would better have redo not have an additional key involved. Your Mac keys can always be remapped in order to change them.
How to Undo File Deletions
There are some cases that pressing the undo button or keystroke can’t fix. This can contain unlading your trash, which permanently deletes files.
There is a sort of undo you can accomplish if you’ve deleted a file you didn’t want to delete.
- If you have already backed up your Mac with Time Machine, you can head to your Time Machine backup disk in order to locate earlier versions of the document that was removed and tap on the Restore button to take the document back on your Mac.
- Your local snaps would be also saved every hour, even in case there was no backup disk plugged in for a period of time after you have started using Time Machine. It is possible to go through those snapshots and click on the Restore button. This will save files as well.
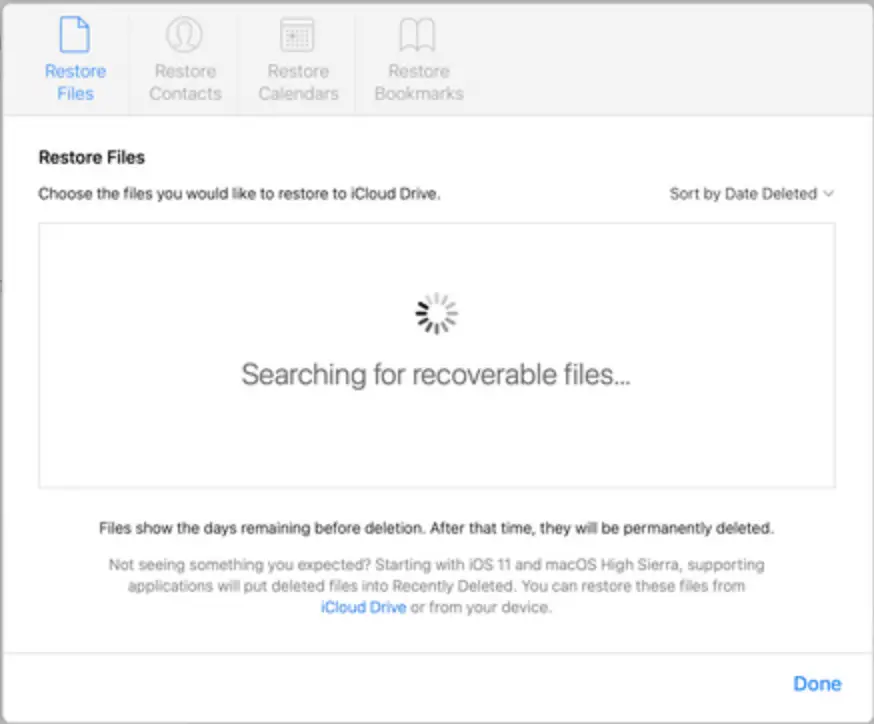
- In case your files have been saved to iCloud, the removed files can be restored from there too. To do that, you should log into iCloud.com and then you should go to Settings, after that you should scroll down to Advanced to locate Restore Files.
- Then, you should locate the file you want to take back from the list that will be displayed, and check the box which is located behind it. Then you should tap on the Restore Files to take it back on your computer
Similar options to Time Machine for file restoration are also offered by other backup software and cloud storage services.
Even for those files that have been lost before you have started backing things up, they can also be recovered. Even after the Trash have been emptied, the removed files would still use some storage space till the Mac starts overwriting that space when other data and documents are made and saved.
Keep in mind, that you shouldn’t use your Mac for much of anything to avoid that overwriting. You should also remember, to get some data recovery software to be able to find the file you want to get back.
After it has been found, you should be able to add the lost file back to your computer using the data recovery software.


