
The blue screen with the text PAGE_FAULT_IN_NONPAGED_AREA in Windows occurs for a variety of reasons. The text of the error message may contain information about the file (and if it doesn’t, you can view this information in a memory dump using BlueScreenView or WhoCrashed) which caused it, among the most common variants are win32k.sys, atikmdag.sys, hal.dll, ntoskrnl.exe, ntfs.sys, wdfilter.sys, applecharger.sys, tm.sys, tcpip.sys, and others.
The BSOD PAGE_FAULT_IN_NONPAGED_AREA (STOP 0x00000050, 0x50) is usually caused by problems with driver files, faulty hardware (RAM, but not only, however, it can also be peripherals), failure of Windows services, the wrong or incompatible programs (often – antivirus), and the integrity of Windows components and errors on hard drives and SSD. The essence of the problem is the wrong memory access when the system is running.
What is Page Fault in Nonpaged Area error
Page Fault in Nonpaged Area is a standard Windows problem, usually related to RAM failures. It can be found in all versions of Windows, such as 10 / 8.1 / 8 and 7. The error appears as a blue screen of death after a system crash. The error that pops up means that the PC was unable to query the memory page, preventing Windows from working properly. Windows will then automatically start collecting data and fixing the problem, leading to a reboot.
Unfortunately, the automatic recovery process isn’t always successful. Instead, sometimes people are unable to log in because a blue screen keeps popping up when trying to start the computer. The “PAGE_FAULT_IN_NONPAGED_AREA” error is often related to memory configuration failures or hardware corruption.
However, since this type of problem exists and has been affecting most Windows users for a long time, we have put together a list of the most effective and proven tools to help you troubleshoot this problem in the article below. When the blue screen appears for the first time, check its cause, restart, and continue working. If the situation occurs again, look for the source of the blue screen and take measures to eliminate it.
Read Also:
- How to enable/disable user account control (UAC) in Windows 11
- How to find saved passwords on the laptop
- How to change the font size in Windows 10
Can a damaged disk cause an error
Local disk errors can be one of the biggest causes of all the problems that occur with regular use. Fortunately, Windows provides a built-in way to check your disk for errors and fix them instantly. Here’s how you can do it:
- Find Command Prompt, by typing cmd in the search tab.
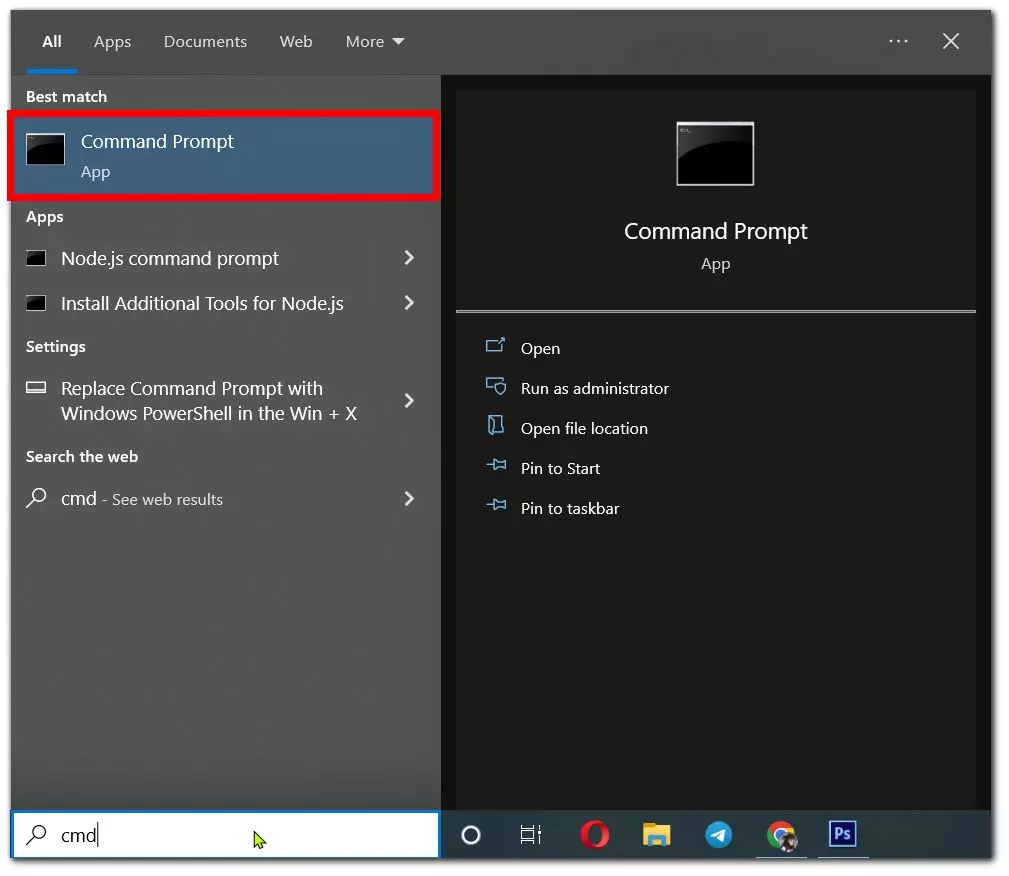
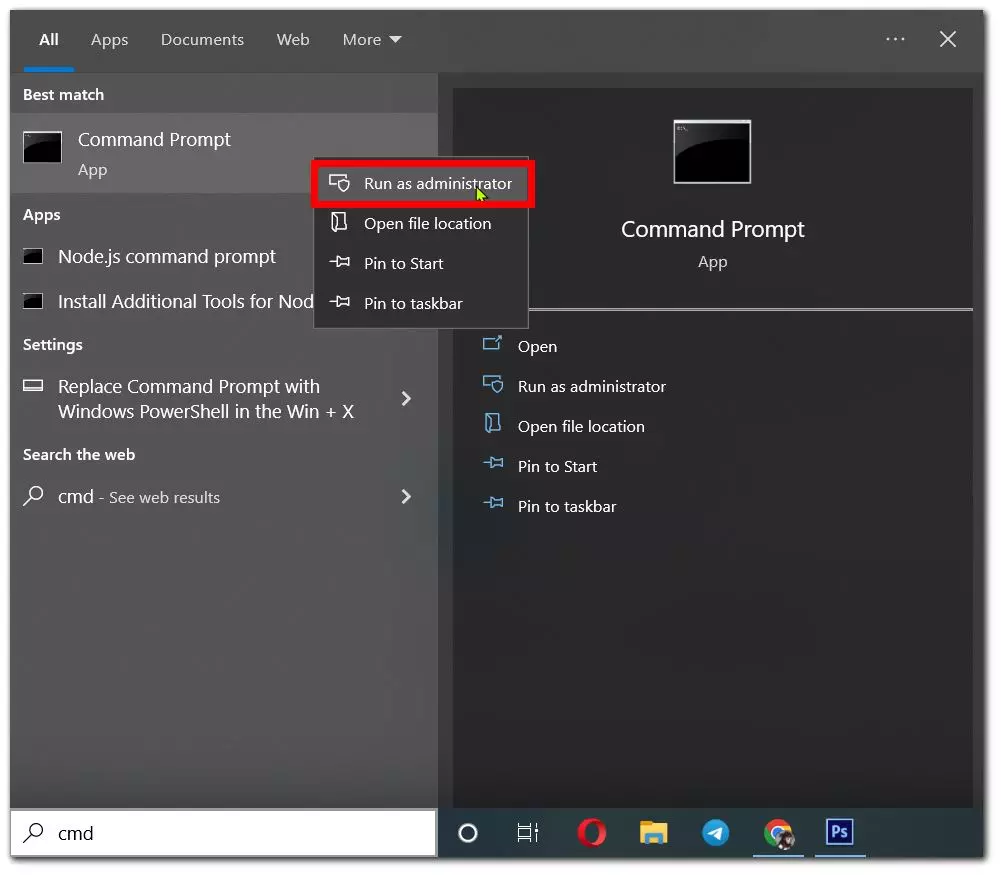
- Then right-click on it and select Run as administrator.
- In the black console, you should type chkdsk /f /r C: command and press Enter. If necessary, replace “C” with the letter of your hard drive.
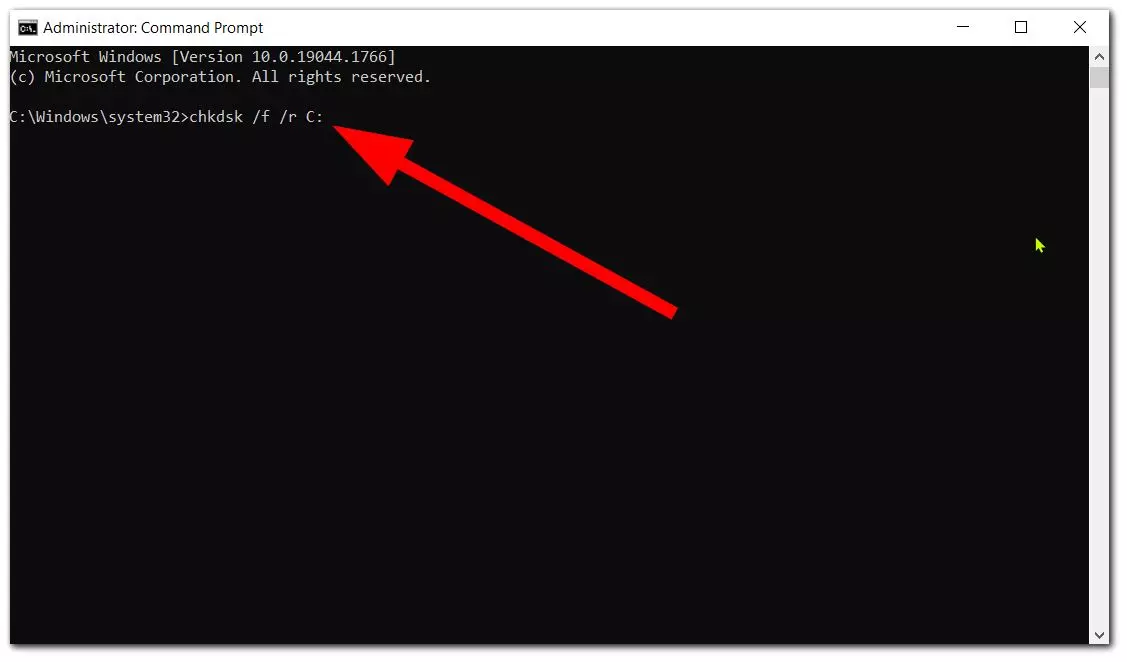
- The system will scan for proper configuration and physical errors and then automatically fix them.
As you can see, there’s nothing complicated here, you just need to use a couple of commands to get the desired result. Most likely the problem will be fixed. If not, follow the methods below to get rid of the problem.
Can a rollback to a previous configuration help
Start encountering the “PAGE_FAULT_IN_NONPAGED_AREA” error suddenly after new system updates or accidental changes that led to this problem. You can try to revert to previous settings that previously worked without failure. Using the “Last Successful Configuration” option is only possible with Windows 7. To do this, we are going to use additional Windows settings, which are described below:
- Turn off your computer completely.
- Then turn the computer on and press and hold F8 (or F2 if F8 doesn’t work) just after you see a black screen at the beginning of the boot.
- After that, you should see a Windows Advanced Options menu appear.
- In the menu, use the arrow keys on your keyboard to find Last Successful Configuration and then press Enter.
Alternatively, if you can’t boot your computer normally because of a perpetual error, you can run it in Safe Mode with default settings and try to run the necessary solutions:
For Windows 10 users:
- Turn off your computer completely. Then press the power button and press F11 several times until you see the Windows Recovery Environment.
- Then go to Troubleshooting and Advanced Options and select the Boot Options option.
- After that, click Restart. Windows will then reboot and a list of options will appear.
- Among the list, select Enable Safe Mode with the numeric keys.
For Windows 7 / 8 / 8.1 users:
- As above, when restarting your PC, hold down F8 or F2 to enter Windows Advanced Settings. If you’re using Windows 8, try holding F8 with Shift. Note that this may take a few tries.
- Then select the Safe Mode option and press Enter.
You’ll then be able to log in with the default configuration. You can then run a disk scan via the command line as we did earlier.
Is the Windows memory diagnostic option effective
The “PAGE FAULT IN NONPAGED AREA” error can be triggered by a faulty RAM. This doesn’t necessarily mean that you should rush to buy and replace the malfunctioning memory. Instead, you should first try to scan your RAM for integrity and let Windows fix the problem you find. The instructions below are available and identical for all versions of Windows:
- Type mdsched in the search bar next to the Start Menu.
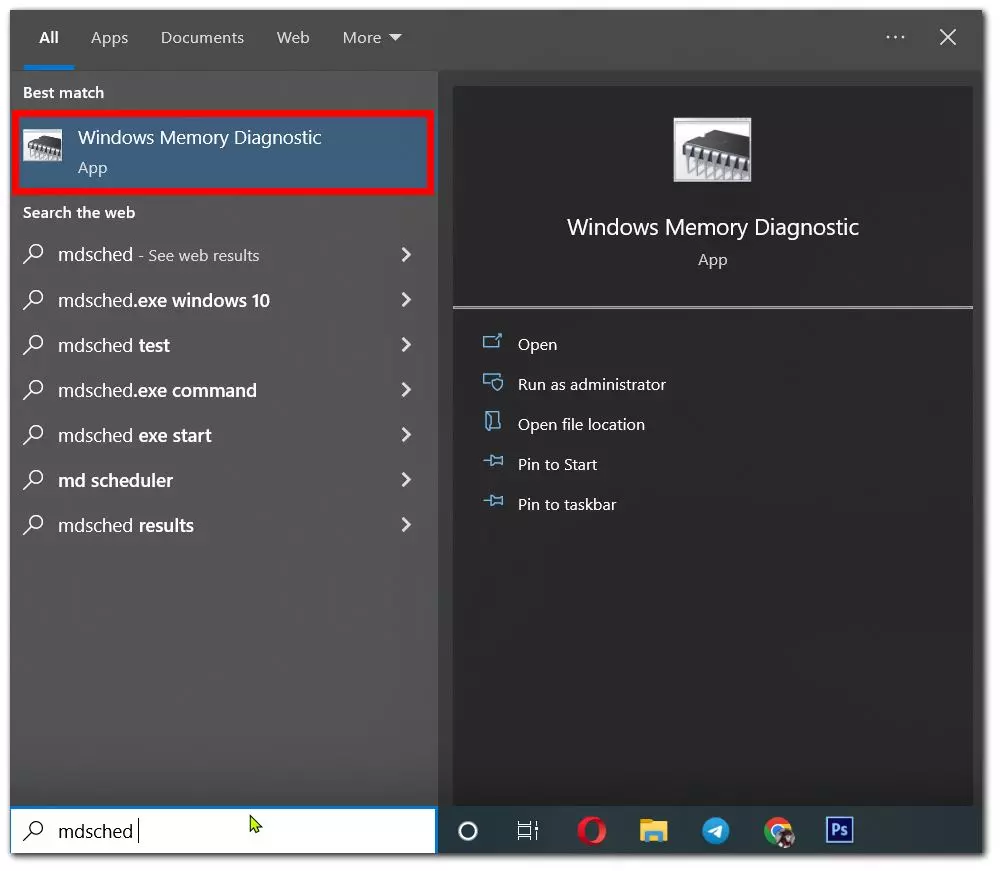
- Once opened, you’ll see a new tab with two options.
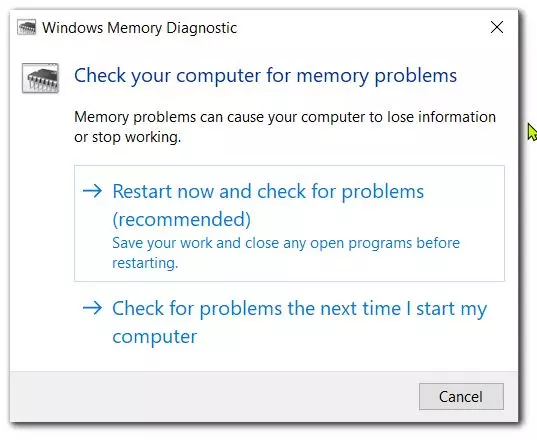
- Depending on which one you choose, Windows will scan your RAM for errors and recover them instantly.
It’s very simple, the error should be found by Windows and you just have to follow the recommendations to solve the problem permanently. Finally, you can see if the error has disappeared.
How to update the drivers in such case
Outdated or faulty drivers are also considered frequent causes of memory-related failures. That’s why you should try to check your drivers for new updates and install them consistently. You can update them manually or with the IObit Driver Booster utility, which will automatically find outdated or missing drivers and replace them. To run a manual update, follow the instructions below:
- Left-click on the Start Menu and select Device Manager.
- If you don’t know which driver is causing the problem, update them one by one. Right-click on each one and select Update Driver. Sometimes faulty drivers are marked with a yellow triangle.
- Allow Windows to find new drivers and download them by following the instructions on the screen.
Restart your computer and see if anything has changed since the update. If not, go to the next method below. By updating drivers and other programs at the same time, you avoid conflicts in the future and improve the quality of your system. Don’t forget to check for updates periodically.
Read Also:
- How to clean cache on Windows 11
- Windows 10 sleep mode not working – how to fix
- How to switch the mouse buttons in Windows 10
How to disable automatic paging file detection
If none of the previous methods fixed the problem, disabling automatic paging file detection may help in fixing the “PAGE_FAULT_IN_NONPAGED_AREA” error. And here’s how to do it:
- Whatever version of Windows you’re using, go to My Computer and right-click on an empty space.
- Then select Properties and go to Advanced System Settings.
- Go to Performance Settings and select the Advanced menu.
- In the window that appears, select Modify, and then uncheck Automatically select swap file size.
- Finally, click OK to save your settings and restart your computer.
As you can see, the “PAGE FAULT IN NONPAGED AREA” error can be easily fixed by following the above steps. In other cases, you should disassemble the computer and check the hard drive for physical damage. If you’re not sure if the RAM or hard drive is damaged, you should definitely seek additional help from professionals so that you don’t damage the devices yourself.


