
Speech-to-text is a handy feature called Voice Typing in Windows 11. However, it doesn’t always work the way you need it to. Voice typing can enter words with mistakes and typos, which can be annoying. After all, in this case, it would be easier and faster to type the text yourself.
Fortunately, you can both invoke and disable this tool in Windows 11 manually as you wish. And it’s generally pretty easy to do. All you need to do is turn off your PC’s Online Speech Recognition feature. This will disable all associated services, including voice typing, Cortana voice search, and more.
Well, here’s how to do so.
How to disable voice typing in Windows 11 using Settings
The easiest way to disable voice typing on your Windows 11 PC is to use the settings menu. So do the following:
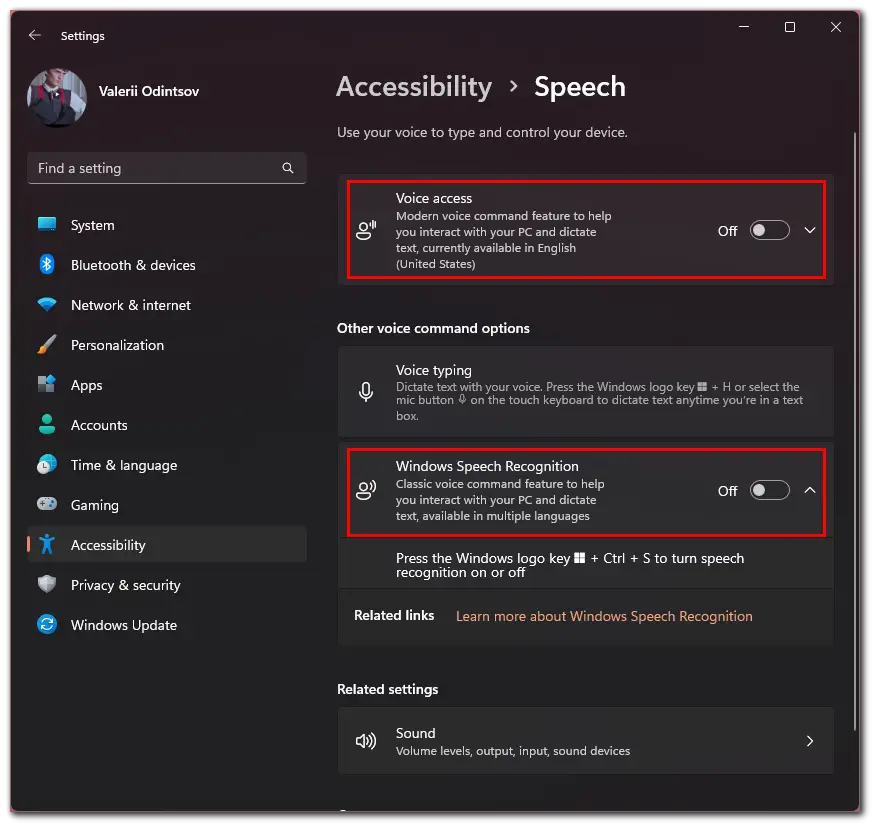
- Click on the Start button and enter “voice typing” in the search bar.
- Then click Voice typing.
- After that, disable Voice access and Windows Speech Recognition.
- Now, press Win + H to open Voice typing options.
- Here turn off the Voice typing launcher and Auto punctuation features.
Once you have completed these steps, close Settings and reboot your PC, finally, you will see that Voice typing is disabled.
How to disable voice typing in Windows 11 using Local Group Policy Editor
If you want to disable voice typing in Windows 11 using Local Group Policy Editor, you can follow these steps:
- First, press Win + R on your keyboard to open the Run window.
- Then type “gpedit.msc”, and press Enter.
- After that, go to the following path using the left sidebar:
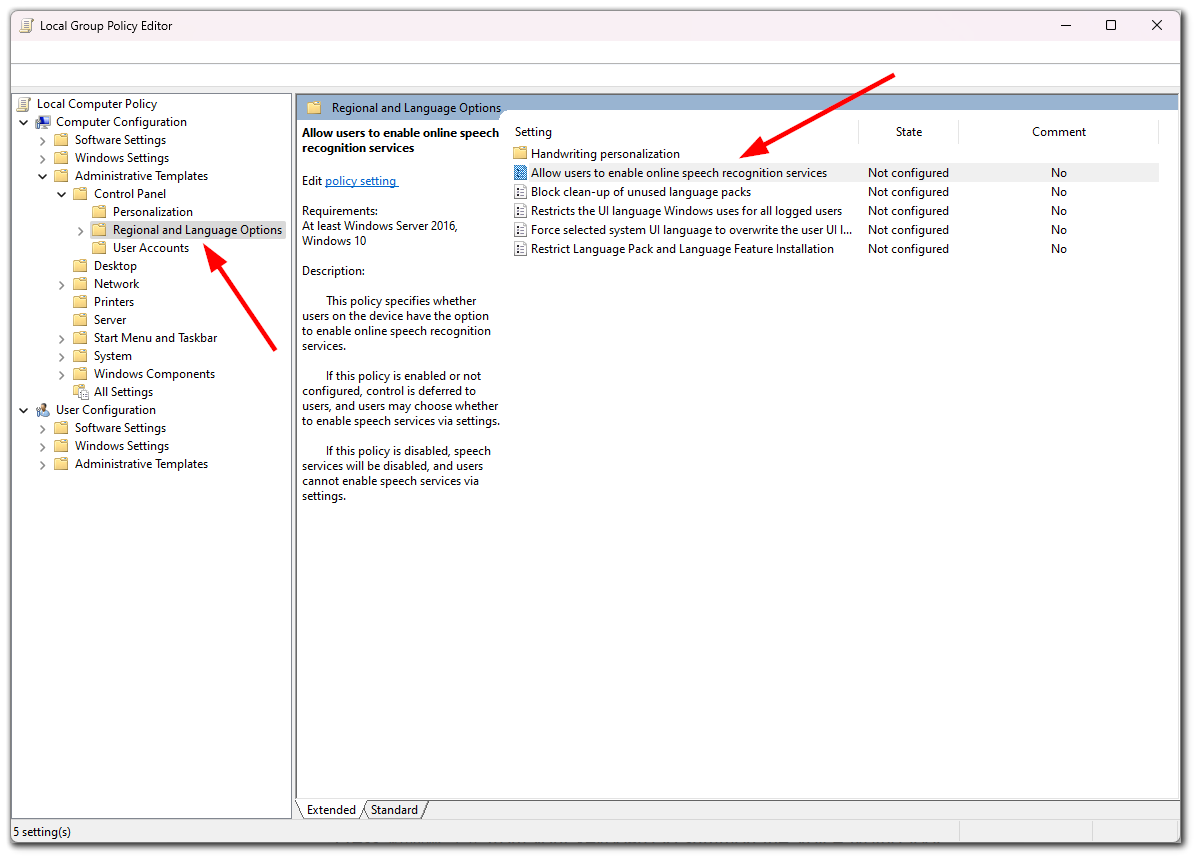
- Computer Configuration > Administrative Templates > Control Panel > Regional and Language Options
- Now double click on Allow users to enable online speech recognition services.
- In the opening window, select Disabled and click Apply.
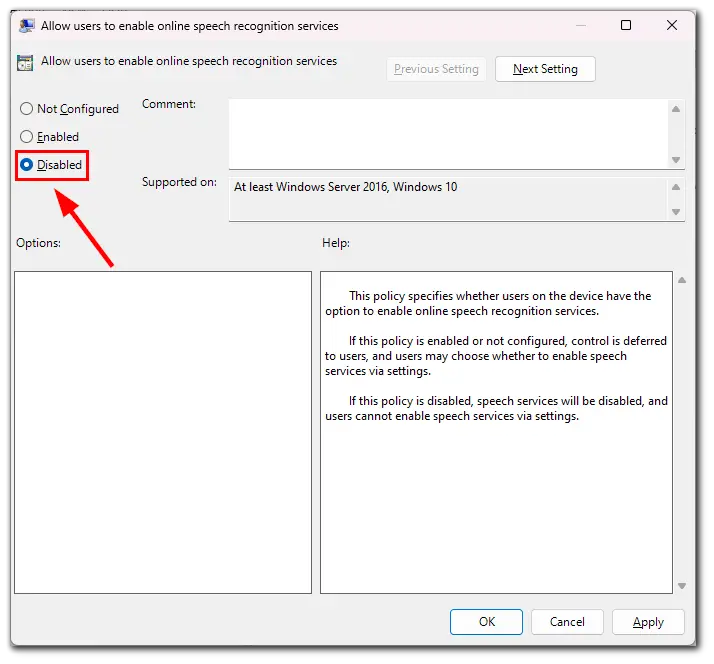
- Finally, click OK and reboot your PC.
Once you have completed these steps, you will turn off Voice Typing and all other speech-related services on your Windows 11 PC.
How to disable voice typing in Windows 11 using the Registry Editor
If you want to disable voice typing in Windows 11 using the Registry Editor – follow these steps:
- Press Win + R on your keyboard to open the Run window.
- Then type “regedit”, and press Enter.
- After that, go to the following path using the left sidebar. You can also copy-paste the address below into the address bar at the top of the screen:
- HKEY_CURRENT_USER\Software\Microsoft\Speech_OneCore\Settings\OnlineSpeechPrivacy
- With OnlineSpeechPrivacy selected on the left, right-click on the empty area on the right and select New.
- Next, select the DWORD (32-bit) Value.
- Name the value HasAccepted and double-click it after creating it.
- Set Value data to 0 and click OK when finished.
Once you have completed these steps, close the Registry Editor and reboot your PC. Ensure that Voice Typing is disabled.
Read Also:
- How to use the classic right-click context menu on Windows 11
- How to use 7-Zip in Windows 11
- How to crop or trim video on Windows 11
How to deny voice typing access to your mic on Windows 11
You can easily restrict voice typing to use your microphone on Windows 11. Keep in mind that this move will also disable microphone access from all other apps on your PC. Here’s what you need to do:
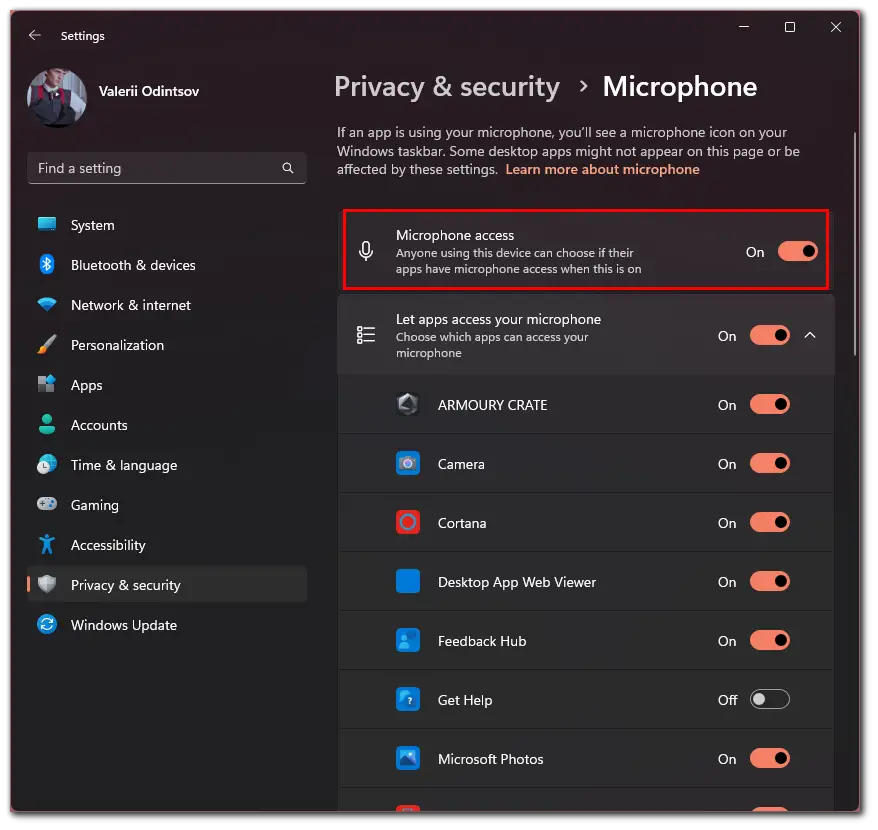
- Click on the Start button and enter “microphone privacy settings” in the search bar.
- Go to Microphone privacy settings.
- Then disable Microphone access.
After that, press Win + H and ensure that the voice typing feature isn’t working. For such instruments, disabling microphone access would make them useless. Moreover, if you disconnect from the Internet, the voice typing feature will automatically become unavailable.


