
In Microsoft Word, you can make the first header in your document different from all the others. This is relatively easy to do, and the feature is available in both the paid and free online program versions.
Headers are placed at the very top of the page and contain some text or page numbers. Unfortunately, by default, you can only change the content of the header on the first page. All other pages will display the same information.
Many users often need to insert a header only on the first page of a document. So here’s how it works in Microsoft Word.
How to add a different first-page header in Microsoft Word
If you want to add a header only to the first page of your Microsoft Word document, you can follow these steps:
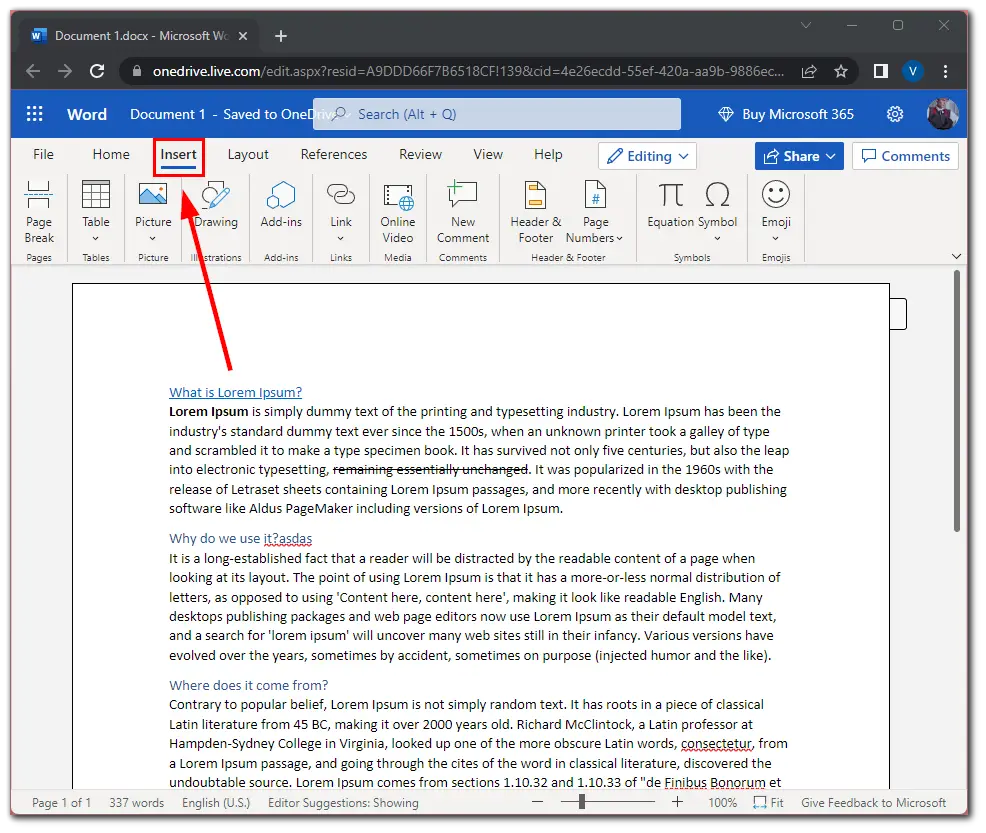
- First, open your Microsoft Word document and click on the Insert tab.
- After that, select Header & Footer.
- Then click Options on the right side of the page and select Different First Page.
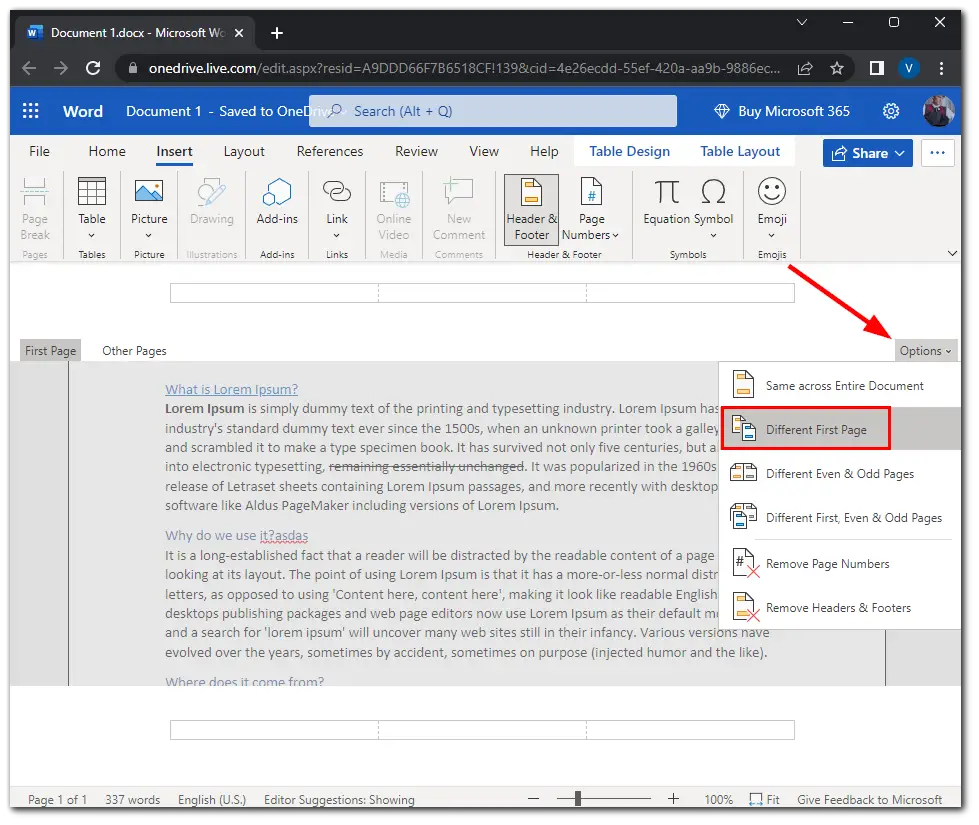
- Now, enter a text in the header.
You can place your header text to the right, middle, or left. Finally, just save your document and continue the editing. To delete the header, you need to remove the text from it. Alternatively, you can select Remove Headers & Footers from the Options menu.
In the same way, you can change the header on the other pages. Select Other Pages and enter your text. Moreover, using the steps above, you can also add a footer instead of a header. That’s it.
How to change the page order in Microsoft Word
You can change the order of the contents of your document using the header rearrangement method. Here’s how to do it:
- Open your Microsoft Word document and go to the View tab.
- Then enable Navigation Pane in the Show section.
- After that, click on the Headings tab in the Navigation menu to see all your document’s headings.
- Now, move a heading by simply dragging it with your mouse and dropping it where you want it. Do this for each heading you want to change.
Once you have completed these steps, Microsoft Word will move the content. You can always undo the changes by pressing Ctrl + Z. Finally, don’t forget to save your document.
Read Also:
- How to use strikethrough shortcuts in Microsoft Word
- How to turn off dark mode in Microsoft Word
- How to turn off track changes in Microsoft Word
How to remove pages in Microsoft Word
The fastest way to get rid of page content in Microsoft Word is to select the content on that page and delete it with the Backspace or Delete button. You can use the built-in Find & Replace tool if you don’t want to manually repeat the same action a million times.
- Click anywhere on the page you want to delete. You can find the page number you are on by looking in the lower left corner of the window.
- After that, press Ctrl + G. You will enter the Go To tab of the Find & Replace window.
- Then enter \page in the Enter Page Number text box and select Go To.
- You will finally select all the content on your current page. Now, press the Backspace key.
Well, that’s how you’ve deleted the page you don’t need.


