
iOS 16 has brought a lot of handy features, and batch photo editing is one of them. Sometimes, I needed to edit 5 or even 10 photos at once, which was a headache, as I needed to apply filters to them one by one, wasting a ton of time.
Especially if you need just to apply a pre-set filter but adjust image settings manually.
With iOS 16, you can batch edit photos, simply applying the same edits (like brightness or contrast) to all images in a pair of clicks. It works like you edit one photo and then copy-paste edits to others.
Here’s how the new trick works on iPhone.
How to edit multiple photos at once on an iPhone
Well, if you want to edit multiple photos at once on your iPhone, you can follow these steps:
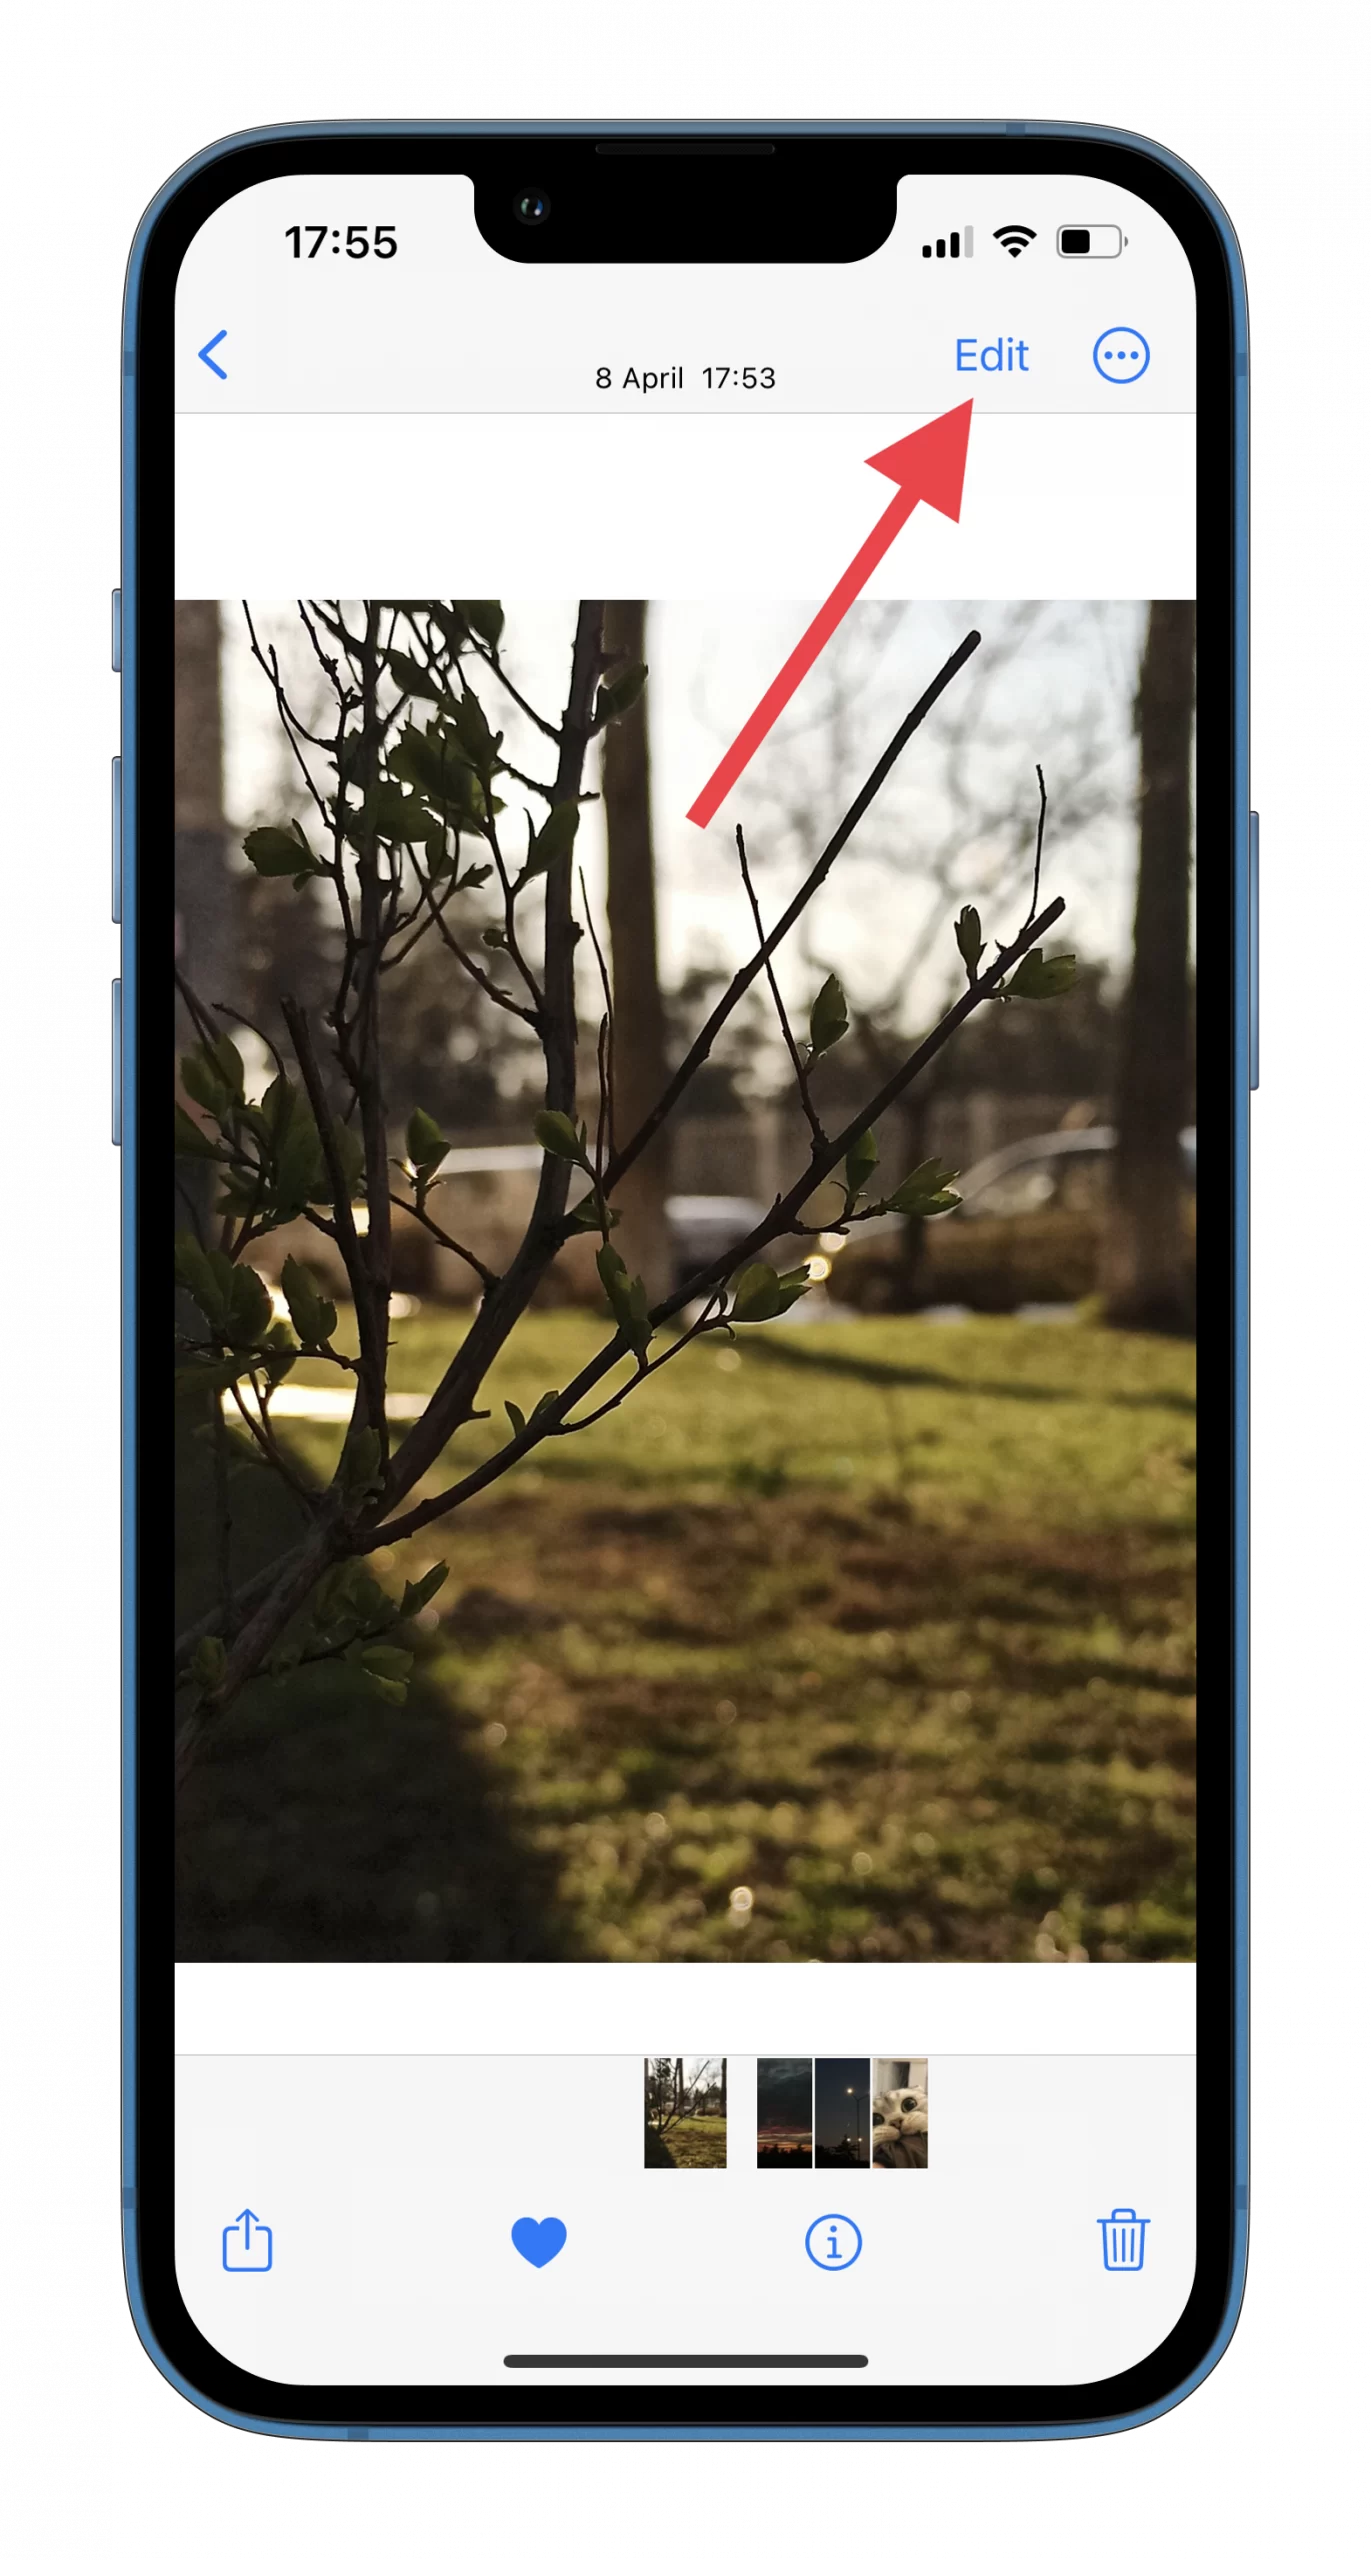
- First, open the Photos app and select the image you want to edit.
- Then tap on the Edit button at the top right corner.
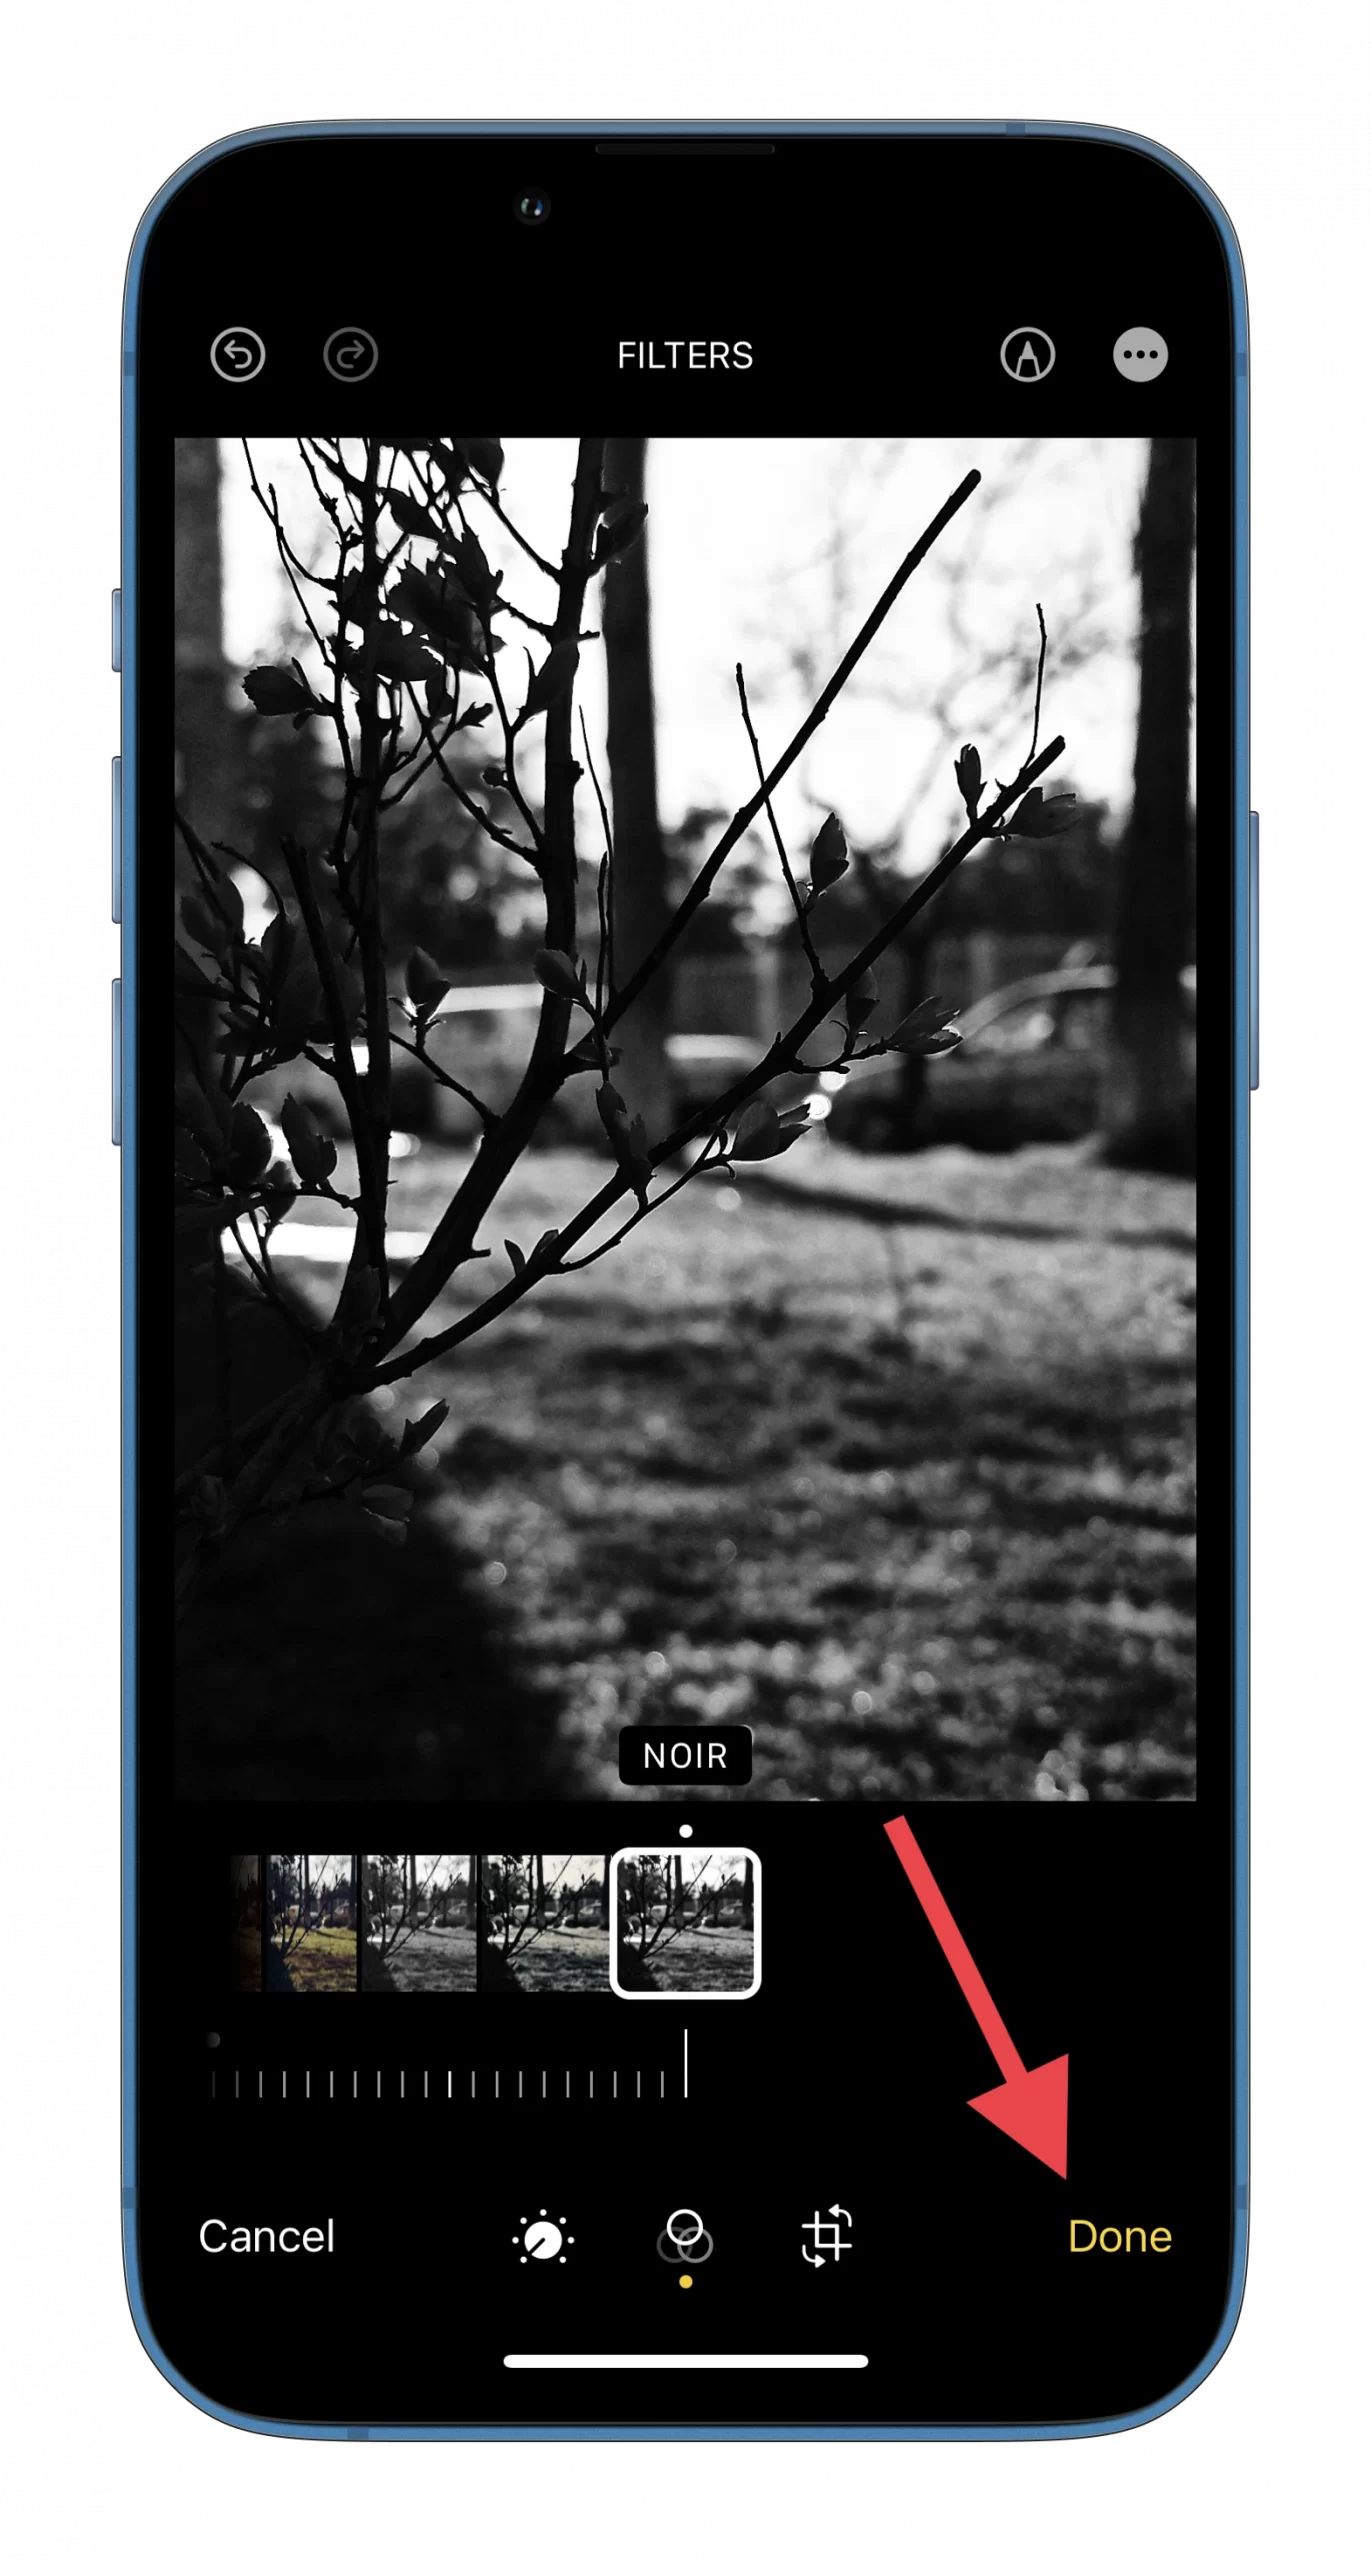
- After that, add some effects to your photo and tap Done at the bottom right corner to confirm.
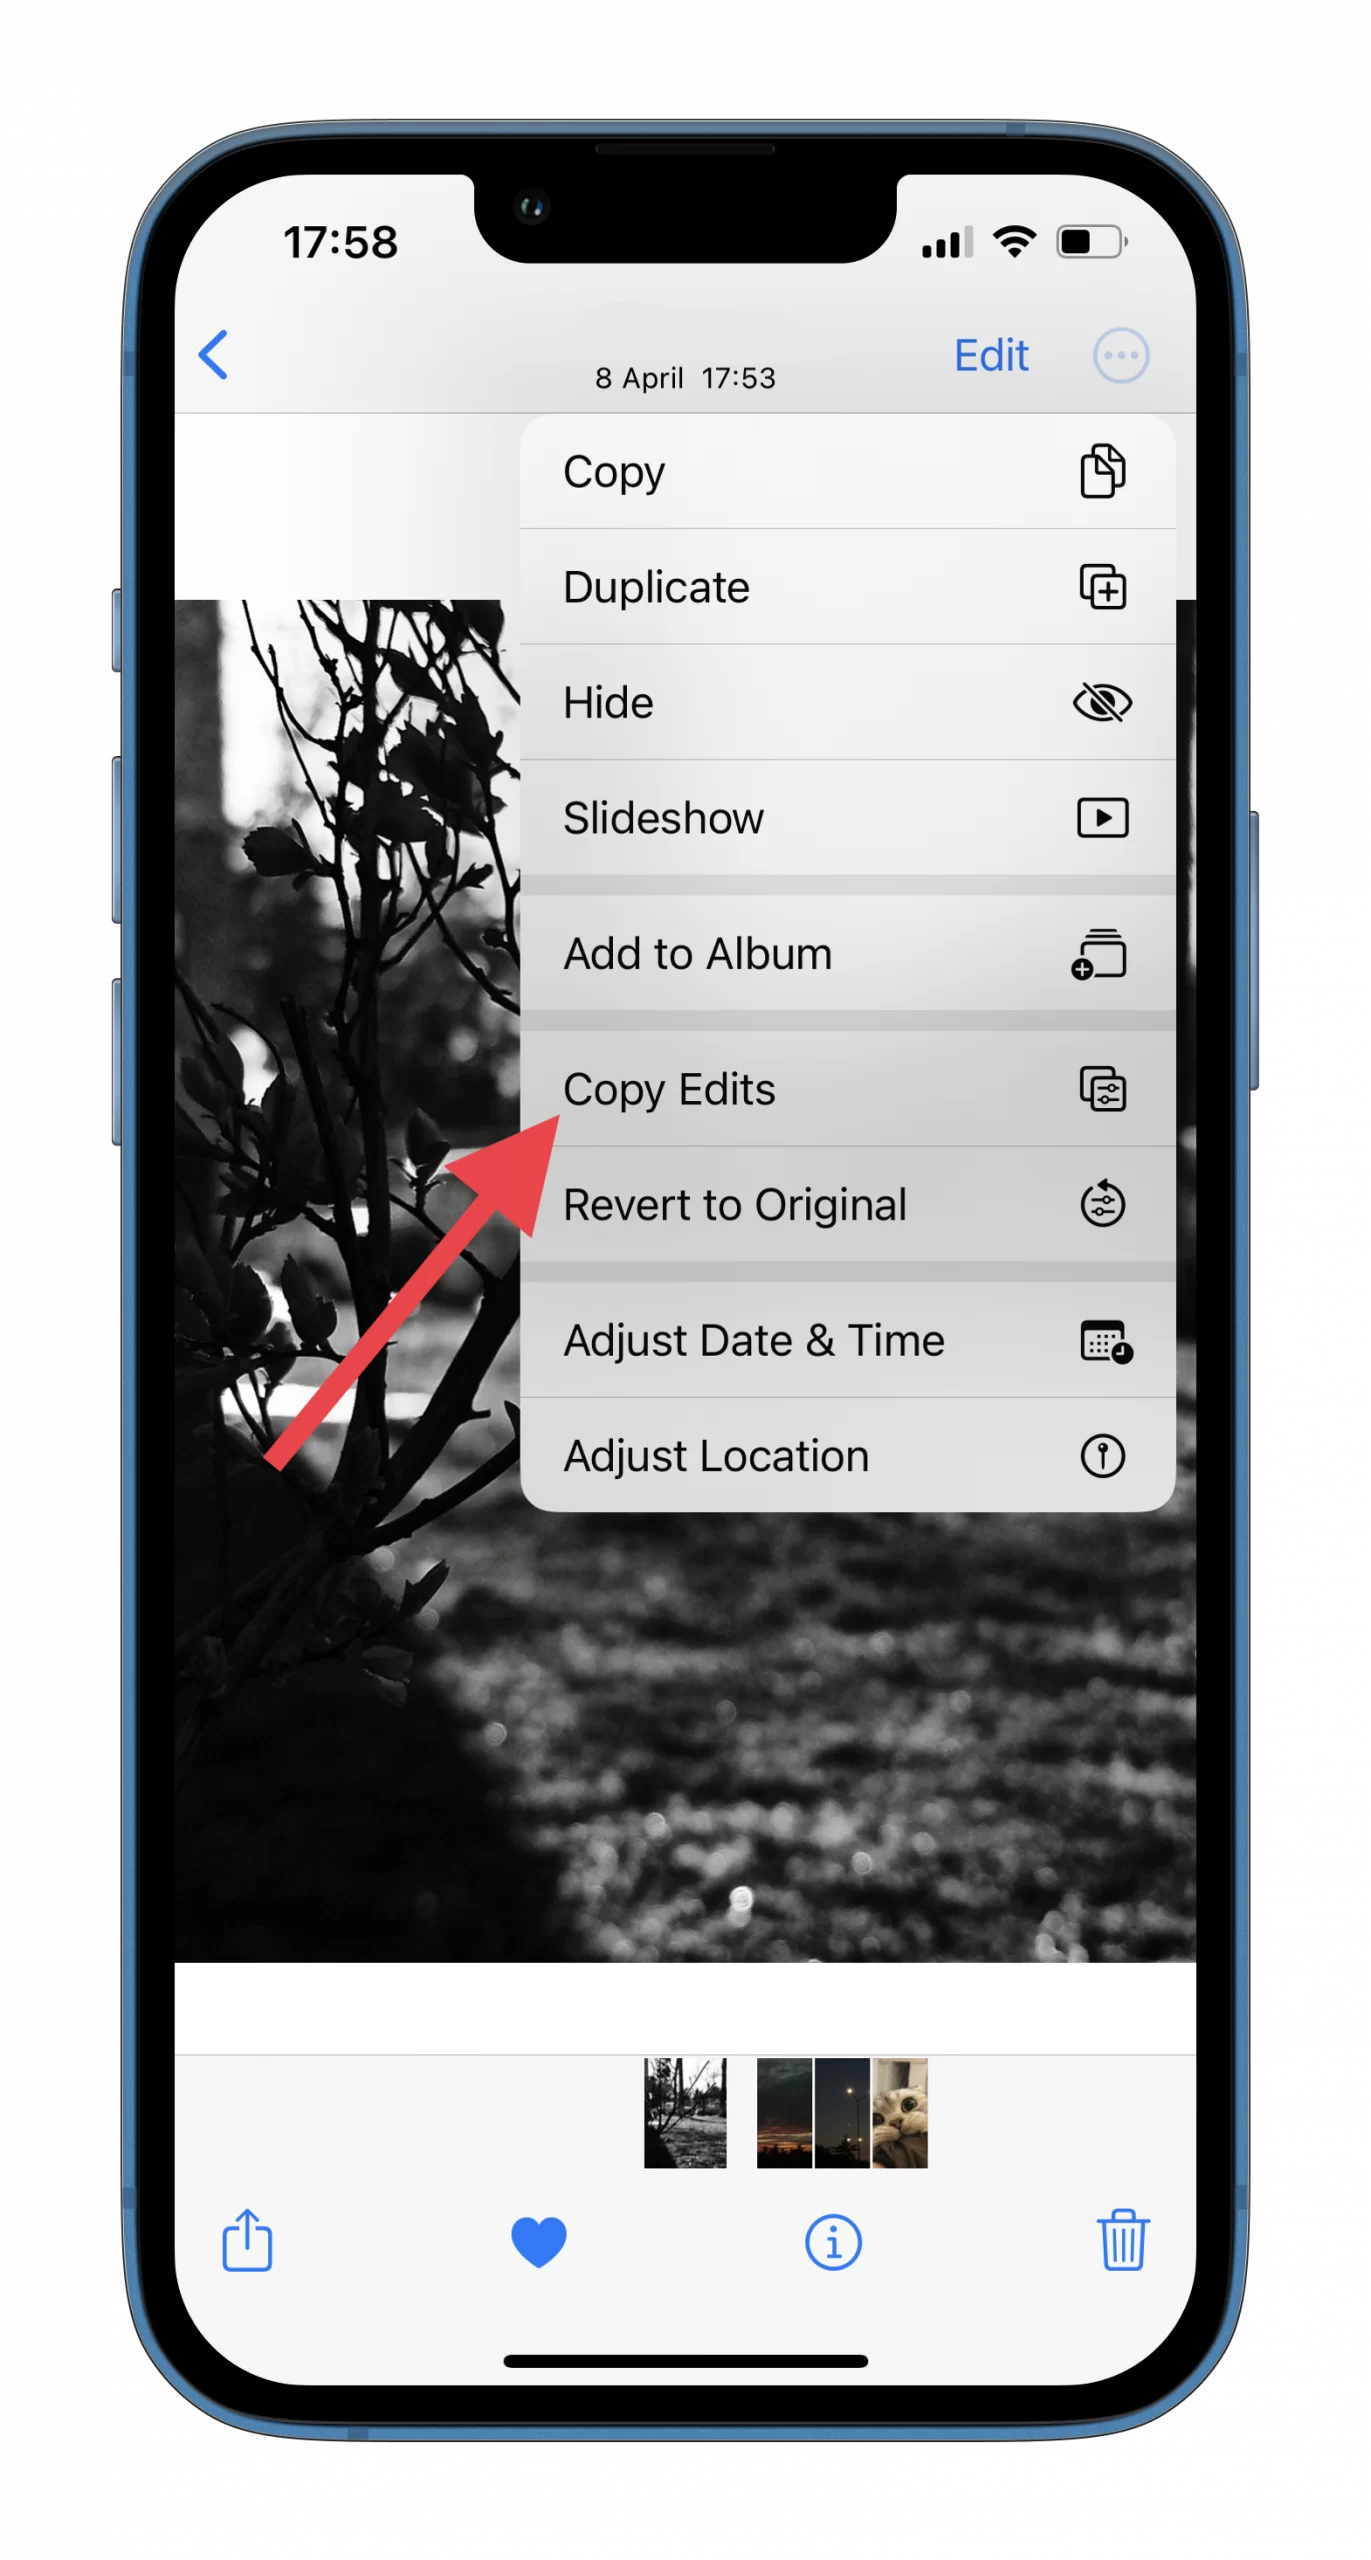
- Now, tap on the three dots button at the top right corner and select Copy Edits.
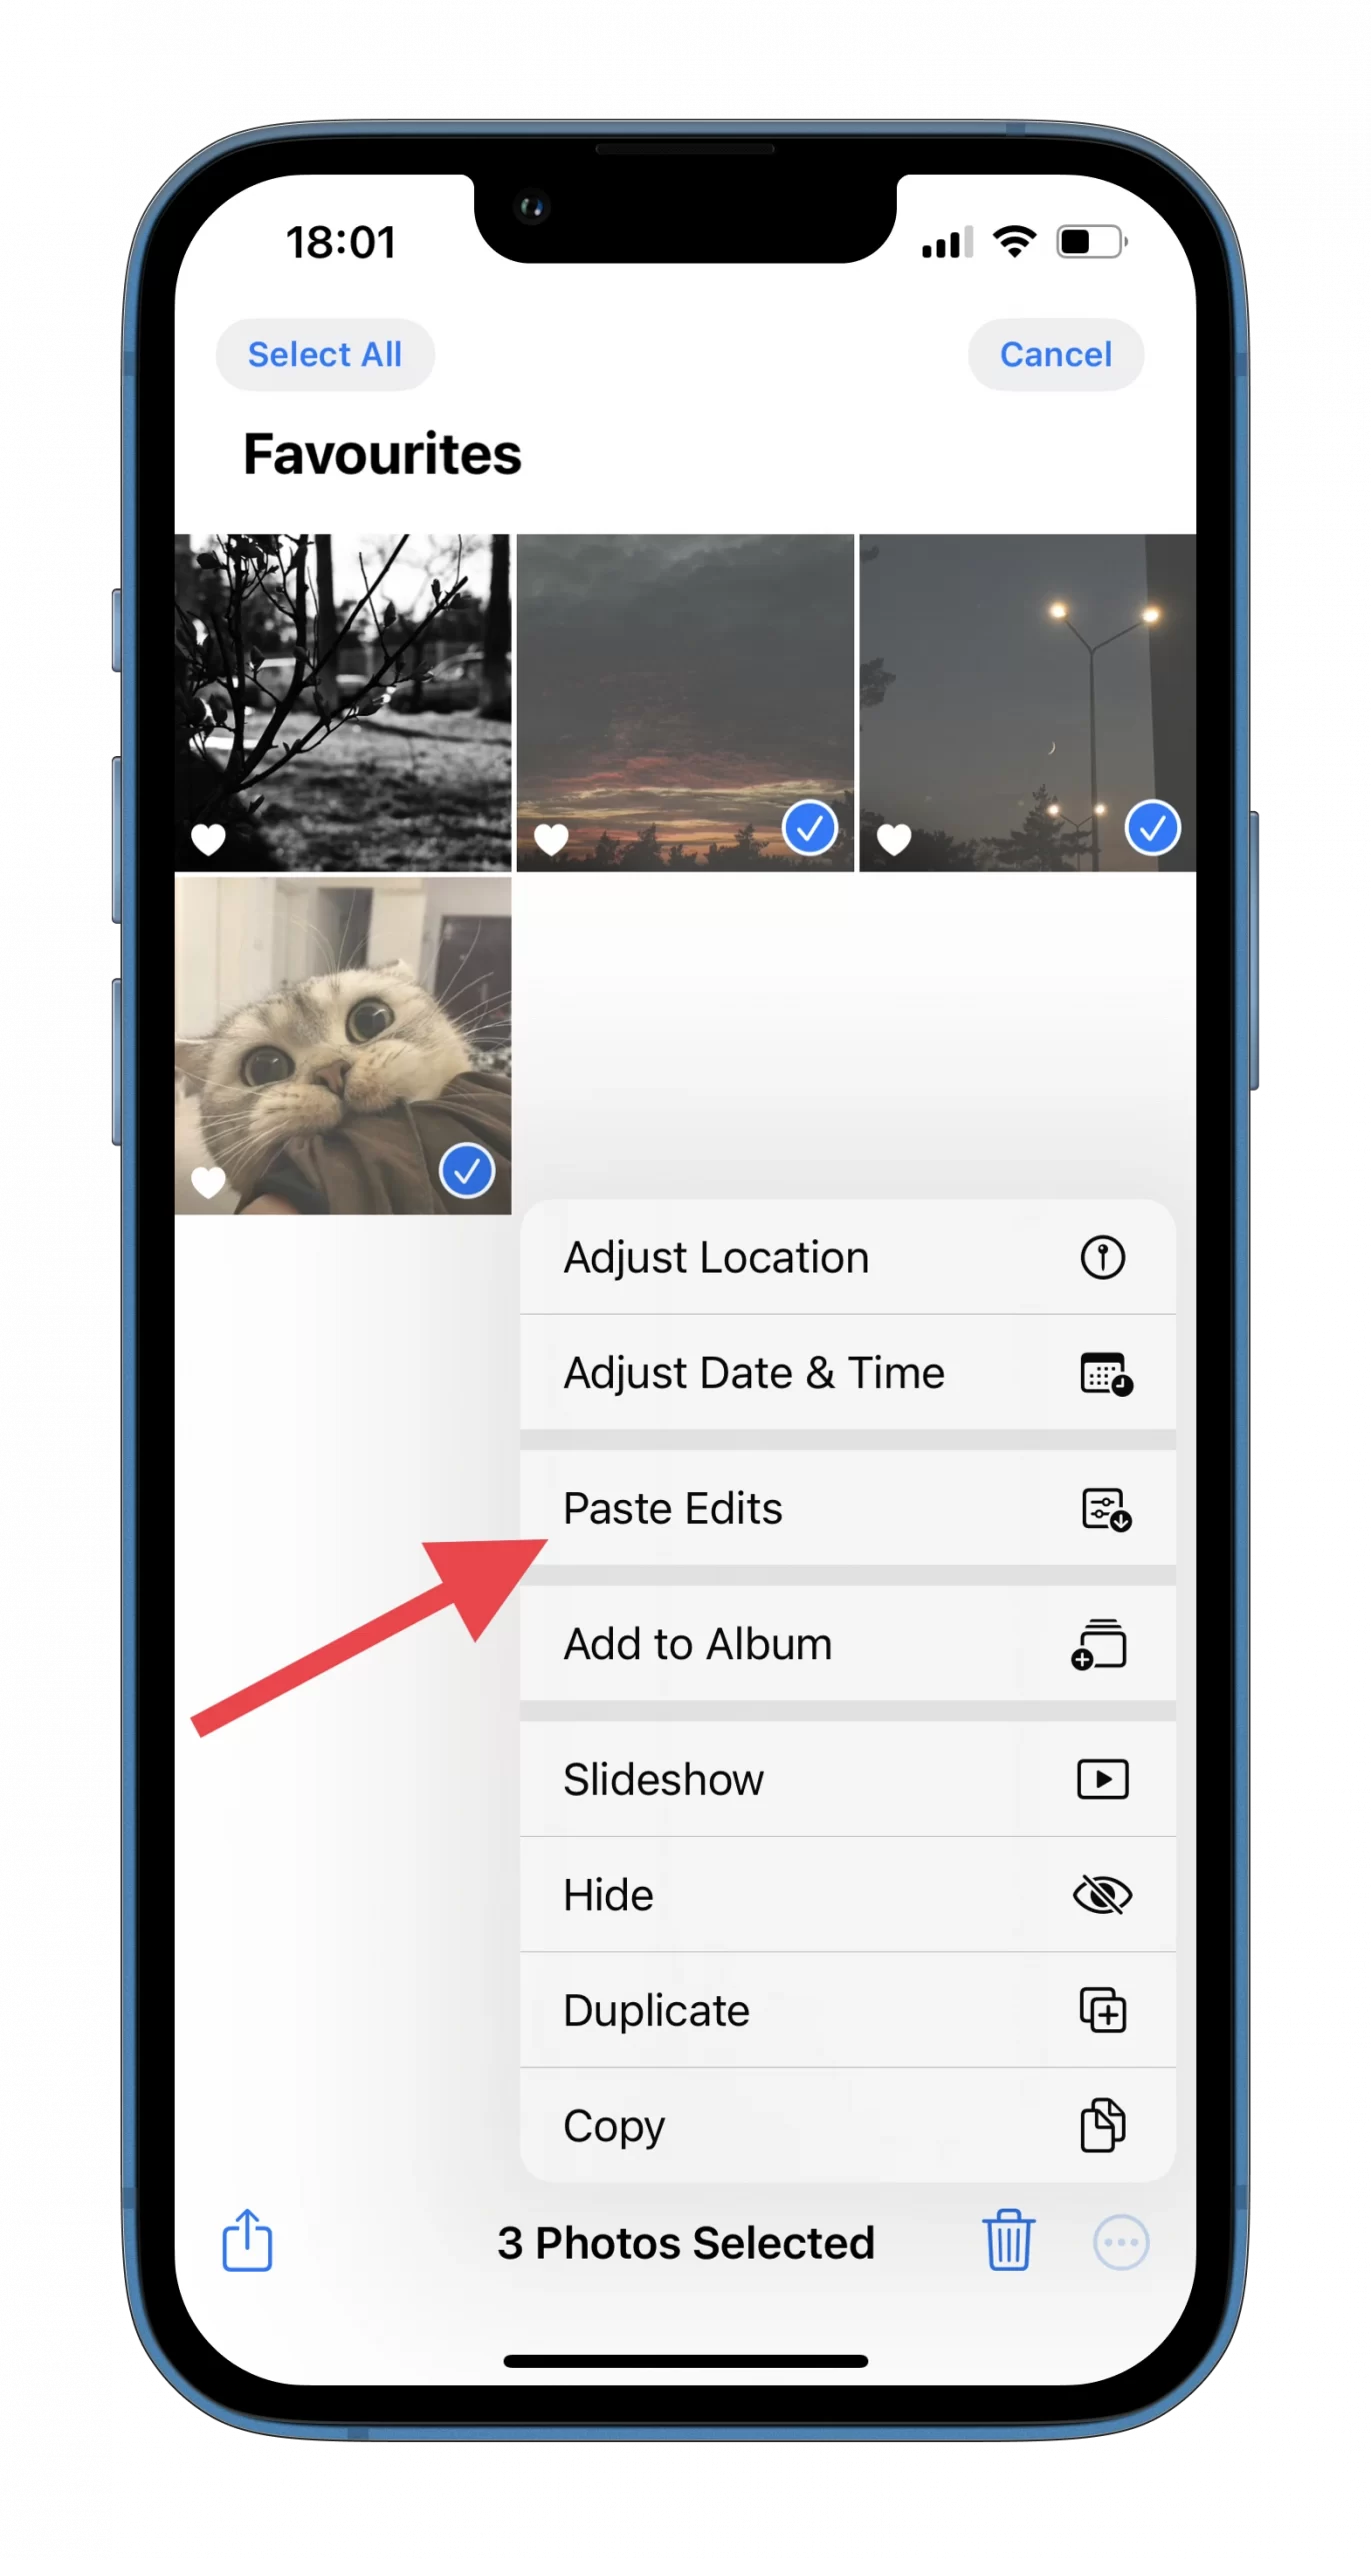
- Go back to your album and select all the photos you want to edit with the same filter.
- Finally, tap on the three dots button at the bottom right corner and select Paste Edits.
Once you have completed these steps, a small pop-up window will appear on the iPhone screen with a progress bar at the bottom. When the process is complete, the pop-up window will disappear. This will mean that the filter has been applied to all selected photos.
Frankly, I started to use this feature regularly because I’m always photographing something, and I like to experiment with different effects. Therefore, if you are enthusiastic about taking pictures, you will definitely like this trick.
Read Also:
- How to сut out objects from photos in iOS 16
- How to use video text recognition in iOS 16
- How to use widgets on the lock screen in iOS 16
How to revert edits to the original on an iPhone
To be honest, the fact that you can revert your edited photos to the original version is a very nice bonus in the Photo app. What’s more, you can easily revert multiple photos. And there’s nothing complicated about it. So just do the following:
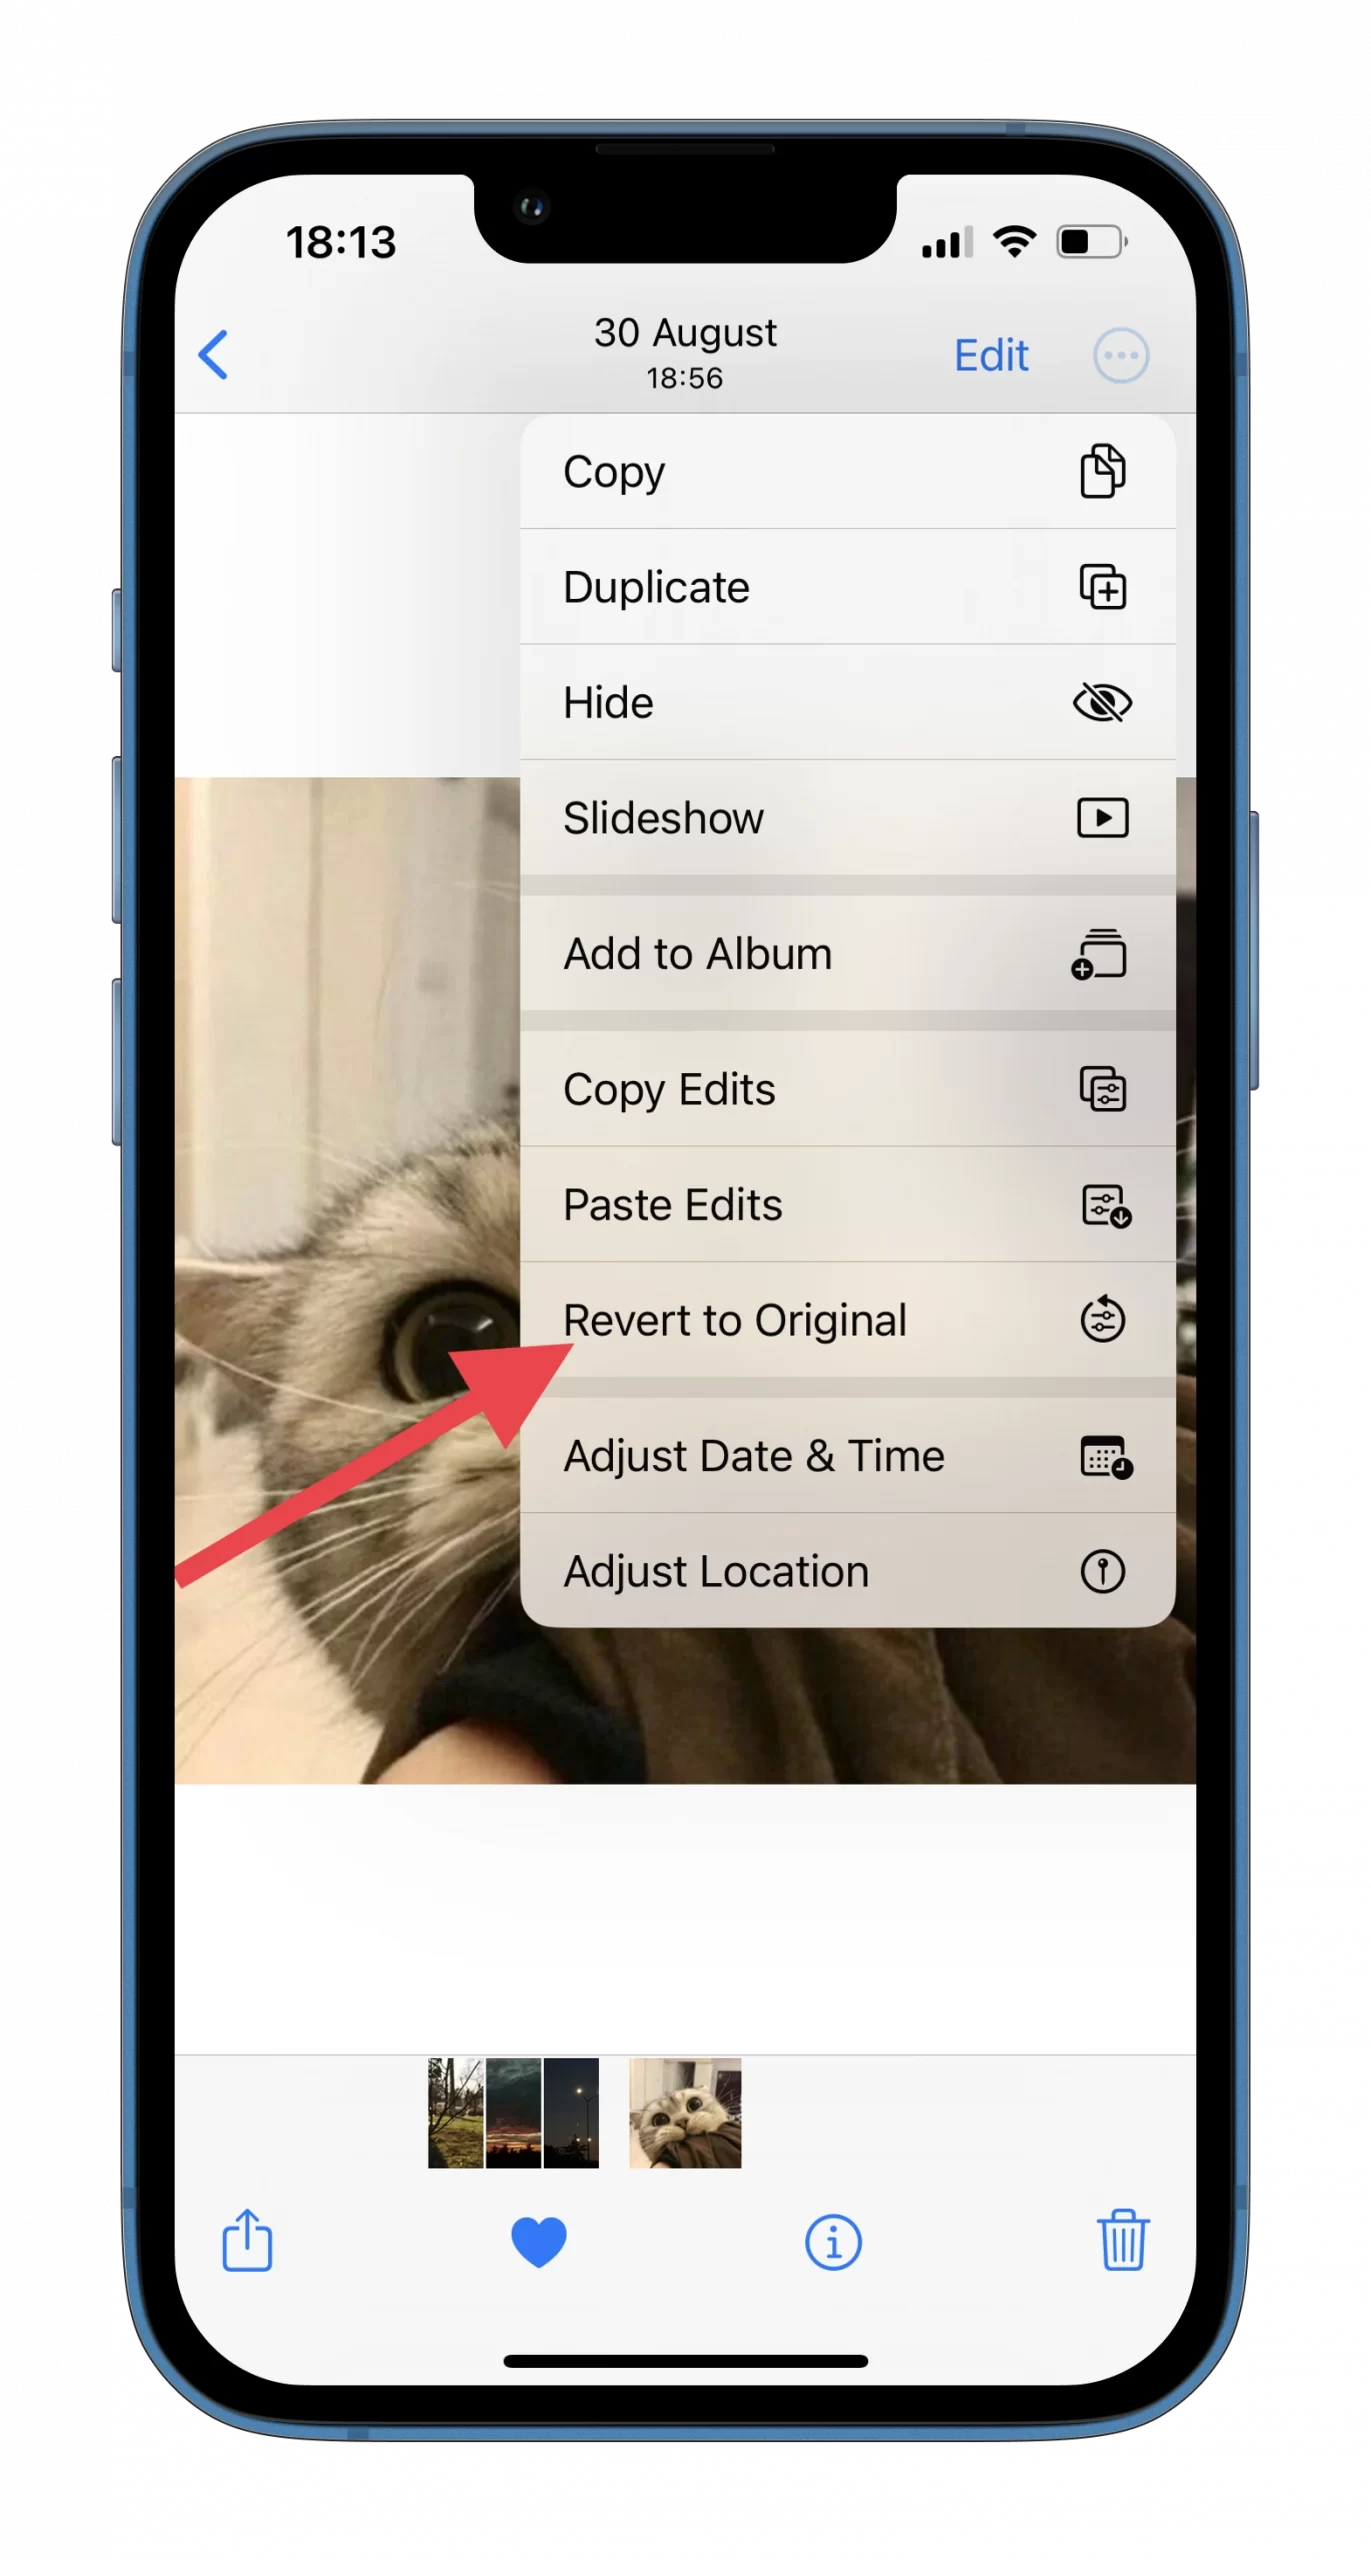
- If you want to revert a single photo:
- Open it and tap on the three dots button at the top right corner.
- Then select Revert to Original.
- If you want to revert multiple photos:
- Go to the album and select all the photos you want to revert.
- After that, tap on the three dots button at the bottom right corner and also tap Revert to Original.
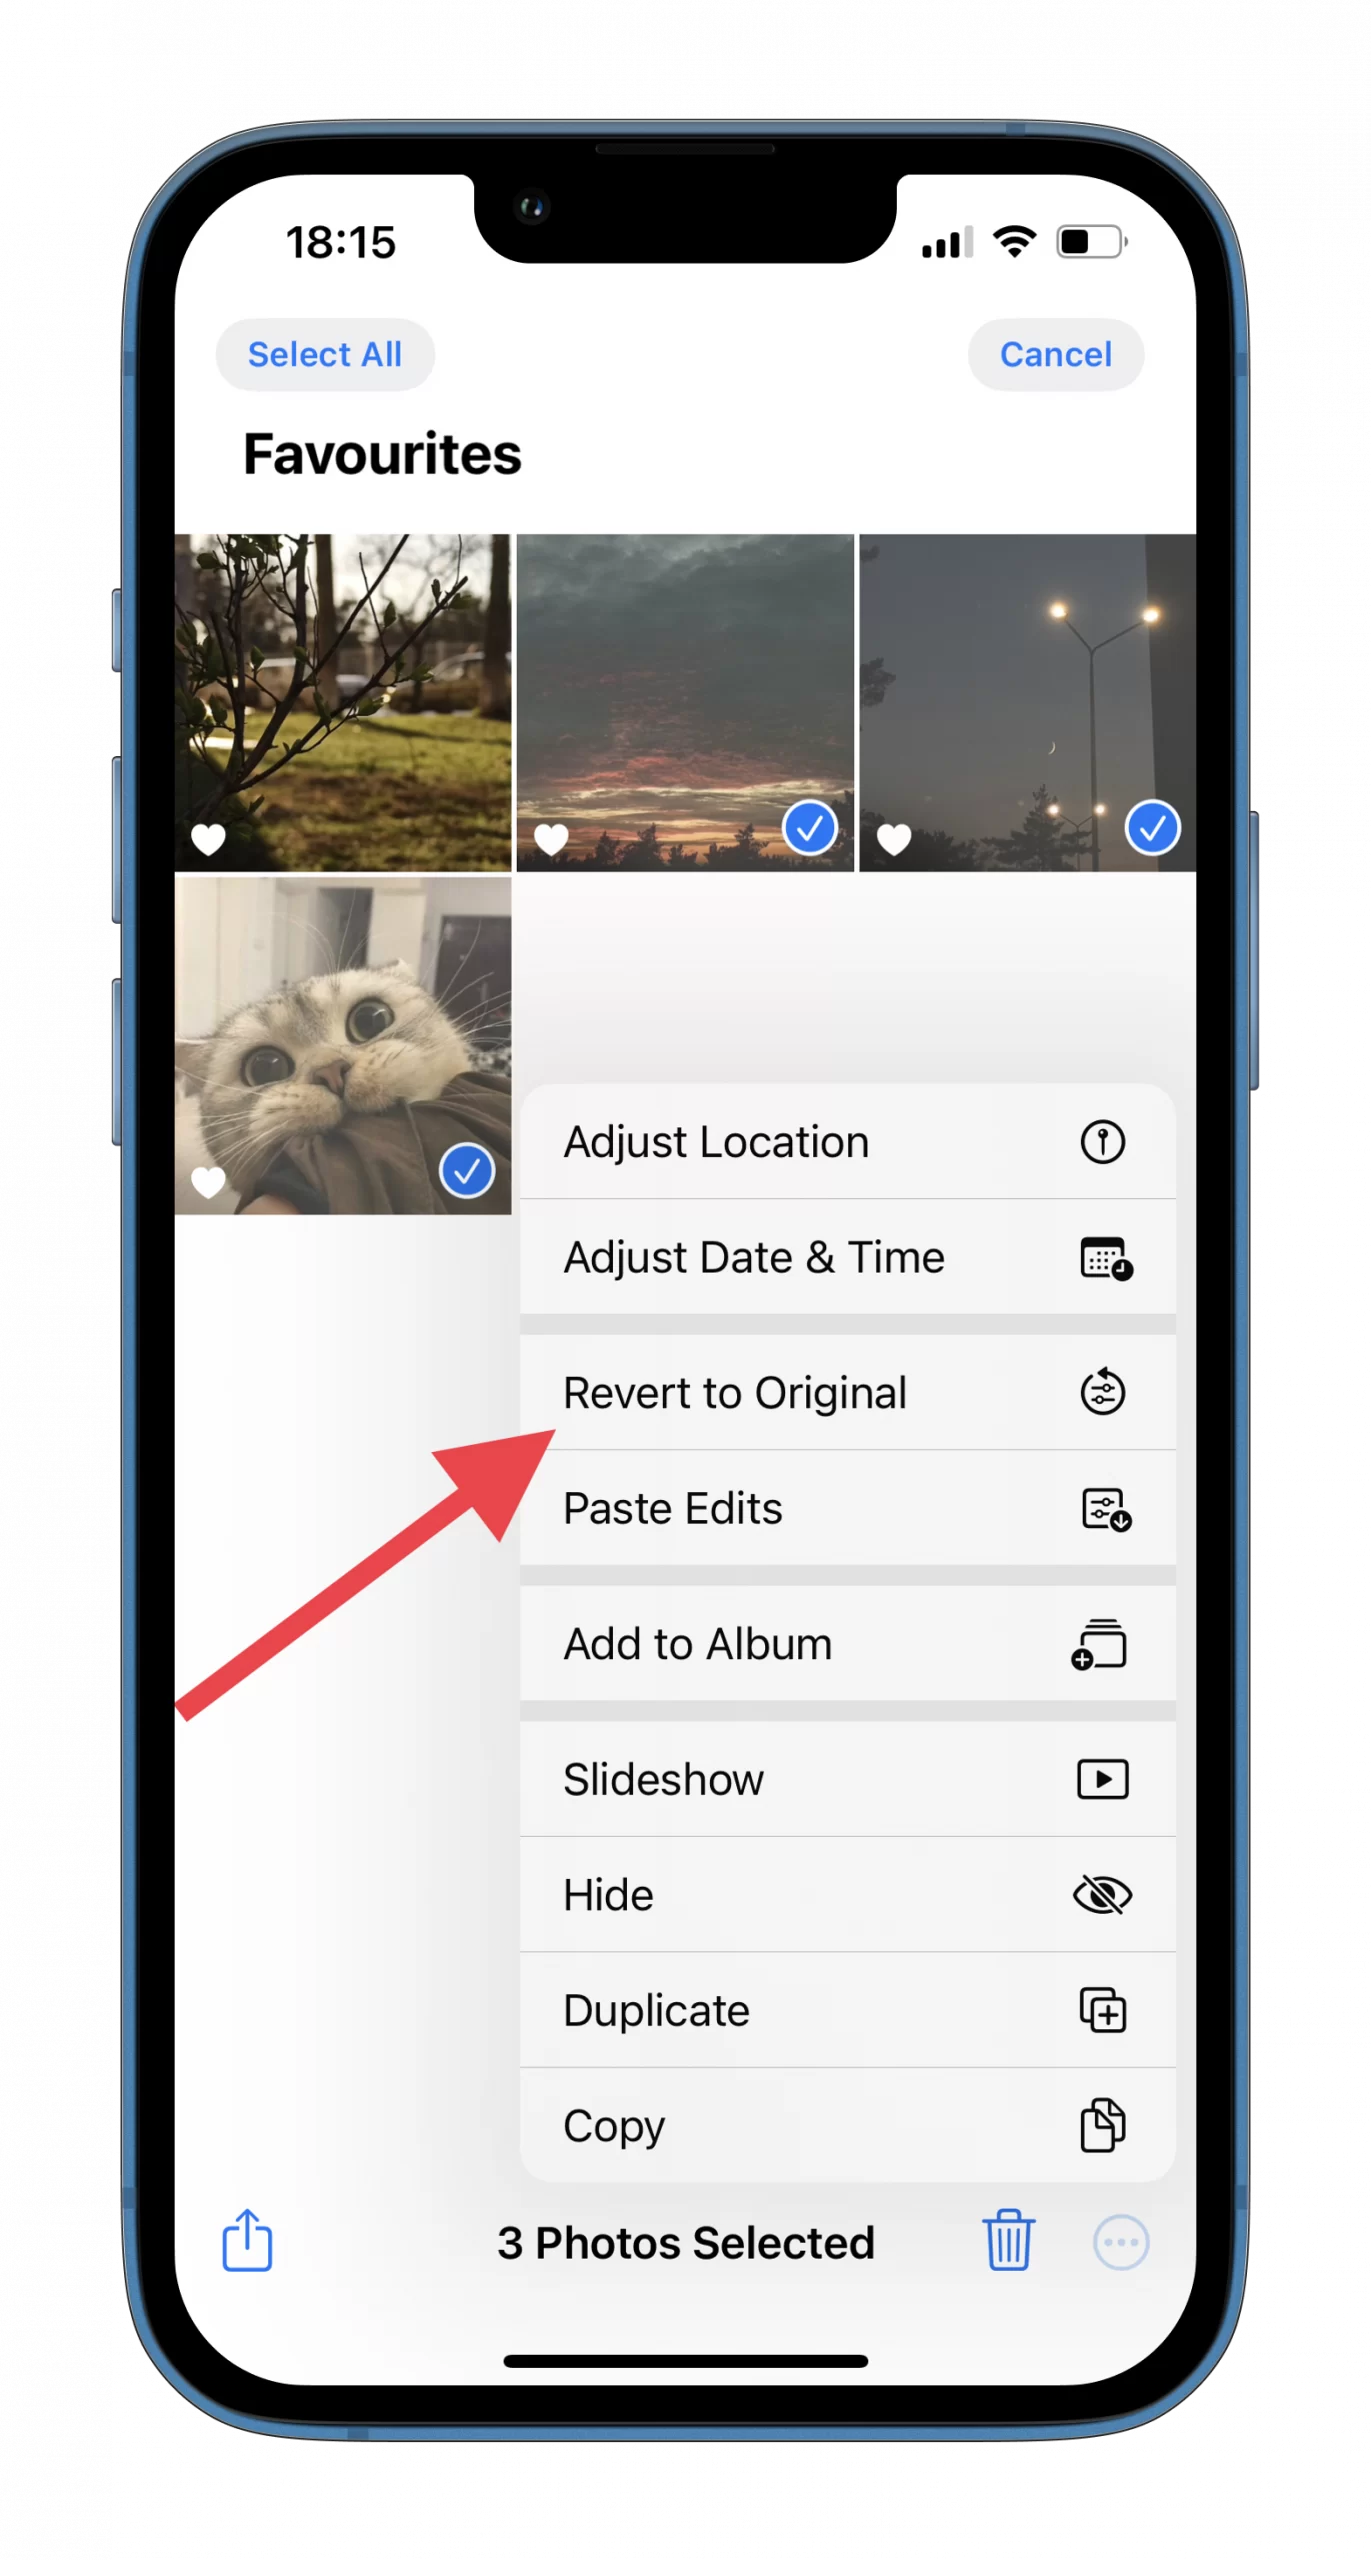
- Finally, confirm by tapping Revert.
As you can see, everything is simple. Both the batch editing and revert features in iOS 16 are useful if you take many photos on your iPhone and like the basic image editing features in the Photos app.
However, when it comes to advanced image editing capabilities, the default Photo app won’t help you. In that case, it’s better to download an additional app such as Photoshop.


